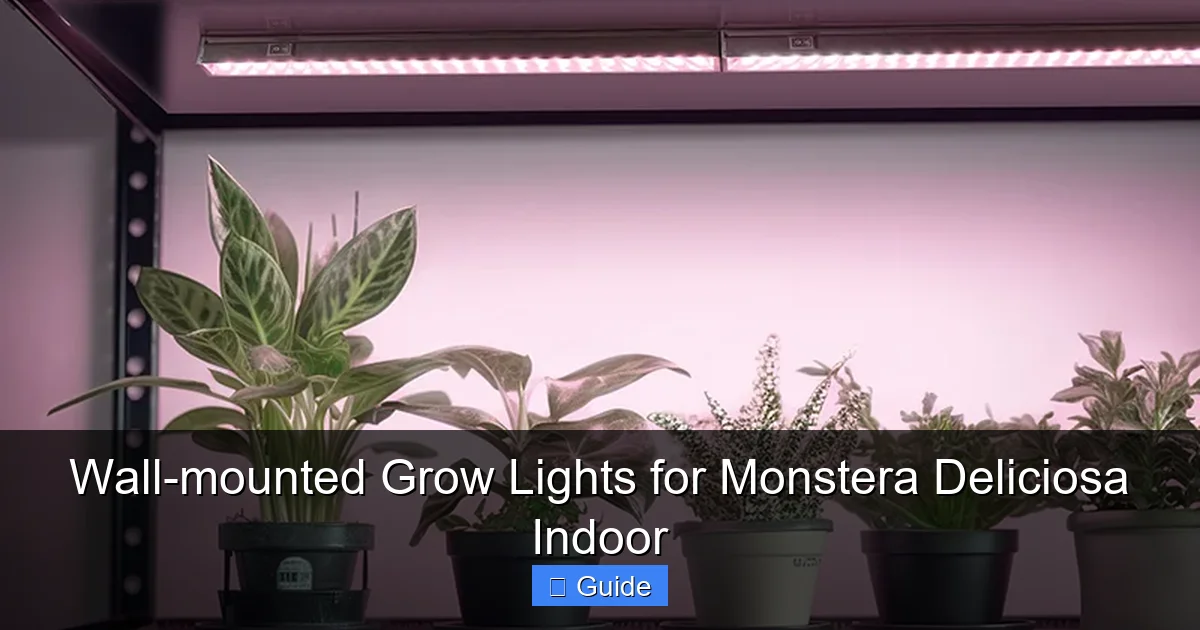
Wall-mounted Grow Lights for Monstera Deliciosa Indoor
Wall-mounted grow lights for monstera deliciosa indoor give your tropical beauty the bright, consistent light it craves without taking up floor space. This guide covers why extra light matters, how to pick the best fixture, installation tips, and a simple schedule for lush, fenestrated leaves.
Key Takeaways
- Monstera needs bright, indirect light: In low‑light homes the plant stretches and loses its iconic splits.
- Wall‑mounted fixtures save space: They keep the floor clear for pots, décor, and foot traffic.
- Full‑spectrum LEDs are ideal: They mimic sunlight, run cool, and use little electricity.
- Mount at 12‑18 inches above the canopy: This distance delivers strong intensity without leaf burn.
- Run lights 12‑14 hours daily: A consistent photoperiod encourages steady growth and fenestration.
- Use a timer and dimmer: Automation prevents human error and lets you fine‑tune intensity.
- Monitor leaf color and spacing: Adjust height or duration if leaves turn pale or become leggy.
Quick Answers to Common Questions
How far should the light be from the Monstera canopy?
Mount the fixture 12 to 18 inches above the top leaves for optimal intensity without burn.
What spectrum is best for Monstera deliciosa?
A full‑spectrum LED that mimics natural daylight supports both vegetative growth and fenestration.
Can I leave the grow light on all night?
No. Plants need a dark period; run the light 12‑14 hours per day and turn it off for the remaining hours.
Do wall‑mounted grow lights increase electricity bills significantly?
Modern LEDs use 30‑50 watts, adding only a few dollars per month to most household bills.
How do I know if my Monstera is getting enough light?
Look for deep green, firm leaves that develop splits as they mature; pale or leggy growth means more light is needed.
📑 Table of Contents
Why Monstera Deliciosa Needs Extra Light
Monstera deliciosa originates from the understory of Central American rainforests. In the wild it receives dappled sunlight filtered through a dense canopy. Indoors, most homes provide only a fraction of that intensity. When light drops below the plant’s comfort zone, the stem elongates, leaves stay small, and the signature holes never develop.
Adding supplemental illumination solves the problem. A well‑placed fixture delivers the photons the plant expects, triggering the hormonal signals that create large, perforated foliage. Wall‑mounted grow lights for monstera deliciosa indoor are a popular choice because they sit high on the wall, out of the way, yet shine directly down onto the canopy.
Without enough light, the plant also becomes more vulnerable to pests and root rot. Weak growth means slower water uptake, so the soil stays wet longer. Bright, consistent light keeps the metabolic engine running, improving overall health and resistance.
Benefits of Wall‑Mounted Grow Lights
Space‑Saving Design
Floor‑standing lamps or bulky panels eat up valuable square footage. A wall‑mounted unit tucks against a vertical surface, leaving the floor free for a decorative pot, a humidifier, or simply walking space. This is especially handy in apartments or rooms where every inch counts.
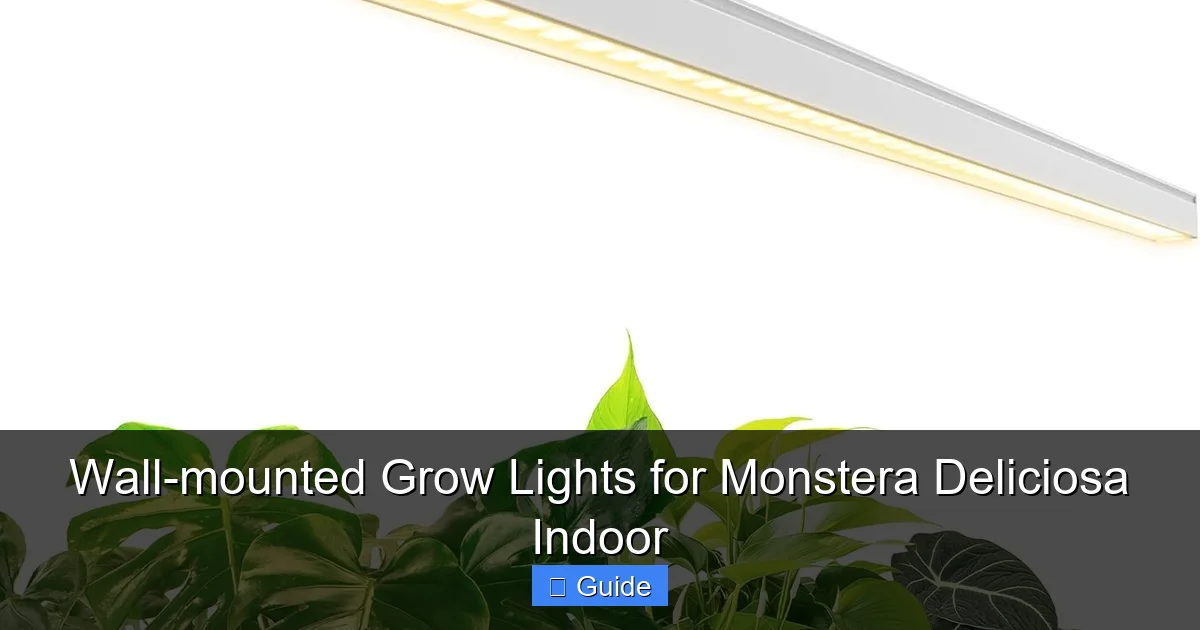
Visual guide about Wall-mounted Grow Lights for Monstera Deliciosa Indoor
Image source: m.media-amazon.com
Even Light Distribution
Because the fixture is fixed overhead, the beam spreads evenly across the whole plant. You avoid the “hot spot” that occurs when a single bulb sits too close to one side. Uniform coverage encourages symmetrical leaf development and reduces the chance of one side out‑growing the other.
Adjustable Height and Angle
Many wall brackets let you slide the light up or down and tilt it a few degrees. As your Monstera grows taller, you simply raise the fixture to keep the 12‑18 inch sweet spot. This flexibility means one purchase serves the plant from juvenile to mature stages.
Energy Efficiency and Low Heat
Modern LED panels consume 30‑50 watts while delivering the same photosynthetic photon flux density (PPFD) as a 200‑watt fluorescent tube. They also emit minimal heat, so you won’t scorch leaves or raise room temperature. Lower electricity bills are a nice bonus.
Aesthetic Appeal
Slim, sleek fixtures blend with modern décor. Some models come in matte black, white, or wood‑finish frames that look like a piece of art rather than a utility lamp. Your plant gets the light it needs, and the room gets a subtle design accent.
Choosing the Right Wall‑Mounted Grow Light
Full‑Spectrum vs. Targeted Spectrum
Full‑spectrum LEDs emit wavelengths from 400 nm (blue) to 700 nm (red) plus a touch of far‑red. This mimics natural daylight and supports both vegetative growth and flowering. Targeted “veg” lights lean heavy on blue, while “bloom” lights boost red. For Monstera, a balanced full‑spectrum unit is the safest bet.
PPFD and Wattage Guidelines
Aim for a photosynthetic photon flux density of 200‑400 µmol m⁻² s⁻¹ at canopy level. Most 30‑50 watt panels hit that range when mounted 12‑18 inches above the leaves. Check the manufacturer’s PPFD chart; if it’s not listed, look for a lumen rating of 3000‑5000 lumens for a 2‑foot‑wide fixture.
Dimmable and Timer‑Compatible Models
Built‑in dimming lets you start low for acclimation and ramp up as the plant adapts. Timer compatibility (either a plug‑in timer or a smart‑home integration) automates the 12‑14 hour photoperiod. Some premium units even offer sunrise/sunset ramps that ease the plant into and out of the light cycle.
Mounting Hardware and Weight
Verify that the bracket can support the fixture’s weight plus any optional accessories like a reflector. Most wall‑mounted grow lights for monstera deliciosa indoor weigh under 5 pounds, so standard drywall anchors suffice. For heavier panels, use toggle bolts or mount into a stud.
Brand Reputation and Warranty
Stick with brands that specialize in horticultural lighting—companies like Spider Farmer, Mars Hydro, Viparspectra, and HLG. A 3‑year warranty and responsive customer service indicate confidence in product longevity.
Installation Tips for Wall‑Mounted Grow Lights
Find the Ideal Wall Spot
Choose a wall that receives no direct sun (to avoid double‑dose) and is near an outlet. The plant should sit centered under the fixture. If you have a shelf or plant stand, mount the light on the wall directly above it.
Measure and Mark
Use a tape measure to mark the bracket holes at the desired height. A level ensures the fixture hangs straight. Double‑check the distance from the top of the pot to the light plane; aim for 12‑18 inches.
Secure the Bracket
Drill pilot holes for anchors. Insert the anchors, then screw the bracket firmly. Give it a gentle tug—if it moves, add a larger anchor or move to a stud.
Attach the Light and Route Cables
Hang the fixture on the bracket. Use cable clips or a raceway to keep the power cord tidy against the wall. Avoid dangling cords that could be pulled by pets or children.
Test and Adjust
Plug in the light, turn it on, and observe the canopy. If leaves look bleached or curled, raise the fixture a few inches. If the plant still stretches after a week, lower it slightly or increase the daily run time by 30 minutes.
Safety First
Never cover the fixture with fabric or place it near flammable materials. Keep the area ventilated. If you notice any flickering, buzzing, or unusual heat, unplug immediately and contact the manufacturer.
Optimizing Light Schedule and Intensity
Photoperiod Basics
Monstera thrives on a 12‑14 hour day. In winter, natural daylight may drop to 8‑9 hours, so the supplemental light must fill the gap. Set a timer to turn the fixture on at 6 am and off at 8 pm for a 14‑hour cycle, or adjust to match your routine.
Gradual Acclimation
When you first install wall‑mounted grow lights for monstera deliciosa indoor, start at 50 % intensity for 8 hours. Increase intensity by 10 % and add 30 minutes every three days until you reach the target schedule. This prevents photoinhibition and leaf scorch.
Seasonal Tweaks
During active growth (spring‑summer), you can push to 14 hours at full intensity. In the slower months (fall‑winter), drop to 12 hours at 80 % intensity. The plant’s metabolic rate follows light cues, so matching the season reduces stress.
Monitoring Plant Feedback
Healthy Monstera leaves are deep green, firm, and develop splits as they mature. Pale, yellowing, or overly elongated leaves signal insufficient light. Brown tips or crispy edges often mean the light is too close or too intense. Adjust height or dimmer accordingly.
Using a Light Meter (Optional)
A handheld PAR meter gives precise PPFD readings. Place the sensor at leaf level, center of the canopy. Aim for the 200‑400 µmol m⁻² s⁻¹ window. If you don’t have a meter, the visual cues above are reliable guides.
Common Mistakes and How to Avoid Them
Mounting Too Low
Placing the fixture closer than 10 inches creates hot spots that burn leaf tissue. Always respect the 12‑18 inch rule and verify with a hand test—if the back of your hand feels warm after 10 seconds, it’s too close.
Running Lights 24/7
Plants need a dark period for respiration and hormone reset. Continuous light leads to oxidative stress and weak growth. Stick to the 12‑14 hour schedule.
Ignoring Humidity
Bright light increases transpiration. If the air is dry, leaf edges crisp. Pair your lighting setup with a humidifier or a pebble tray to keep relative humidity around 60 %.
Using the Wrong Spectrum
Pure red or pure blue panels skew development. Monstera needs a balanced mix for both leaf expansion and fenestration. Choose full‑spectrum or a verified “veg + bloom” blend.
Neglecting Cleaning
Dust on the lens cuts output by up to 15 %. Wipe the fixture with a microfiber cloth monthly. A clean lens keeps PPFD stable and extends LED lifespan.
Over‑Watering Because of Faster Growth
More light means the plant drinks more, but the soil still needs to dry slightly between waterings. Check the top 2 inches of soil before adding water. A moisture meter helps avoid soggy roots.
Conclusion
Adding wall‑mounted grow lights for monstera deliciosa indoor is one of the smartest upgrades you can make for a tropical houseplant. The fixtures free up floor space, deliver even, full‑spectrum illumination, and run cool enough to keep your leaves safe. By selecting a quality LED panel, mounting it at the proper height, and running a consistent 12‑14 hour schedule, you give your Monstera the energy it needs to unfurl those iconic, hole‑punched leaves.
Remember to start slow, watch the plant’s feedback, and adjust height or intensity as the seasons change. Pair the light with good humidity, proper watering, and a well‑draining mix, and you’ll enjoy a vigorous, architectural Monstera that becomes the centerpiece of any room. Happy growing!
Frequently Asked Questions
What is the ideal PPFD for Monstera deliciosa under artificial light?
Aim for 200‑400 µmol m⁻² s⁻¹ at canopy level. This range supports strong leaf expansion and the development of characteristic holes.
Can I use a regular household LED bulb instead of a horticultural panel?
Standard bulbs lack the necessary intensity and spectrum. Horticultural LEDs deliver the right wavelengths and PPFD for healthy growth.
How often should I clean the grow‑light lens?
Wipe the lens with a dry microfiber cloth once a month to maintain maximum light output.
Is a timer necessary for wall‑mounted grow lights?
Yes. A timer automates the 12‑14 hour photoperiod, preventing accidental overexposure and ensuring consistency.
What humidity level pairs well with supplemental lighting?
Keep relative humidity around 60 % to offset increased transpiration from brighter light.
Can I mount the light on a ceiling instead of a wall?
Ceiling mounting works if you can keep the 12‑18 inch distance, but wall brackets are usually easier to adjust as the plant grows.