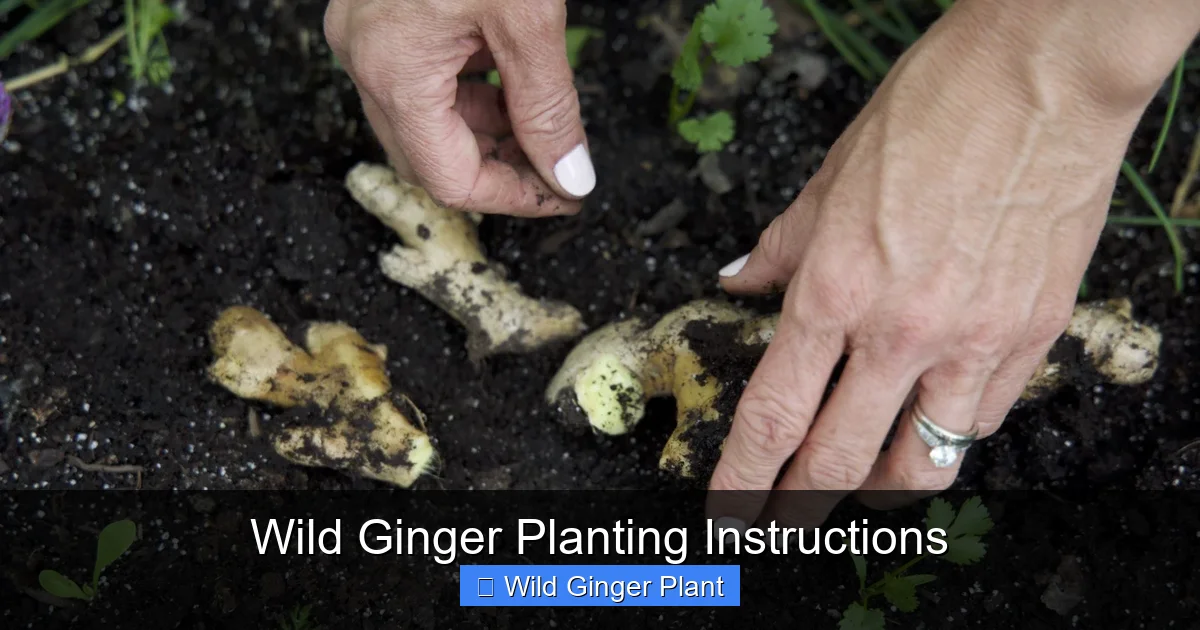
Wild Ginger Planting Instructions
Wild ginger (Asarum canadense) is a stunning native groundcover perfect for shady woodland gardens. This guide covers everything you need to know about wild ginger planting instructions, from choosing the right location and preparing soil to ongoing care and propagation. Follow these steps to establish a lush, low-maintenance carpet of heart-shaped leaves.
If you have a shady spot in your garden where grass refuses to grow and hostas seem to sulk, let me introduce you to a plant that will change everything. Wild ginger is one of those native treasures that makes you wonder why you ever struggled with anything else. This low-growing perennial creates a living carpet of deep green, heart-shaped leaves that look fresh from early spring until hard frost. Better yet, it asks for very little in return.
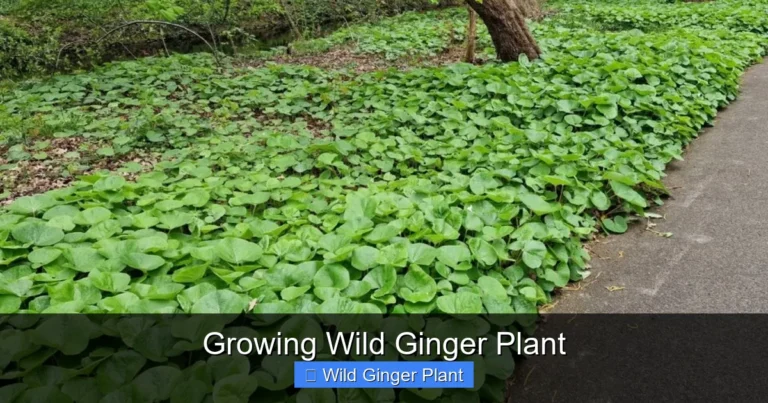
I first discovered wild ginger on a hike through a local nature preserve. The forest floor was covered in it, a seamless green quilt stretching between trunks of oak and maple. No bare soil showed through. No weeds poked up. Just perfect, tidy foliage that seemed to take care of itself. That image stuck with me, and when I finally tried growing it in my own shady side yard, I understood the magic. Once established, wild ginger truly is a plant-and-forget groundcover. But getting it established? That is where good wild ginger planting instructions make all the difference.
Key Takeaways
- Plant in full to partial shade: Wild ginger thrives under deciduous trees where it gets dappled light in spring and full shade in summer.
- Rich, moist soil is essential: Amend planting areas with compost and leaf mold to mimic the forest floor conditions this native plant loves.
- Space plants 12 to 18 inches apart: This allows room for rhizomes to spread and form a dense groundcover within two to three years.
- Plant in early spring or fall: Cool, moist weather helps roots establish before summer heat or winter freeze.
- Water consistently during the first season: Keep soil evenly moist but not soggy until plants are well established.
- Mulch with shredded leaves: A two-inch layer retains moisture, suppresses weeds, and adds organic matter as it breaks down.
- Divide clumps every three to four years: This rejuvenates older plantings and gives you free plants for new garden areas.
Quick Answers to Common Questions
How fast does wild ginger spread?
Wild ginger spreads slowly at first, about six to twelve inches per year. Once established, a healthy patch can expand more quickly, forming a dense carpet within three to five years depending on spacing and conditions.
Can wild ginger grow in deep shade?
Yes, wild ginger thrives in deep shade under deciduous trees or on the north side of buildings. It actually prefers full shade in summer, though it benefits from some dappled light in early spring before trees leaf out.
Is wild ginger invasive?
No, wild ginger is not invasive. It spreads gradually by rhizomes and stays where you plant it. Unlike aggressive non-native groundcovers, it does not climb trees, smother shrubs, or escape into natural areas.
Do I need to cut back wild ginger in fall?
No, wild ginger does not need cutting back. The foliage dies back naturally after hard frost and decomposes into mulch. Leaving it in place protects the rhizomes over winter and adds organic matter to the soil.
Can I walk on wild ginger?
Wild ginger tolerates occasional light foot traffic but not regular walking. For garden paths, plant it alongside stepping stones rather than directly in the travel lane. Constant trampling will create bare paths through the patch.
📑 Table of Contents
- Understanding Wild Ginger Before You Plant
- Choosing the Perfect Location
- When to Plant Wild Ginger
- Step-by-Step Wild Ginger Planting Instructions
- First-Year Care: Getting Plants Established
- Long-Term Maintenance and Propagation
- Troubleshooting Common Issues
- Designing with Wild Ginger
- Wild Ginger Varieties to Consider
- Conclusion
Understanding Wild Ginger Before You Plant
What Is Wild Ginger?
Wild ginger (Asarum canadense) is a native North American perennial found throughout eastern woodlands from Canada down to the southeastern United States. Despite its common name, it is not related to culinary ginger (Zingiber officinale). The name comes from the spicy, ginger-like scent released when you crush the roots or rhizomes. Indigenous peoples used the roots as a flavoring and for medicinal purposes, but modern gardeners grow it primarily for its ornamental foliage.
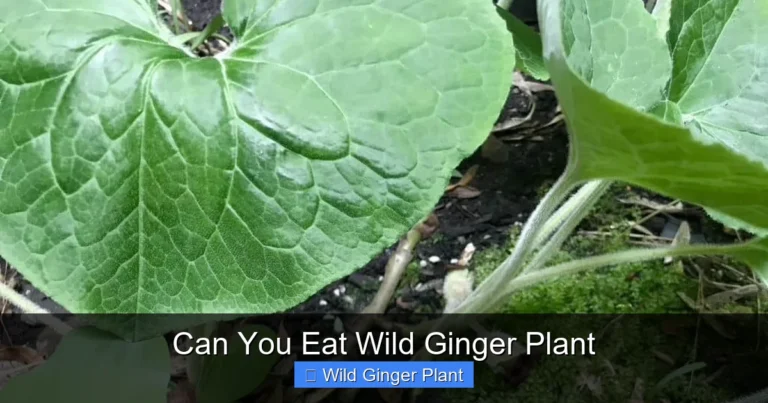
The plant grows six to twelve inches tall and spreads slowly by underground rhizomes. Each plant produces a pair of large, kidney-shaped or heart-shaped leaves that can reach six inches across. The leaves have a soft, almost velvety texture and a rich, deep green color that holds beautifully all season. In spring, unusual jug-shaped flowers appear at ground level, hidden beneath the foliage. These flowers are pollinated by beetles and flies attracted to their earthy scent.
Why Choose Wild Ginger for Your Garden
Wild ginger solves so many shade garden problems at once. It thrives in dry shade once established, a condition that defeats most plants. It outcompetes weeds by forming a dense mat that blocks light from reaching the soil surface. It provides habitat for beneficial insects and serves as a host plant for the pipevine swallowtail butterfly. And unlike aggressive non-native groundcovers such as English ivy or periwinkle, wild ginger stays where you put it and plays nicely with other native plants.
Deer and rabbits typically leave it alone thanks to the aromatic compounds in the foliage. It has no serious pest or disease issues. And because it is native, it supports local ecology in ways that exotic groundcovers simply cannot. If you are building a wildlife-friendly garden, a shade border, or a woodland path edging, wild ginger belongs on your list.
Choosing the Perfect Location
Light Requirements
Wild ginger grows naturally on the forest floor, so it is adapted to shade. But not all shade is created equal. The ideal spot receives dappled sunlight in early spring before the trees leaf out, then full shade for the rest of the growing season. This mimics the conditions in a deciduous woodland where wild ginger evolves. Morning sun with afternoon shade works well. Deep, year-round shade under evergreens or on the north side of a building is also fine, though growth may be slower.
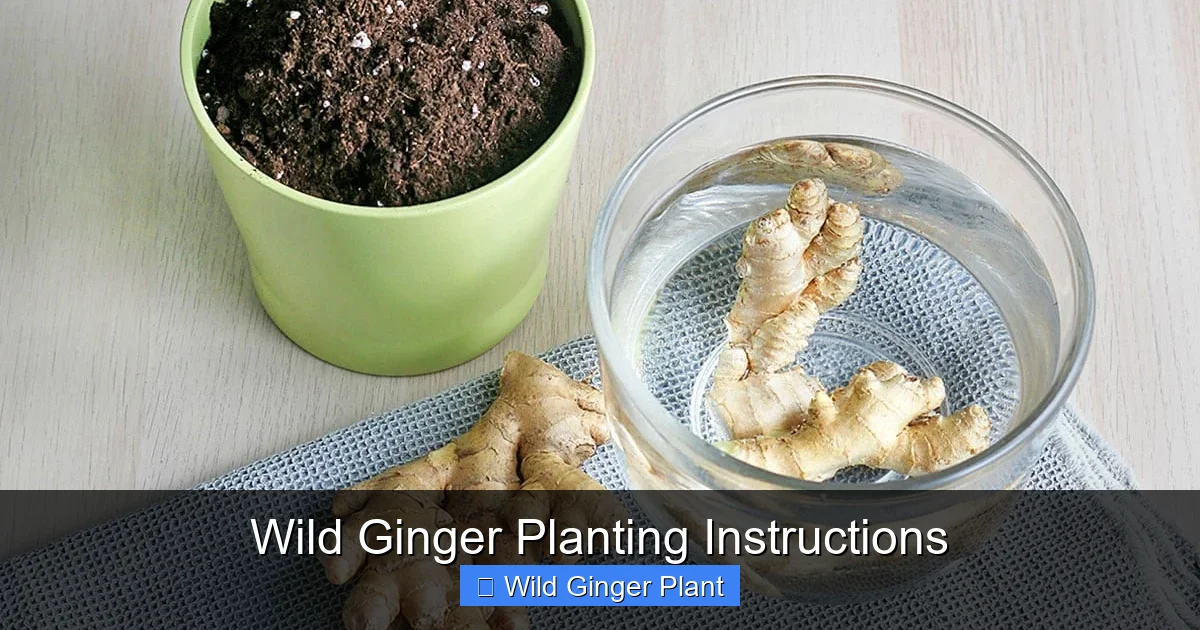
Visual guide about Wild Ginger Planting Instructions
Image source: getbusygardening.com
Avoid full sun, especially in hot climates. The leaves will scorch and turn yellow-brown by midsummer. If your only shady spot gets a few hours of intense afternoon sun, wild ginger will struggle. In that case, consider planting it where taller perennials or shrubs can cast protective shade during the hottest part of the day.
Soil Conditions
This is where many gardeners go wrong. Wild ginger wants soil that feels like a forest floor: rich in organic matter, moisture-retentive but well-drained, and slightly acidic. Heavy clay that stays soggy after rain will rot the rhizomes. Pure sand that dries out in a day will stress the plants. The sweet spot is a loamy soil amended with plenty of compost, leaf mold, or well-rotted manure.
Test your soil pH if you are unsure. Wild ginger prefers a range of 5.5 to 6.5. Most woodland soils fall naturally in this range. If your soil is strongly alkaline, incorporate elemental sulfur or pine needle mulch to gradually lower the pH. But do not obsess over exact numbers. Good organic matter matters more than perfect pH.
Moisture and Drainage
Consistent moisture is key during establishment. Wild ginger does not want to sit in standing water, but it also does not want to dry out completely. Think of a wrung-out sponge. That is the moisture level to aim for. In its native habitat, the thick layer of leaf litter acts as a natural mulch, keeping the soil evenly moist. You will need to replicate this with mulch in your garden.
If your site tends to be dry, plan on supplemental watering during the first growing season and during droughts thereafter. Once the rhizomes form a thick mat, the plants become surprisingly drought-tolerant. But they will always look their best with regular moisture.
When to Plant Wild Ginger
Spring Planting Advantages
Early spring is an excellent time to plant wild ginger. The soil is naturally moist from winter precipitation. Temperatures are cool, reducing transplant shock. Plants have the entire growing season to establish roots before winter. Aim to plant as soon as the soil can be worked, typically when daytime temperatures reach the 50s Fahrenheit. In most regions, this means March through May.
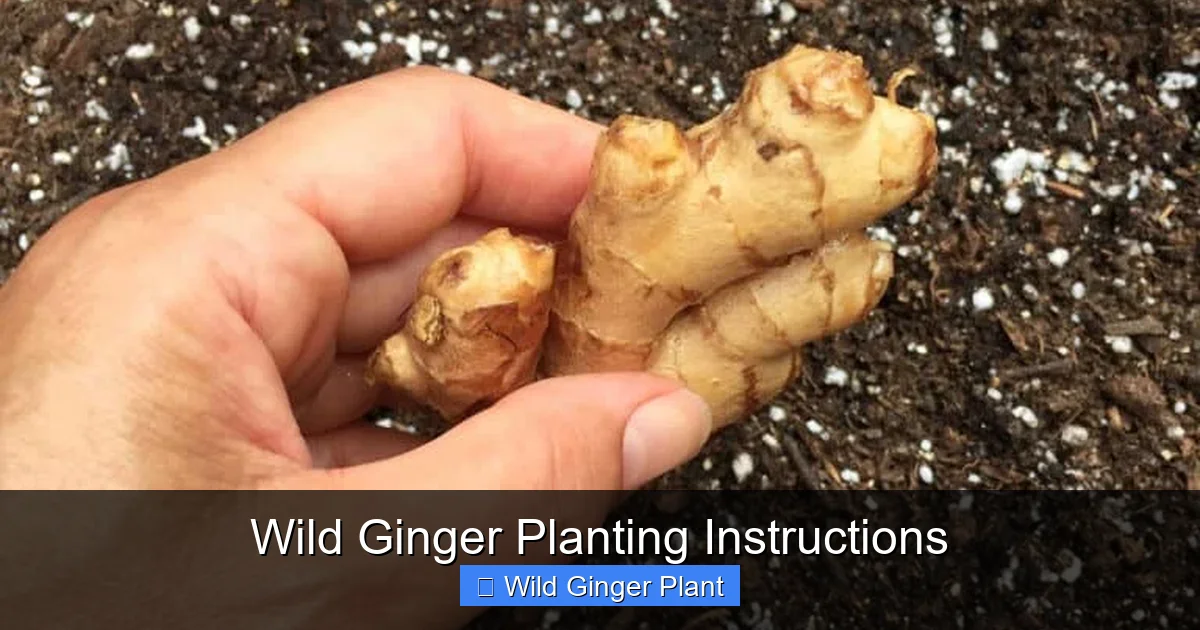
Visual guide about Wild Ginger Planting Instructions
Image source: getbusygardening.com
Spring-planted wild ginger often shows visible growth within weeks. You will see new leaves unfurling, a satisfying sign that the plants are happy. Just be prepared to water if spring turns dry. New plantings have limited root systems and cannot access deep soil moisture.
Fall Planting Benefits
Fall is equally good, and some gardeners prefer it. Soil temperatures remain warm well into autumn, encouraging root growth even as top growth slows. Cooler air temperatures mean less water stress. Fall rains often provide consistent moisture. And plants get a head start on spring, ready to take off at the first warm days.
Plant at least six weeks before your average first hard frost date. This gives roots time to anchor before the ground freezes. In northern zones, early September is ideal. In southern zones, you can plant through October or even into November. Mulch heavily after fall planting to prevent frost heaving, which can push shallow rhizomes out of the ground.
When Not to Plant
Avoid planting during summer heat. High temperatures and intense sun stress new transplants terribly. If you absolutely must plant in summer, provide temporary shade with a shade cloth or board, and water daily. Winter planting is only possible in regions where the ground does not freeze. Even then, plants will sit dormant until spring, gaining little advantage over spring planting.
Step-by-Step Wild Ginger Planting Instructions
Prepare the Planting Area
Start by clearing the area of existing vegetation. Remove grass, weeds, and aggressive groundcovers completely. Dig out roots of persistent weeds like bindweed or thistle. If the area is large, you can smother vegetation with cardboard and mulch for a few months before planting. This no-dig approach preserves soil structure and adds organic matter.
Once the area is clear, loosen the soil to a depth of eight to ten inches. A garden fork works better than a tiller here. It aerates without destroying soil structure or bringing up weed seeds. If your soil is compacted clay, this step is crucial. Wild ginger rhizomes need to travel horizontally just below the surface. They cannot penetrate hardpan.
Amend the Soil Generously
This is the most important step in wild ginger planting instructions. Spread a three to four inch layer of organic matter over the loosened soil. Use compost, leaf mold, well-rotted manure, or a mix of these. Leaf mold is especially good because it mimics the forest floor. Work it into the top six inches of soil with your fork. The goal is a planting bed that feels light, spongy, and rich.
If you are planting into an existing garden bed with decent soil, you can simply amend each planting hole individually. But for a new groundcover area, blanket amendment pays off in faster fill-in and healthier plants.
Layout and Spacing
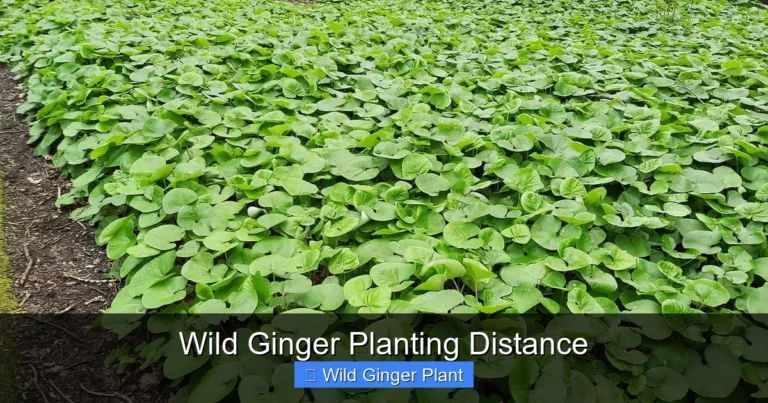
Space plants twelve to eighteen inches apart in a staggered grid pattern. This looks more natural than straight rows and encourages faster coverage. For a twelve-inch spacing, you need one plant per square foot. For eighteen-inch spacing, one plant per 2.25 square feet. Closer spacing gives quicker coverage but costs more upfront. Wider spacing saves money but requires more weeding while plants fill in.
Lay out your pots in the desired pattern before digging any holes. Step back and look. Adjust spacing as needed. This is much easier than moving plants after they are in the ground.
Plant at the Right Depth
Dig each hole just deep enough so the top of the rhizome sits at or slightly below the soil surface. This is critical. Plant too deep, and the crown may rot. Plant too shallow, and the rhizome dries out. The growing buds on the rhizome should be barely covered. If you are planting divisions with visible roots, spread the roots out horizontally in the hole rather than letting them bunch up vertically.
Backfill with your amended soil. Firm gently with your hands to eliminate air pockets. Do not stomp with your foot. Wild ginger rhizomes are shallow and easily damaged.
Water Thoroughly
Water each plant deeply right after planting. Use a gentle stream or watering can rose to avoid washing away soil. You want the water to penetrate the full depth of the planting hole and moisten the surrounding amended soil. This settles the soil around the rhizome and ensures good root-to-soil contact.
Mulch Immediately
Apply a two-inch layer of shredded leaves, pine needles, or fine bark mulch. Keep mulch pulled back slightly from the crown of each plant to prevent rot. Shredded leaves are ideal because they break down quickly, feeding the soil. Whole leaves can mat down and shed water. If you only have whole leaves, run them through a mower or leaf shredder first.
Mulch does three things: conserves moisture, suppresses weeds, and slowly builds the organic matter that wild ginger loves. Replenish annually in fall as the previous layer decomposes.
First-Year Care: Getting Plants Established
Watering Schedule
The first growing season is all about root development. Check soil moisture every few days by sticking your finger two inches into the soil near a plant. If it feels dry at that depth, water deeply. Aim for one inch of water per week from rain and irrigation combined. A soaker hose or drip irrigation line covered by mulch is perfect. It delivers water directly to the root zone without wetting foliage.
Do not rely on sprinklers. They wet the leaves, encouraging fungal issues, and much of the water evaporates before reaching the soil. Hand watering works fine for small plantings. Just take your time and water slowly so it soaks in.
Weed Management
Weeds are your biggest enemy during establishment. Wild ginger grows slowly at first. Weeds grow fast. Pull weeds by hand while they are small, being careful not to disturb the shallow rhizomes. The mulch layer helps enormously, but some weeds will still push through. Do not use herbicides anywhere near wild ginger. The broad leaves absorb chemicals easily, and the rhizomes can translocate damage to the whole patch.
If weeds get ahead of you, cut them off at ground level rather than pulling large root systems that might yank up your wild ginger. Persistent cutting eventually exhausts weed roots.
Fertilizing: Less Is More
Wild ginger does not need fertilizer if you amended the soil well at planting. In fact, high-nitrogen fertilizers encourage lush, weak growth that is more susceptible to pests and disease. If your soil is poor and plants look pale or stunted, apply a light top-dressing of compost in early spring. Or use a slow-release organic fertilizer with a low nitrogen ratio, something like 3-4-4. Apply at half the recommended rate.
Better yet, just add an extra inch of leaf mulch each fall. The nutrients released as it decomposes are perfectly balanced for woodland plants.
Dealing with Pests and Problems
Slugs and snails occasionally nibble wild ginger leaves, especially in wet springs. You will see irregular holes with smooth edges. Beer traps, copper tape, or diatomaceous earth around the planting area help. Encourage natural predators like toads and ground beetles by providing habitat.
Fungal leaf spots sometimes appear in very wet, humid conditions with poor air circulation. Remove affected leaves and thin nearby plants to improve airflow. Avoid overhead watering. Serious outbreaks are rare in healthy plantings.
If plants simply disappear, voles may be eating the rhizomes. These small rodents tunnel just below the surface. Hardware cloth barriers buried six inches deep can protect valuable plantings. Cats and owls are your best long-term vole control.
Long-Term Maintenance and Propagation
Annual Care Routine
Once established, wild ginger asks for almost nothing. In early spring, gently rake off any heavy leaf mats that might smother emerging growth. A light layer of leaves is fine and beneficial. Apply fresh mulch if the old layer has decomposed down to less than an inch.
During summer, water only during extended droughts. Established patches can go weeks without rain and bounce back beautifully. In fall, let the leaves stay where they fall. They are free mulch and winter protection. If you prefer a tidier look, shred the leaves first and spread them back over the patch.
That is it. No deadheading, no pruning, no dividing required unless you want more plants.
Dividing Wild Ginger
Division is the easiest way to propagate wild ginger and rejuvenate older clumps. Do it in early spring just as new growth appears, or in early fall. Dig up a clump with a garden fork, keeping as much soil on the roots as possible. Gently pull or cut the rhizomes apart into sections, each with at least one growing bud and some roots attached.
Replant divisions immediately following the same wild ginger planting instructions. Water well and mulch. Divisions often establish faster than nursery plants because they already have a mature root system. You can divide a healthy patch every three to four years indefinitely.
Growing from Seed
Wild ginger seeds require double dormancy breaking: a warm period followed by a cold period. In nature, seeds ripen in summer, experience warm soil, then winter cold, and germinate the second spring. You can mimic this by sowing fresh seeds in pots in summer, leaving them outdoors through winter, and waiting for spring germination. Or mix seeds with moist sand in a plastic bag, keep at room temperature for sixty days, then refrigerate for sixty days, then sow.
Seed-grown plants take three to four years to reach transplant size. Most gardeners stick with division. But growing from seed is rewarding if you want genetic diversity or large numbers of plants cheaply.
Companion Planting Ideas
Wild ginger plays well with many shade-loving natives. Pair it with foamflower (Tiarella cordifolia) for contrasting leaf texture and spring flowers. Plant it under wild columbine (Aquilegia canadensis) for a layered effect. Edge a path with wild ginger and let Virginia bluebells (Mertensia virginica) naturalize through it for a spring spectacle.
Ferns make excellent companions. Christmas fern (Polystichum acrostichoides) stays evergreen, providing winter structure. Maidenhair fern (Adiantum pedatum) adds delicate texture. Both enjoy the same conditions. For late-season color, add white wood aster (Eurybia divaricata) or zigzag goldenrod (Solidago flexicaulis). They grow through the ginger without overwhelming it.
Troubleshooting Common Issues
Yellowing Leaves
If leaves turn yellow during the growing season, check soil moisture first. Both overwatering and underwatering cause yellowing. Dig down a few inches. Soggy soil means improve drainage or water less. Dry soil means water more. Yellowing can also indicate nutrient deficiency in very poor soil. A light compost top-dressing usually fixes this.
Some yellowing in late summer is normal, especially in dry years. The plants are conserving energy. They will green up with fall rains.
Sparse Growth and Bare Patches
If your patch looks thin after two or three years, something is off. Most commonly, the soil is too dry, too compacted, or too low in organic matter. Wild ginger spreads by rhizomes that creep just below the surface. They cannot penetrate hard soil or cross dry gaps. Amend the bare areas with compost and leaf mold, water consistently, and consider planting a few divisions to jump-start fill-in.
Too much sun can also cause sparse growth. The plants survive but do not thrive. If a tree was removed and the area gets more sun now, you may need to add shade cloth or transplant to a shadier spot.
Plants Disappearing Over Winter
If healthy plants vanish by spring, suspect voles or frost heaving. Voles eat rhizomes under snow cover. Frost heaving pushes shallow rhizomes out of the ground where they dry out and die. Heavy fall mulch prevents both problems. Apply three to four inches of shredded leaves after the ground freezes. This keeps soil temperature stable and hides rhizomes from voles.
In very cold zones (USDA 3-4), wild ginger benefits from reliable snow cover. If your site is windswept and loses snow, add extra mulch or a layer of evergreen boughs after freeze-up.
Designing with Wild Ginger
Groundcover Carpets
The classic use is a solid carpet under trees or along shaded borders. Plant in drifts of odd numbers: three, five, seven, or more. Let the drifts flow into each other like a river. This looks far more natural than a blocky rectangle. Edge the drift with a few specimen plants: a fern, a shrub, a large hosta. The wild ginger becomes the living mulch that ties everything together.
For a woodland garden path, plant wild ginger on both sides right up to the stepping stones. The foliage softens the edges and invites bare feet. It tolerates occasional foot traffic, though constant trampling will wear paths through it.
Container Planting
Wild ginger grows beautifully in containers, which lets you enjoy it on a shaded porch or patio. Use a wide, shallow pot at least twelve inches across. Fill with a high-quality potting mix amended with compost and fine bark. Plant three to five divisions per pot. Water regularly. Containers dry out faster than ground soil.
In winter, move pots to an unheated garage or bury them in the ground to protect roots from freeze-thaw cycles. Or treat them as annuals and replace each spring. Given the low cost of divisions from established patches, this is perfectly reasonable.
Rain Gardens and Wet Edges
While wild ginger prefers well-drained soil, it handles periodic wetness better than many shade plants. Plant it on the upper edges of a rain garden where soil stays moist but not saturated. It helps filter runoff and stabilizes soil with its rhizome network. Just avoid the bottom of the basin where water pools for days.
Wild Ginger Varieties to Consider
Asarum canadense: The Classic
This is the species described throughout this guide. Native to eastern North America, hardy in USDA zones 3-8, with large heart-shaped leaves and hidden spring flowers. It is the most widely available and easiest to grow. If you buy wild ginger without a variety name, this is what you get.
Asarum europaeum: European Wild Ginger
European wild ginger has smaller, shinier, more leathery leaves that stay evergreen in mild winters. It grows slower and forms a tighter, more formal mat. Hardy in zones 4-8. Some gardeners prefer its polished look. It tolerates slightly drier conditions once established. But it does not support North American insects the way our native species does.
Asarum caudatum: Western Wild Ginger
Native to the Pacific Northwest, this species has larger, more triangular leaves and showier flowers with long, tail-like tips. Hardy in zones 6-9. It prefers cooler summers and more consistent moisture than eastern wild ginger. A beautiful choice for western gardeners.
Asarum splendens: Chinese Wild Ginger
This species offers stunning silver-marked leaves that light up a shade garden. Hardy in zones 5-9. It is slower to spread and more expensive, but the foliage is spectacular. Use it as an accent among the plain green native species.
Conclusion
Wild ginger is one of those plants that makes you a better gardener by teaching you to work with nature instead of against it. When you follow good wild ginger planting instructions, you are essentially recreating a slice of forest floor. You build soil. You conserve moisture. You choose the right plant for the place. And then you step back and let the plant do what it evolved to do: cover the ground, suppress weeds, support wildlife, and look gorgeous while asking almost nothing in return.
Start with a small patch if you are unsure. Watch it through the seasons. Notice how the leaves emerge fuzzy and folded in early spring, unfurling like green umbrellas. See how they stay pristine through summer heat while other plants wilt. Observe the subtle flowers at ground level, a secret world most gardeners never notice. And when the patch has spread enough to share, dig a few divisions for a friend. Pass along the plant and the knowledge. That is how native plants reclaim our landscapes, one garden at a time.
Your shady spot is waiting. The wild ginger is ready. All that is left is to plant.
Frequently Asked Questions
What is the best time of year to plant wild ginger?
Early spring and early fall are both excellent times to plant wild ginger. Spring planting gives plants a full growing season to establish before winter. Fall planting allows root growth in warm soil while air temperatures are cool. Avoid summer planting due to heat stress.
How far apart should I space wild ginger plants?
Space wild ginger plants twelve to eighteen inches apart in a staggered grid pattern. Closer spacing (twelve inches) provides faster groundcover fill-in but requires more plants. Wider spacing (eighteen inches) is more economical but takes longer to form a solid mat.
What kind of soil does wild ginger need?
Wild ginger needs rich, moisture-retentive, well-drained soil with plenty of organic matter. Amend planting areas with three to four inches of compost, leaf mold, or well-rotted manure worked into the top six to eight inches. Slightly acidic soil (pH 5.5-6.5) is ideal.
How often should I water newly planted wild ginger?
Water newly planted wild ginger deeply whenever the top two inches of soil feel dry, typically once or twice per week during the first growing season. Established plants only need watering during extended droughts. Consistent moisture during establishment is crucial for success.
Does wild ginger flower, and are the flowers showy?
Wild ginger produces small, jug-shaped flowers in spring that are hidden beneath the foliage at ground level. They are not showy but are interesting up close. The flowers are pollinated by beetles and flies and develop into seeds that ants disperse.
Can wild ginger be grown in containers?
Yes, wild ginger grows well in wide, shallow containers at least twelve inches across. Use high-quality potting mix amended with compost. Water regularly as containers dry out faster than ground soil. Protect containers in winter by moving to an unheated garage or burying in the ground.