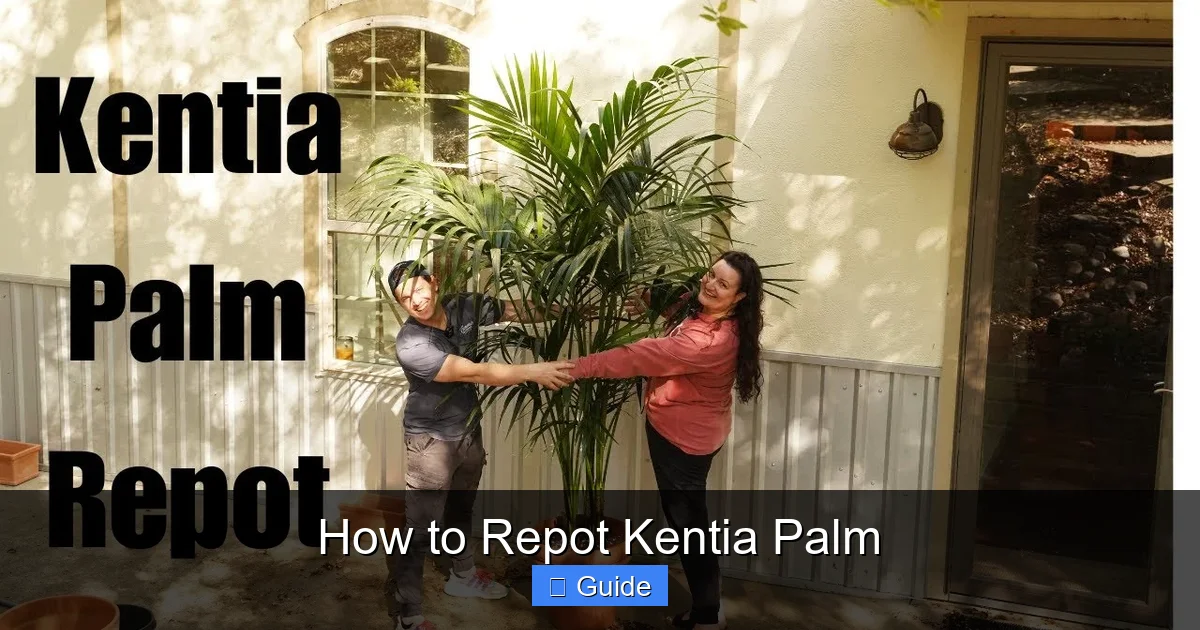
How to Repot Kentia Palm
Repotting a kentia palm is easy when you follow the right steps. Choose a slightly larger pot, use well‑draining soil, and water thoroughly after the move. With proper light and care, your palm will thrive for years.
When you learn how to repot kentia palm, you give the plant room to grow. A larger pot lets roots spread and absorb water better. Fresh soil adds nutrients that the old mix lost. This simple step keeps the palm healthy and green. Follow the steps below for success.
Before you start how to repot kentia palm, gather all tools and materials. You need a new pot, fresh potting mix, a trowel, and clean scissors. A watering can helps settle the soil after planting. Having everything ready saves time and reduces stress on the plant. Prepare a clean workspace for the job.
Choosing the right time for how to repot kentia palm makes a big difference. Spring is ideal because the palm enters active growth. Avoid repotting in winter when growth slows. A healthy plant recovers faster from the move. Plan the task for a mild morning.
Key Takeaways
- Timing Matters: Repot in spring when the plant is actively growing.
- Pot Size: Choose a pot only one to two inches larger than the current one.
- Soil Mix: Use a well‑draining blend with peat, perlite, and sand.
- Root Care: Gently loosen and trim any circling roots before planting.
- Water Wisely: Water thoroughly after repotting, then let the top inch dry.
- Light and Feed: Place in bright indirect light and feed monthly during growing season.
Quick Answers to Common Questions
When is the best time to repot a kentia palm?
Spring is the ideal season because the plant is actively growing and recovers quickly.
What size pot should I use when repotting?
Choose a pot only one to two inches larger in diameter than the current container.
Which soil mix works best for kentia palms?
A blend of peat moss, perlite, and coarse sand in equal parts provides excellent drainage.
How often should I water after repotting?
Water thoroughly once, then allow the top inch of soil to dry before the next watering.
Can I fertilize immediately after repotting?
Wait about four weeks before applying a diluted balanced fertilizer to avoid root burn.
📑 Table of Contents
Why Repotting Matters for Kentia Palm
Root Health and Growth
Healthy roots are the key when you understand how to repot kentia palm. A cramped pot forces roots to circle and choke each other. Fresh soil gives space for new root tips to form. Strong roots absorb water and nutrients more efficiently. This leads to lush fronds and steady growth.
When you see slow growth, think about how to repot kentia palm to refresh the root zone. Old soil can become compacted and hold too much water. Replacing it improves drainage and aeration. The palm will respond with new shoots within weeks. Regular repotting every two years prevents decline.
Preventing Pot Bound Issues
A pot bound palm suffers when you ignore how to repot kentia palm at the right time. Roots fill the container and cannot expand. This causes yellow leaves and stunted height. Moving to a slightly larger pot solves the problem quickly. Check the root ball each spring for crowding.
Prevent future binding by learning how to repot kentia palm before roots circle the pot. Choose a container only one size up. Use a well‑draining mix to keep roots healthy. Water thoroughly after the move to settle soil. This habit keeps the palm vigorous for years.
When to Repot Your Kentia Palm
Signs It Is Time
Look for clear signals that tell you how to repot kentia palm soon. Roots emerging from drainage holes mean the pot is full. Soil that dries out fast indicates lost volume. Yellowing lower fronds often show nutrient depletion. Act quickly when you see these clues.
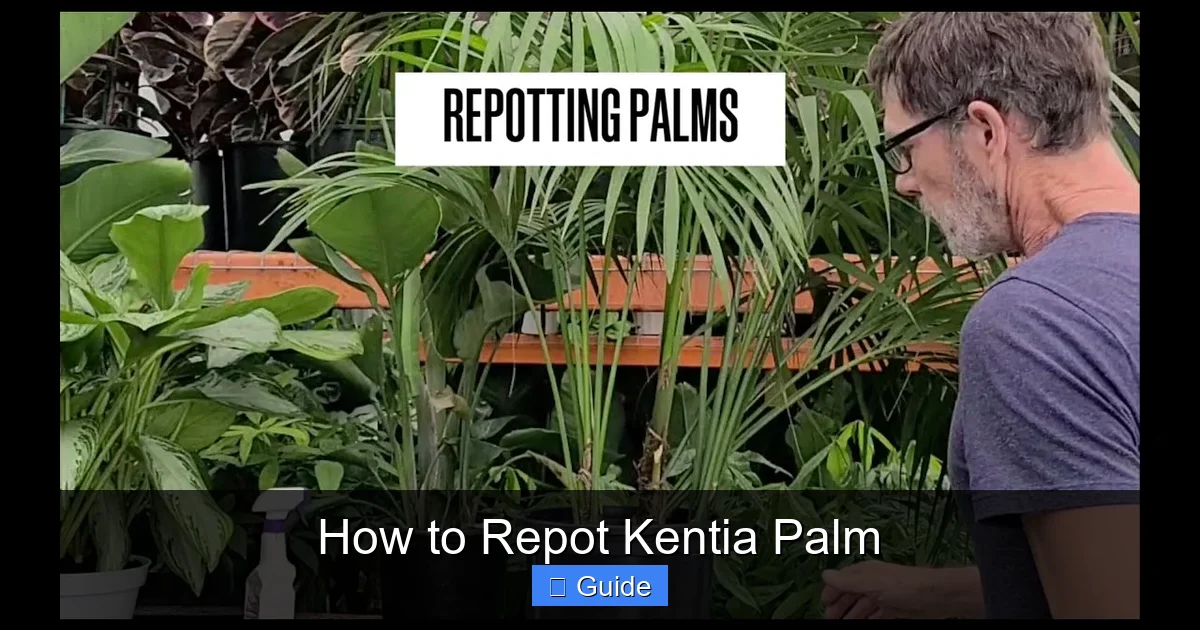
Visual guide about How to Repot Kentia Palm
Image source: i.ytimg.com
Another hint for how to repot kentia palm is a slowdown in new leaf production. The palm may pause growth when roots lack space. Check the pot weight; a heavy pot often means dense roots. If the plant leans, the root ball may be uneven. Repot to restore balance and vigor.
Best Season for Repotting
Spring remains the best season for how to repot kentia palm because growth hormones rise. Warm temperatures help the plant settle quickly. Avoid hot summer days that stress fresh roots. Early morning works well for a calm environment. Plan the task on a cloudy day if possible.
If you must repot in fall, still follow how to repot kentia palm guidelines for a smooth transition. Reduce watering a week before to let soil dry slightly. Keep the palm in bright indirect light after the move. Avoid fertilizer for the first month. This care helps the palm adjust before winter.
Choosing the Right Pot and Soil
Pot Size and Material
Select a pot that matches how to repot kentia palm rules for size and material. A container one to two inches wider gives roots room. Terracotta breathes and prevents soggy soil. Plastic retains moisture longer for dry climates. Ensure the pot has drainage holes at the bottom.
When you follow how to repot kentia palm, avoid overly large pots that hold excess water. Too much soil stays wet and causes root rot. A snug fit encourages healthy root density. Choose a sturdy pot that won’t tip over. A stable base supports the tall fronds.
Soil Mix for Good Drainage
A proper mix is essential for how to repot kentia palm success. Combine peat moss, perlite, and coarse sand in equal parts. This blend drains fast yet holds enough moisture. Add a handful of compost for slow‑release nutrients. Mix thoroughly before filling the new pot.
Test the drainage by watering the mix before you use how to repot kentia palm steps. Water should run out within seconds. If it pools, add more perlite or sand. Good drainage prevents fungal issues. Your palm will thank you with steady growth.
Step-by-Step Guide: How to Repot Kentia Palm
Gather Your Tools
Start the process by collecting everything you need for how to repot kentia palm. You need a new pot, fresh soil, a trowel, clean scissors, and a watering can. Lay down newspaper to catch spills. Wear gloves to protect your hands. Having tools ready makes the job smooth.
Double‑check that the new pot matches how to repot kentia palm size guidelines. It should be only slightly larger than the old one. Clean the pot with mild soap and rinse well. Let it dry before adding soil. A clean pot reduces disease risk.
Remove the Palm from Its Current Pot
Gently tip the container and slide the palm out using how to repot kentia palm technique. Tap the sides to loosen the root ball. Support the base with one hand while pulling. Avoid yanking the fronds. A careful removal protects delicate roots.
If the plant resists, run a knife around the inner edge to free it for how to repot kentia palm. Do not force the root ball; that can tear roots. Once loose, set the palm on a clean surface. Inspect the roots for damage. Trim any black or mushy parts.
Inspect and Trim Roots
Examine the root system closely as part of how to repot kentia palm care. Healthy roots are white and firm. Cut away any circling or dead roots with sterile scissors. This encourages new growth outward. A clean root ball settles better in fresh soil.
After trimming, dust the cuts with cinnamon to prevent fungus during how to repot kentia palm. Cinnamon acts as a natural antifungal. Let the roots air dry for a few minutes. This simple step reduces infection risk. Then proceed to potting.
Place the Palm in the New Pot
Add a layer of soil to the bottom of the pot before you follow how to repot kentia palm placement. Position the palm so the root crown sits at the same level as before. Center the plant for balanced growth. Hold it steady while you fill around the sides. This avoids tilting later.
Check the depth again after you set the palm using how to repot kentia palm guidelines. The top of the root ball should be just below the rim. Adjust by adding or removing soil as needed. A proper level prevents water pooling at the base. This ensures even moisture distribution.
Fill with Soil and Water
Fill the remaining space with the prepared mix while you complete how to repot kentia palm. Lightly tamp the soil to remove air pockets. Do not compact too hard; roots need oxygen. Leave a half‑inch gap at the top for watering. This space prevents overflow.
Water thoroughly until it drains out the bottom after you finish how to repot kentia palm. This settles the soil around the roots. Allow excess water to escape completely. Place the pot in bright indirect light. Avoid direct sun for the first week.
Aftercare: Watering, Light, and Fertilizing
Watering Schedule
Establish a consistent watering routine as part of how to repot kentia palm aftercare. Check the top inch of soil; water when dry. Use room‑temperature water to avoid shock. Water until it runs out the drainage holes. Empty the saucer to prevent standing water.
During the first month after how to repot kentia palm, keep the soil slightly moist but not soggy. Reduce frequency as the plant establishes. In winter, water less often because growth slows. Always test soil before adding water. This prevents root rot.
Light Requirements
Provide bright indirect light for optimal recovery after how to repot kentia palm. A north‑facing window works well. Direct sun can scorch fresh leaves. Rotate the pot weekly for even exposure. Consistent light encourages strong frond development.
If natural light is low, supplement with a grow lamp during how to repot kentia palm recovery. Choose a full‑spectrum LED for best results. Keep the lamp 12 inches above the foliage. Run it 12 hours daily. This mimics outdoor conditions.
Fertilizing Tips
Wait four weeks before feeding after how to repot kentia palm to let roots settle. Use a balanced liquid fertilizer diluted to half strength. Apply once a month during the growing season. Stop fertilizing in late fall. Overfeeding can burn new roots.
Organic options like fish emulsion work well with how to repot kentia palm care. They release nutrients slowly and improve soil health. Apply according to label directions. Monitor leaf color for signs of deficiency. Adjust feeding as needed for vibrant growth.
Common Mistakes and Troubleshooting
Overwatering After Repotting
A common error is overwatering right after how to repot kentia palm. Wet soil suffocates fresh roots and invites fungus. Let the top inch dry before the next drink. Use a moisture meter if unsure. Proper watering builds strong root systems.
If leaves turn yellow and mushy, cut back watering immediately during how to repot kentia palm recovery. Remove any standing water from the saucer. Increase airflow around the pot. Allow the soil to dry more between waterings. The palm should bounce back in weeks.
Using the Wrong Soil
Choosing heavy garden soil is a mistake for how to repot kentia palm. It holds too much water and compacts quickly. Roots cannot breathe in dense media. Use a light, well‑draining mix instead. This change prevents root rot and stunted growth.
If you used the wrong mix, repot again with the correct blend for how to repot kentia palm. Gently remove the plant, shake off old soil, and inspect roots. Trim any damaged parts before replanting. Fresh mix restores drainage quickly. The palm will recover faster.
Ignoring Root Damage
Neglecting to check roots leads to trouble after how to repot kentia palm. Hidden rot spreads silently and kills the plant. Always examine the root ball before potting. Cut away any black or mushy sections. Healthy roots are essential for survival.
After trimming, dust cuts with cinnamon as a safeguard during how to repot kentia palm. This natural fungicide protects fresh wounds. Let the roots air dry briefly before planting. A clean start reduces disease risk. Your palm will thank you with new growth.
Following these steps shows you exactly how to repot kentia palm for lasting health. A proper pot, good soil, and careful handling make all the difference. Regular repotting every two years keeps the palm vigorous. Enjoy the tropical feel in your home. Happy gardening.
Remember to watch for signs that tell you how to repot kentia palm again in the future. Consistent care rewards you with lush fronds and steady growth. Share your success with fellow plant lovers. Keep learning and your indoor jungle will thrive. Thank you for reading.
Frequently Asked Questions
How do I know if my kentia palm is root bound?
Roots circling the pot, emerging from drainage holes, and slowed growth are clear signs of a root‑bound plant.
What should I do if the leaves turn yellow after repotting?
Reduce watering, ensure good drainage, and check for root rot; the plant usually recovers in a few weeks.
Is terracotta or plastic better for kentia palms?
Terracotta promotes airflow and prevents soggy soil, while plastic retains moisture; choose based on your climate.
Can I repot a kentia palm in winter?
It is possible but not ideal; the plant’s growth slows, making recovery slower and stress higher.
How deep should the root crown sit in the new pot?
Keep the root crown at the same level as before, just below the rim of the container.
What natural fungicide can I use on trimmed roots?
Cinnamon powder works well as a natural antifungal for fresh root cuts.