Complete Guide to Vermiculite for Dracaena
Vermiculite for dracaena improves soil aeration, moisture retention, and root health. This guide covers everything from mixing ratios to troubleshooting common issues for thriving plants.
If you love dracaena plants, you know they can be a bit picky about their soil. Too much water leads to root rot. Too little water causes brown tips. The secret to striking that perfect balance? Vermiculite for dracaena. This lightweight mineral has been a game-changer for my own collection of dragon trees, corn plants, and lucky bamboo. I want to share everything I have learned so you can skip the trial and error.
In this guide, we will walk through what vermiculite actually is, why your dracaena will thank you for using it, how to mix it properly, and how to troubleshoot common problems. Whether you are repotting a mature plant or starting cuttings, you will find practical tips you can use today. Let us dig in.
Key Takeaways
- Vermiculite improves drainage: It creates air pockets in soil that prevent waterlogging and root rot in dracaena plants.
- Ideal mixing ratio is 1:3: Combine one part vermiculite with three parts potting soil for optimal results.
- Retains moisture without sogginess: Vermiculite holds water and releases it slowly, keeping roots hydrated between waterings.
- Prevents soil compaction: The lightweight particles keep soil loose, allowing roots to expand and breathe easily.
- Neutral pH suits dracaena: Vermiculite has a neutral pH around 7.0, perfect for dracaena’s preferred range of 6.0 to 6.5.
- Sterile and disease-free: Heat-treated vermiculite won’t introduce pests, fungi, or weed seeds to your plants.
- Great for propagation: Use pure vermiculite or a 50/50 mix with perlite for rooting dracaena cuttings successfully.
Quick Answers to Common Questions
What is the best vermiculite to soil ratio for dracaena?
The ideal ratio is one part vermiculite to three parts potting soil for mature dracaena plants.
Can I use vermiculite alone for dracaena cuttings?
Yes, pure vermiculite works excellently for rooting dracaena cuttings because it stays evenly moist and sterile.
Does vermiculite prevent root rot in dracaena?
Vermiculite improves drainage and aeration which significantly reduces the risk of root rot in dracaena plants.
How often should I replace vermiculite in my dracaena pot?
Replace vermiculite every two to three years during repotting as it breaks down and loses effectiveness over time.
Is horticultural vermiculite safe from asbestos?
Modern horticultural vermiculite is tested and regulated, making it safe for plant use unlike old construction grades.
📑 Table of Contents
What Is Vermiculite and Why Does It Matter
The Basics of This Mineral
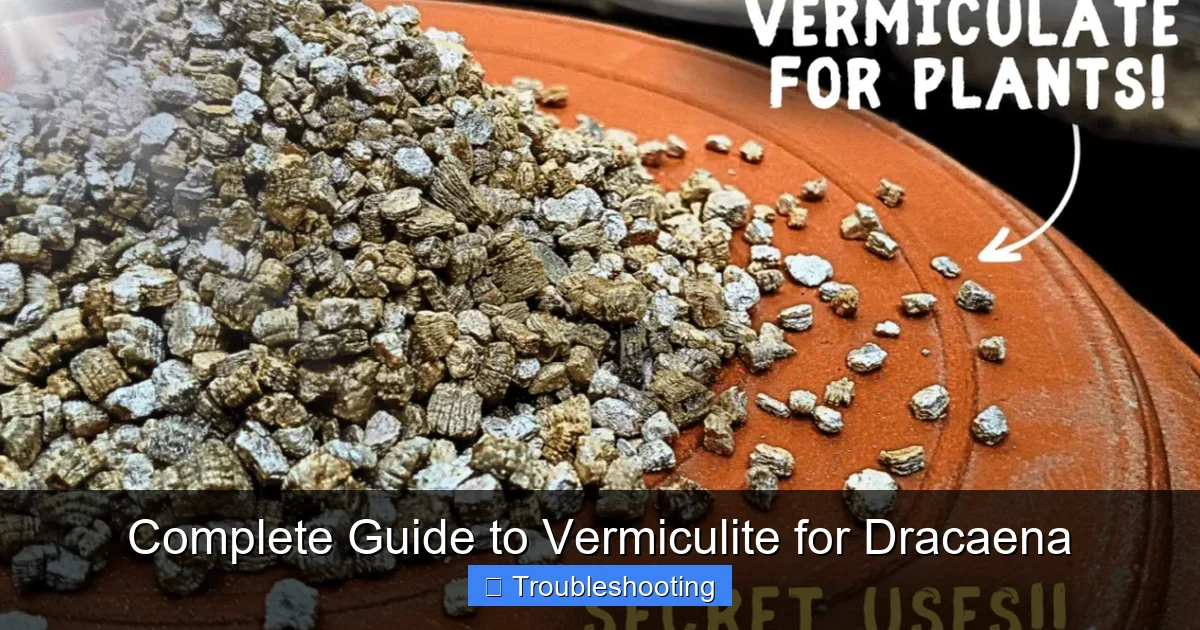
Vermiculite is a naturally occurring mineral that expands when heated. The raw material looks like shiny flakes or small rocks. When manufacturers heat it to high temperatures, it pops like popcorn. The result is a lightweight, accordion-shaped particle that holds water and air. You have probably seen it in seed-starting mixes or as loose fill in garden centers. It comes in different grades from fine to coarse. For dracaena, medium to coarse grades work best.
How It Differs From Perlite
Many people confuse vermiculite with perlite. They look similar but behave differently. Perlite is volcanic glass that also expands with heat. It creates excellent drainage but does not hold much water. Vermiculite acts more like a sponge. It absorbs water and nutrients, then releases them slowly. For dracaena, which likes consistent moisture but hates wet feet, vermiculite often works better alone or combined with a small amount of perlite.
Why Dracaena Specifically Benefits
Dracaena plants come from tropical regions with well-draining, humus-rich soil. They have thick, fleshy roots that store water. In pots, soil often compacts over time. This squeezes out air and holds too much water around the roots. Vermiculite for dracaena solves this by keeping the soil structure open. The particles create tiny channels for air and water movement. Your plant gets the moisture it needs without the suffocation it fears.
Choosing the Right Grade and Type
Understanding Grade Sizes
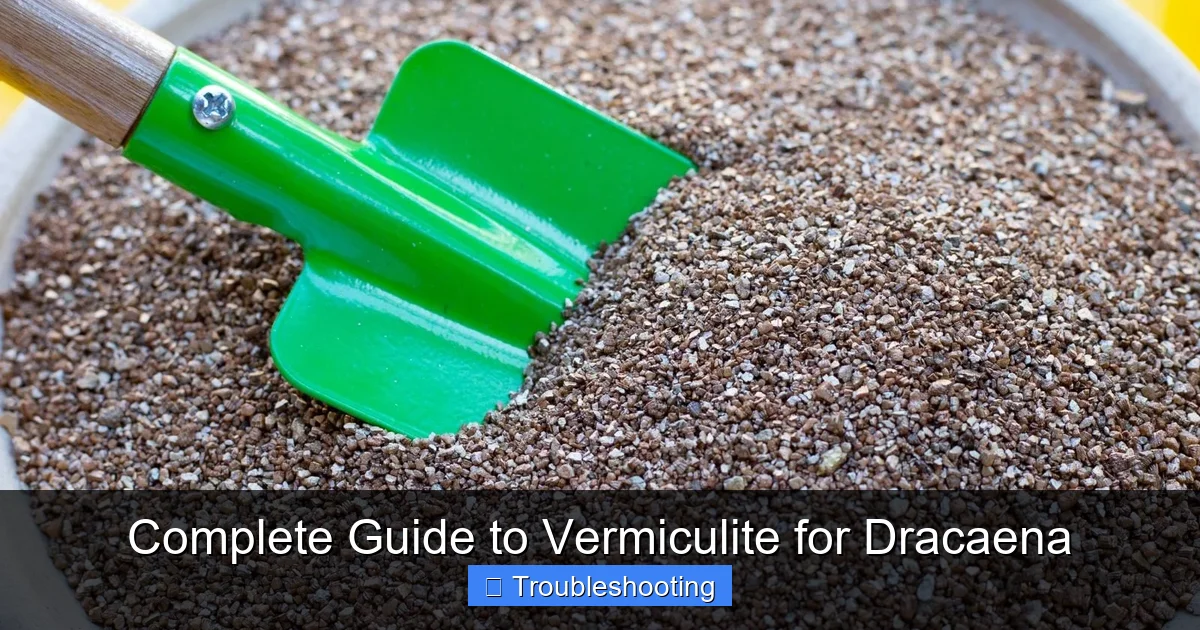
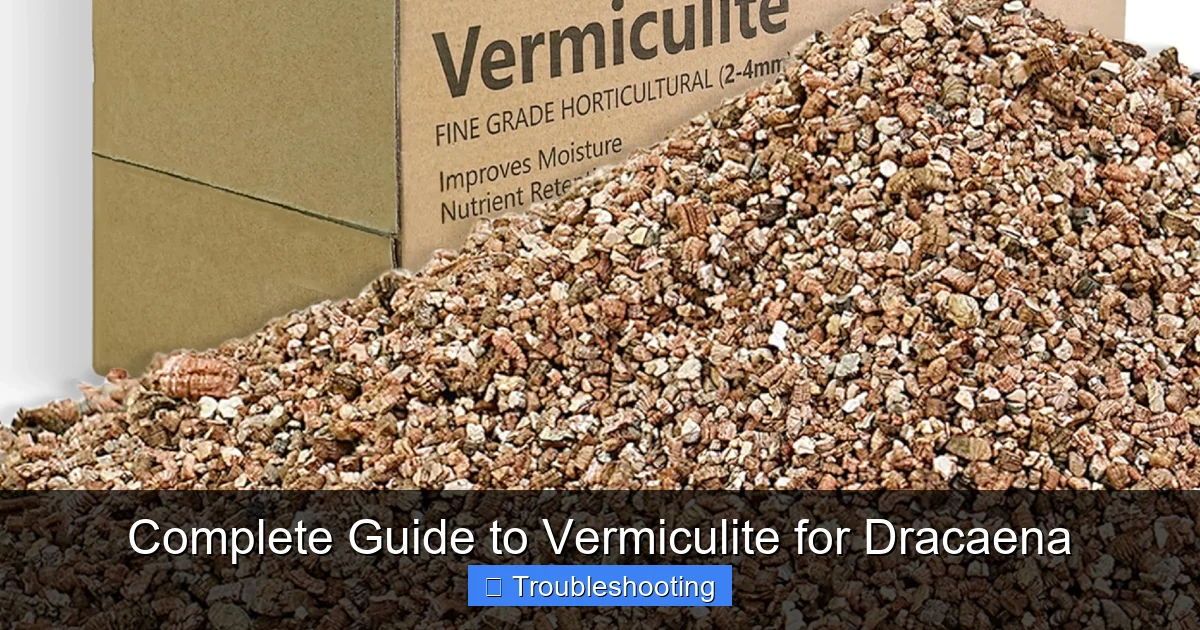
Vermiculite comes in four main grades. Super fine works for seed starting. Fine suits small containers and cuttings. Medium is the sweet spot for most houseplants including dracaena. Coarse works for large planters and outdoor beds. I recommend medium grade for dracaena in pots up to ten inches. For larger floor plants, coarse grade provides better long-term structure. Avoid super fine as it can compact and defeat the purpose.
Visual guide about Complete Guide to Vermiculite for Dracaena
Image source: epicgardening.com
Horticultural vs Construction Grade
This is critical. Only buy horticultural vermiculite. Construction grade is treated differently and may contain additives or dust that harm plants. Horticultural grade is cleaned, heated, and packaged specifically for growing. Look for labels that say “horticultural,” “for plants,” or “soil amendment.” Reputable brands include Espoma, Hoffman, and Perfect Plants. A four-quart bag costs around ten to fifteen dollars and lasts a long time.
Asbestos Concerns Addressed
You may have heard about asbestos in vermiculite. This was a real issue with ore from the Libby, Montana mine which closed in 1990. Modern horticultural vermiculite comes from different deposits and undergoes strict testing. The EPA and FDA regulate it. If you buy from a garden center or major retailer today, it is safe. Still, work with it damp to minimize dust, and wear a mask if you are sensitive.
Perfect Mixing Ratios for Dracaena
The Standard 1:3 Ratio
The most reliable mix for dracaena is one part vermiculite to three parts quality potting soil. This gives you roughly twenty-five percent vermiculite by volume. For a ten-inch pot, that might look like two cups of vermiculite mixed into six cups of soil. This ratio improves drainage without drying out too fast. It works for most dracaena varieties including Dracaena marginata, Dracaena fragrans, and Dracaena reflexa.
Visual guide about Complete Guide to Vermiculite for Dracaena
Image source: m.media-amazon.com
Adjusting for Your Environment
Your home conditions matter. In humid climates or low-light spots, increase to one part vermiculite to two parts soil. This extra drainage prevents fungal issues. In dry climates or bright light, stick with 1:3 or even 1:4. The plant will use water faster, and you want the soil to hold moisture a bit longer. Observe your plant for the first few weeks after repotting. Adjust next time based on how quickly the soil dries.
Special Mix for Propagation
Rooting dracaena cuttings? Use a different approach. Pure vermiculite works beautifully for this. It stays evenly moist, sterile, and allows delicate new roots to penetrate easily. Alternatively, mix fifty percent vermiculite with fifty percent perlite. This creates an airy, moisture-retentive medium that rarely rots cuttings. I have rooted dozens of dracaena tops this way with nearly one hundred percent success.
Mixing With Other Amendments
Vermiculite plays well with others. For a premium dracaena mix, try this recipe: three parts potting soil, one part vermiculite, one part orchid bark, half part charcoal, half part worm castings. The bark adds structure. Charcoal prevents odors and toxins. Worm castings provide gentle nutrition. This mix mimics the forest floor dracaena evolved in. It costs more upfront but reduces repotting frequency.
Step-by-Step Repotting Guide
When to Repot Your Dracaena
Spring and early summer are ideal. The plant is entering active growth and recovers faster. Signs it is time: roots circling the bottom, water running straight through, soil pulling away from pot edges, or the plant looking top-heavy. Most dracaena need repotting every two to three years. Younger plants may need it annually. Do not repot a stressed, newly purchased, or flowering plant.
Preparing Your Materials
Gather your new pot (one to two inches larger), your vermiculite-soil mix, a trowel, gloves, and a watering can. Clean the new pot with soap and water. If using a terra cotta pot, soak it for an hour first so it does not wick moisture from the soil. Have a bucket or wheelbarrow for mixing. Dampen the vermiculite slightly before mixing to reduce dust and help it blend evenly.
The Repotting Process
Water your dracaena lightly the day before. This helps the root ball hold together. Gently remove the plant from its current pot. Loosen the root ball with your fingers. Trim any black, mushy, or circling roots. Place a coffee filter or mesh over the new pot’s drainage hole. Add enough mix so the root ball sits about an inch below the rim. Center the plant. Fill around the sides with mix, tapping the pot to settle. Do not pack it down hard. Water thoroughly until it drains freely.
Aftercare for the First Weeks
Place the repotted dracaena in bright, indirect light. Avoid direct sun for two weeks. Do not fertilize for four to six weeks. The fresh mix has nutrients, and the roots need time to establish. Water when the top inch of soil feels dry. Expect a brief pause in growth. This is normal. New leaves usually appear within a month. If lower leaves yellow, remove them. The plant is redirecting energy to root growth.
Troubleshooting Common Issues
Yellowing Leaves After Repotting
If lower leaves turn yellow within weeks of adding vermiculite for dracaena, do not panic. This often means the mix is holding too much water for your conditions. Check the soil moisture deeper down. If it stays wet for more than a week, repot with a higher soil-to-vermiculite ratio. Also ensure your pot has adequate drainage holes. One hole in a large pot is not enough. Drill more if needed.
Brown Tips Despite Good Care
Brown tips usually signal low humidity, fluoride sensitivity, or inconsistent watering. Vermiculite helps with the watering consistency. But if your tap water is fluoridated, dracaena will show tip burn. Use filtered or rainwater. Increase humidity with a pebble tray or humidifier. Vermiculite cannot fix chemical sensitivity, but it does buffer the root zone against rapid moisture swings that worsen the problem.
Fungus Gnats Appearing
Fungus gnats love moist organic matter. If you see them after adding vermiculite, the top layer may be staying too damp. Let the top inch dry completely between waterings. Add a half-inch layer of sand or decorative gravel on top. This creates a dry barrier adults cannot penetrate. Yellow sticky traps catch flying adults. Beneficial nematodes or mosquito bits treat larvae in the soil. Vermiculite itself does not attract them.
Slow Growth or No New Leaves
If your dracaena sits stagnant for months, check a few things. Is the pot too large? Excess soil stays wet and roots rot silently. Is the mix too heavy? Even with vermiculite, some bagged soils are dense. Add more vermiculite or orchid bark. Is it getting enough light? Dracaena tolerates low light but grows slowly there. Move to brighter indirect light. Fertilize lightly with balanced liquid fertilizer at half strength monthly during growing season.
Salt Buildup on Soil Surface
White crust on the soil means mineral salts from fertilizer or tap water. Vermiculite holds nutrients well, which is good, but it can also concentrate salts. Flush the soil monthly by watering heavily until water runs freely from the bottom for several minutes. Let it drain completely. Do this in a sink or outdoors. Replace the top inch of soil annually if buildup persists. Use rainwater or distilled water periodically.
Propagation Success With Vermiculite
Top Cuttings in Pure Vermiculite
This is my favorite method. Cut a healthy cane section four to six inches long with at least two nodes. Let the cut end callous for a day. Dip in rooting hormone if you have it. Insert into a pot of moist pure vermiculite. Cover with a clear plastic bag or dome to create humidity. Place in bright indirect light. Open daily for air exchange. Roots appear in three to six weeks. Transplant to regular mix when roots are an inch long.
Air Layering With Vermiculite
For larger plants, air layering works wonders. Choose a stem at least pencil-thick. Make a small upward cut one-third through the stem. Insert a toothpick to keep it open. Dust with rooting hormone. Wrap moist vermiculite around the wound. Cover with plastic wrap and secure with twist ties. Keep the vermiculite moist. In six to twelve weeks, roots fill the ball. Cut below the roots and pot up. This gives you a large new plant instantly.
Cane Cuttings Laid Horizontally
Dracaena canes can root from nodes along their length. Cut a cane into three-inch sections, each with at least one node. Lay them horizontally on moist vermiculite, barely pressing them in. Cover with a humidity dome. Keep warm, around seventy-five degrees. Each node can produce both roots and a new shoot. This method multiplies one cane into many plants. It takes longer, up to three months, but yields great results.
Transitioning to Permanent Mix
Once cuttings have strong roots, move them to the standard 1:3 vermiculite-soil mix. Do not jump straight to heavy soil. The transition mix should be lighter than your final mix. Try fifty percent vermiculite, fifty percent soil for the first month. Then shift to the standard ratio. This prevents shock and encourages continued vigorous root growth. Label your pots with the date and variety.
Long-Term Care and Maintenance
Refreshing the Top Layer Annually
Each spring, scrape away the top inch of soil. Replace it with fresh vermiculite-soil mix. This removes accumulated salts, adds fresh nutrients, and improves aeration near the surface where many feeder roots live. It is like a mini-repot without the stress. Add a tablespoon of worm castings per gallon of mix for a slow-release nutrient boost. Water well after top-dressing.
Monitoring Soil Structure Over Time
Vermiculite breaks down slowly. After two to three years, the particles compress and lose some water-holding capacity. When you repot, you will notice the old vermiculite looks darker and flatter. This is normal. Discard the old mix in garden beds or compost. Do not reuse it for dracaena. Fresh vermiculite restores the air and water balance your plant needs for the next cycle.
Fertilizing Considerations
Because vermiculite holds nutrients, you can fertilize less often. Use a balanced liquid fertilizer at quarter strength every watering during growing season. Or use half strength every two weeks. Stop in fall and winter. Flush the soil every three months as described earlier. If using slow-release pellets, apply at half the label rate. The vermiculite will buffer the release, preventing burn.
Seasonal Adjustments
In winter, dracaena growth slows. Water less frequently. The vermiculite will hold moisture longer in cooler temperatures. Check soil with your finger, not a schedule. In summer, increase watering and consider moving the plant outdoors to a shaded spot. The vermiculite helps the plant handle the transition by maintaining consistent root moisture. Bring it back inside before nights drop below fifty-five degrees.
Frequently Asked Questions About Vermiculite for Dracaena
Can I use vermiculite alone for my dracaena?
Pure vermiculite works for propagation but not long-term. It lacks the structure and microbial life of soil. Mature dracaena need the weight and nutrient cycling of a soil-based mix. Pure vermiculite also becomes unstable in large pots, causing the plant to tip. Always blend with potting soil for permanent planting.
How much vermiculite is too much?
Over fifty percent vermiculite creates a mix that dries unevenly and lacks stability. The plant may wobble. Nutrient availability drops because there is less soil to hold cations. Stick to twenty-five percent for mature plants, fifty percent max for propagation. More is not better with soil amendments.
Does vermiculite expire or go bad?
Vermiculite itself does not expire. It is a mineral. However, bags left open can absorb moisture, contaminants, or pests. Store in a sealed container in a dry place. If the bag got wet, developed mold, or smells musty, discard it. The cost of a new bag is not worth risking your plant’s health.
Can I mix vermiculite with cactus soil for dracaena?
Cactus soil drains too fast for dracaena. It usually contains sand and little organic matter. If you only have cactus mix, blend it fifty-fifty with regular potting soil, then add your vermiculite. Better yet, start with a standard indoor potting mix. It has the right base composition for tropical plants.
Is vermiculite safe for pets if they dig in the plant?
Horticultural vermiculite is non-toxic. However, eating large amounts could cause digestive upset or blockage. The dust can irritate lungs if inhaled. Keep plants out of reach of curious pets. If your cat or dog ingests some, monitor for vomiting or lethargy and call your vet if concerned. The soil and fertilizer pose more risk than the vermiculite.
What if I cannot find vermiculite locally?
Order online from reputable garden suppliers. Amazon, Home Depot, Lowe’s, and specialty sites like Arbico Organics carry it. In a pinch, perlite plus extra peat moss or coconut coir can approximate the water retention. But vermiculite for dracaena is unique in its cation exchange capacity. It holds and releases nutrients better than any substitute. Worth the wait for delivery.
Conclusion
Using vermiculite for dracaena is one of the simplest upgrades you can make to your plant care routine. It solves the number one killer of these plants: poor drainage leading to root rot. At the same time, it reduces the second biggest issue: underwatering caused by hydrophobic soil. That dual action makes it incredibly valuable.
Start with the 1:3 ratio. Observe your plant. Adjust based on your specific conditions. Use it for repotting, propagation, and annual top-dressing. Buy horticultural grade, store it dry, and replace it every few repotting cycles. Your dracaena will reward you with stronger roots, cleaner foliage, and steady growth.
I have seen struggling plants bounce back within weeks of a vermiculite-amended repot. I have rooted cuttings that refused to root in water or plain soil. This mineral earns its spot in my potting shed year after year. Give it a try. Your dragon tree will thank you.
Frequently Asked Questions
What grade of vermiculite is best for dracaena?
Medium grade vermiculite is ideal for most dracaena in pots up to ten inches. For larger floor plants, coarse grade provides better long-term structure and drainage.
Can I mix vermiculite with perlite for dracaena?
Yes, combining vermiculite and perlite works well. Use a 1:1:2 ratio of vermiculite, perlite, and potting soil for excellent drainage and moisture retention balance.
Why are my dracaena leaves turning yellow after adding vermiculite?
Yellowing usually means the mix holds too much water for your conditions. Increase the soil ratio or let the soil dry more between waterings.
Does vermiculite add nutrients to dracaena soil?
Vermiculite does not provide nutrients but has high cation exchange capacity, meaning it holds fertilizer nutrients and releases them slowly to roots.
Can I reuse vermiculite from an old dracaena pot?
Do not reuse old vermiculite. It breaks down, compacts, and may harbor pathogens. Discard it in garden beds and use fresh vermiculite for repotting.
How do I know if my dracaena needs more vermiculite?
If soil stays soggy over a week, compacts hard, or roots show rot signs, increase vermiculite. If soil dries in two days, reduce it.