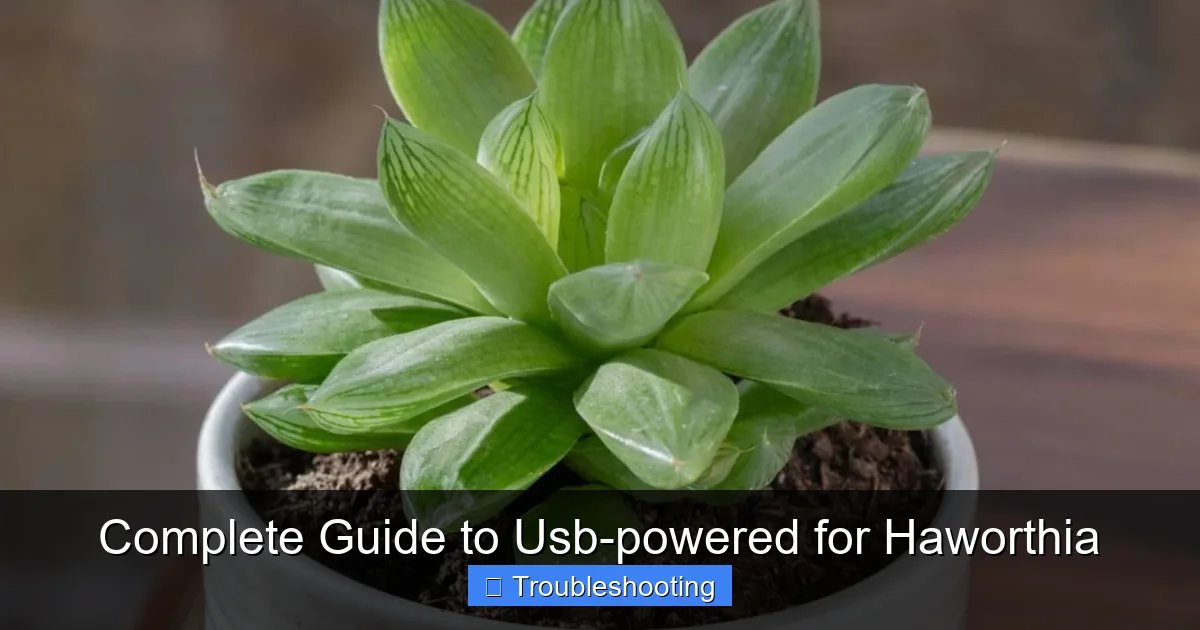
Complete Guide to Usb-powered for Haworthia
USB-powered devices make Haworthia care simple and affordable for any indoor space. From clip-on grow lights to mini fans and moisture meters, these plug-and-play tools deliver the right light, airflow, and monitoring without complex wiring. This guide covers everything you need to choose, set up, and troubleshoot USB gear for happy, healthy succulents.
Key Takeaways
- USB grow lights provide targeted spectrum: Full-spectrum 4000K-6500K LEDs mimic natural sunlight for compact Haworthia growth.
- Clip-on and gooseneck designs offer flexibility: Position lights 6-12 inches above plants for optimal intensity without heat stress.
- Mini USB fans prevent rot and pests: Gentle airflow strengthens leaves and reduces fungal issues in tight arrangements.
- USB moisture meters take guesswork out of watering: Probe sensors alert you when soil is truly dry, preventing overwatering.
- Power banks enable portable plant stations: Run lights and fans off-grid for shelves, desks, or terrariums without wall outlets.
- Timer-equipped USB hubs automate cycles: Set 12-14 hour light schedules and fan intervals for consistent care.
- Troubleshoot common issues early: Watch for etiolation, sunburn, and fan vibration to keep Haworthia thriving.
Quick Answers to Common Questions
Can I run Haworthia grow lights off a laptop USB port?
Laptop ports typically supply 0.5A to 0.9A at 5V (2.5W to 4.5W). Most grow lights need 5W to 10W. A laptop port will current-limit or shut down. Use a wall charger or powered hub instead.
How close should a USB grow light be to my Haworthia?
Start at 10 to 12 inches for a 10W light. Measure PPFD with a phone app. Adjust distance until you hit 80 to 150 micromoles. Closer gives more intensity but less coverage.
Do Haworthia need a fan at night?
Not usually. Run fans during lights-on when transpiration is highest. Night airflow can chill leaves if room temps drop. If humidity stays above 70% at night, a low fan helps prevent condensation.
Why does my moisture meter read wet after I just watered but the plant looks wrinkled?
The probe may sit in a wet pocket while roots are dry. Or the soil is hydrophobic and water ran down the sides. Probe multiple spots. Water slowly until runoff. Recheck in an hour.
Can I use a USB power bank to run lights during a power outage?
Yes. A 20,000 mAh bank runs a 5W light for about 30 hours. Enable pass-through charging so the bank stays topped up while plugged in. Test runtime before you rely on it.
📑 Table of Contents
- Why USB Power Changes Everything for Haworthia Growers
- Understanding Haworthia Light Needs Before You Buy
- Choosing the Right USB Grow Light Form Factor
- Airflow Matters More Than You Think
- Monitoring Moisture and Environment with USB Sensors
- Power Strategies: Keeping Everything Running
- Setting Up Your First USB Haworthia Station
- Troubleshooting Common USB Haworthia Problems
- Advanced Tips for the Obsessed Grower
- Seasonal Adjustments for Year-Round Success
- Budget Breakdown: Three Build Tiers
- Safety and Longevity Best Practices
- Conclusion
Why USB Power Changes Everything for Haworthia Growers
Haworthia succulents have exploded in popularity over the last few years. Their architectural rosettes, translucent leaf windows, and tolerance for lower light make them perfect for desks, shelves, and windowsills. But here is the catch. Most indoor spaces do not offer the consistent bright indirect light these plants crave. Enter USB-powered gear. It is affordable. It is plug-and-play. And it lets you build a micro-climate exactly where your plants live.
I remember my first Haworthia cooperi. It sat on a north-facing bookshelf looking sad and stretched. A ten-dollar clip light from an online marketplace changed everything. Within weeks the leaves plumped up. The windows turned crystal clear. That tiny light plugged into a laptop port. No drilling. No wiring. No expensive ballasts. This guide walks you through every USB-powered tool that can help your Haworthia collection thrive. We will cover lights, fans, sensors, power strategies, and the real-world troubleshooting tips I wish I knew sooner.
Understanding Haworthia Light Needs Before You Buy
Natural Habitat Clues
Haworthia species grow in South Africa under shrubs and rock crevices. They receive bright filtered light but rarely direct midday sun. Their leaf windows act like fiber optics. They channel light deep into the leaf tissue. This adaptation means they want high light intensity but low heat. Direct sun through glass often burns them. Too little light causes etiolation. That is the fancy word for stretching. The rosette opens up. Leaves flatten. The plant loses its compact charm.
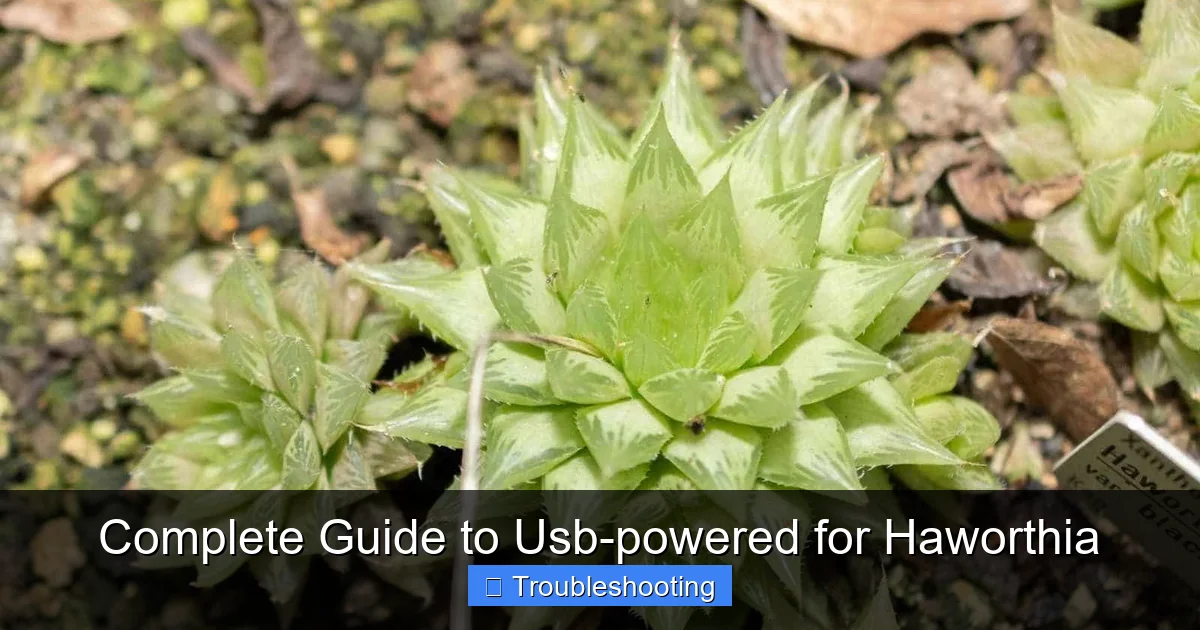
Visual guide about Complete Guide to Usb-powered for Haworthia
Image source: planetnatural.com
What Good Grow Light Metrics Look Like
When you shop USB grow lights you will see terms like PPFD, PAR, and Kelvin. Here is the cheat sheet. PPFD measures photons hitting the leaf. Haworthia wants 50 to 150 micromoles per square meter per second. PAR is the 400 to 700 nanometer range plants use. Kelvin describes color temperature. Aim for 4000K to 6500K. That cool white to daylight spectrum mimics the filtered sun they love. Warm white 3000K works for maintenance but slows growth. Avoid pink or purple blurple lights unless they list full spectrum output. Your eyes and your plants will thank you.
Daily Light Integral Targets
Daily Light Integral or DLI is the total photons delivered in a day. Haworthia thrives around 6 to 10 moles per day. A 5 watt USB LED at 12 inches putting out 80 PPFD for 14 hours delivers about 4 moles. That is a solid baseline. Double the lights or drop them to 8 inches and you hit the sweet spot. Use a cheap phone app like Photone to measure. It is not lab grade but it gets you close enough.
Choosing the Right USB Grow Light Form Factor
Clip-On Spotlights
Clip lights are the workhorses. They attach to shelf lips, desk edges, or headboards. Look for a strong spring clamp and a flexible gooseneck at least 12 inches long. A 5 to 10 watt COB or SMD LED head puts out plenty of punch. Models with dimming and timer buttons on the cord save you from buying a separate smart plug. I run two 10 watt clips on a three-shelf unit. Each shelf gets 14 hours. The clips plug into a single USB hub with a mechanical timer. Zero fuss.
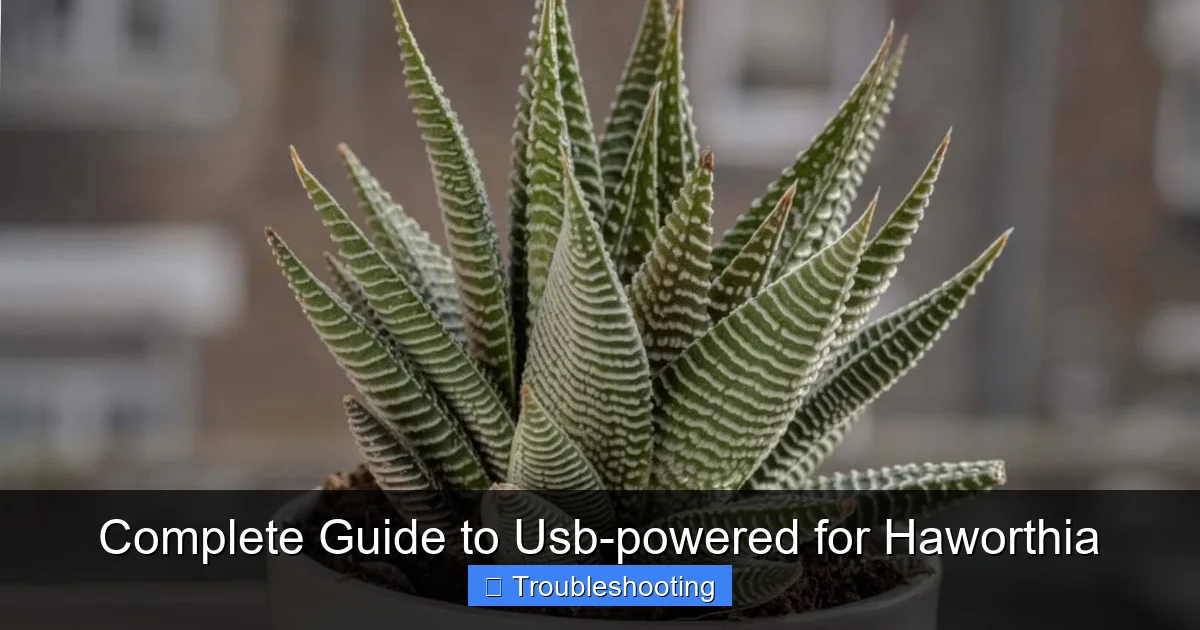
Visual guide about Complete Guide to Usb-powered for Haworthia
Image source: planetnatural.com
Light Bars and Strips
Light bars mount under a shelf to illuminate the level below. They spread light evenly across multiple plants. A 20 inch bar at 10 watts covers about 18 inches of shelf depth. Strips with adhesive backing work inside terrariums or display cabinets. Make sure the strip has aluminum backing or a heat sink. Cheap flexible strips overheat and dim fast. Waterproof IP65 rating is a bonus if you mist nearby.
Panel and Pad Lights
Small square panels sit on the desk or clip to a monitor arm. They are great for a single showpiece Haworthia. Some have built-in stands. Others have magnets for metal shelves. Panels often include a tiny fan. That fan noise can be annoying in a quiet bedroom. Check reviews for decibel ratings before you buy.
Key Specs Checklist
- Wattage: 5W minimum per plant cluster
- Color temp: 4000K to 6500K
- CRI: 80+ for accurate color rendering
- Dimming: At least three levels
- Timer: Built-in or plan to add a smart plug
- Cord length: 5 feet minimum for desk setups
- USB-A or USB-C: Match your power source
Airflow Matters More Than You Think
Why Haworthia Needs Moving Air
Stagnant air is a silent killer. It lets humidity sit in leaf axils. That invites fungal spots and mealybugs. It weakens cell walls. Leaves get soft. A gentle breeze mimics their rocky hillside home. It transpires excess moisture. It strengthens tissue. It discourages pests from settling. You do not need a hurricane. A whisper of air across the canopy is perfect.
USB Fan Types and Placement
Mini desk fans with 3 to 4 inch blades run on 5 volts. Clip models attach next to your light. Stand models sit behind the pots. Bladeless vortex fans are quiet but pricey. A two-pack of 92mm PC case fans wired to a USB adapter costs under fifteen dollars and moves surprising air. Position fans so air skims the leaf tops. Do not blast directly into the crown. That dries the growing point. Run fans on a timer. Fifteen minutes every two hours during lights on works well. Continuous low speed is fine too if noise allows.
Humidity and Airflow Balance
Haworthia likes 40 to 60 percent relative humidity. High humidity plus no airflow equals rot. Low humidity plus high airflow equals desiccation. A USB humidifier near the fan intake can raise local humidity. But keep the mist off the leaves. Wet crowns at night are a recipe for disaster. Use a hygrometer. The cheap digital ones with a probe are accurate enough. Adjust fan speed or runtime until you sit in the comfort zone.
Monitoring Moisture and Environment with USB Sensors
Capacitive Soil Moisture Probes
Resistive probes corrode in weeks. Capacitive probes last years. They output an analog voltage you can read with a microcontroller. But you want plug-and-play. Look for a USB moisture meter with a small display. Stick the probe near the root ball. It reads volumetric water content. Calibrate by noting the reading when soil is bone dry and when fully saturated. Set your personal water trigger halfway between. No more guesswork. No more squeezing leaves.
All-in-One Environment Dongles
Some USB sticks measure temperature, humidity, light intensity, and even VOCs. They log data to an app via Bluetooth or Wi-Fi. The USB port only powers them. These are great for spotting trends. You might discover your shelf hits 85F at 2 PM because of afternoon sun through the window. That insight lets you adjust fan timing or add a sheer curtain. Brands like Govee, SensorPush, and Inkbird make reliable units under thirty dollars.
DIY Monitoring with ESP32 or Raspberry Pi Pico
If you like tinkering, a five dollar microcontroller plus a capacitive probe and a BME280 sensor builds a custom monitor. Power it from a USB charger. Code it to push readings to Home Assistant or a Google Sheet. You can even trigger a USB relay to turn on a fan or light. This route gives total control but requires coding comfort. For most growers a ready-made dongle is the smarter play.
Power Strategies: Keeping Everything Running
Wall Chargers and Multi-Port Hubs
Add up the wattage of every device. Two 10W lights plus a 2W fan plus a 1W sensor equals 23 watts. At 5 volts that is 4.6 amps. A 5V 3A charger will sag. Get a 5V 5A or 6A brick. Better yet use a 60W USB-C PD charger with a trigger board to output 5V high amps. Or stick with a quality 10-port USB-A hub rated 12A total. Anker, Sabrent, and Ugreen make solid hubs. Avoid the dollar store seven-port hubs. They melt.
Power Banks for Portable Displays
Want a Haworthia centerpiece on a dining table? A 20,000 mAh power bank runs a 5W light for 30 hours. Add a small fan and you still get a full day. Look for pass-through charging. That lets the bank charge while powering your gear. Some banks cut output if draw drops too low. The fan keeps the load above the cutoff. Test your combo before the dinner party.
Solar and Off-Grid Options
A 10W USB solar panel plus a 10,000 mAh bank creates a self-sustaining balcony setup. The panel charges the bank by day. The bank runs lights at night. Add a charge controller if the panel lacks one. This works great for outdoor Haworthia in summer. Bring them in before frost. The panel folds flat for storage.
Smart Plugs and Timers
Mechanical outlet timers are cheap and reliable. Digital ones offer more schedules. Smart plugs like TP-Link Kasa or Shelly let you control from phone. Set sunrise sunset schedules. Group lights and fans into scenes. Use voice assistants for hands-free tweaks. Just remember the smart plug itself draws a tiny standby current. On a power bank that matters. On wall power it is negligible.
Setting Up Your First USB Haworthia Station
Step 1 Pick Your Location
Choose a spot with stable temperature. Avoid heating vents and drafty windows. A north or east window works if you supplement. A bookshelf away from windows works with full artificial light. Measure the shelf dimensions. Count the plants. Sketch a quick layout.
Step 2 Mount the Lights
Clip lights on the front lip of each shelf. Aim the gooseneck so the beam hits the center of the plant cluster. Keep 8 to 12 inches distance. Use a ruler. Tape the cord to the shelf underside with cable clips. Neat cords prevent accidents.
Step 3 Add Airflow
Clip a mini fan to the side of the shelf. Point it across the front of the plants. Not down. Not up. Across. Plug into the hub. Set timer for 15 minutes every 2 hours during light period.
Step 4 Install Sensors
Push a moisture probe into a representative pot. Place the environment dongle at canopy height. Hide the display behind a pot if it is ugly. Pair with the app. Name the zone Haworthia Shelf 1.
Step 5 Program the Schedule
Lights on 6 AM. Lights off 8 PM. That is 14 hours. Fan runs 15 on 105 off during that window. Humidifier if used runs 5 minutes at 7 AM and 7 PM. Adjust after two weeks based on data.
Step 6 Observe and Tweak
Check leaves daily. Firm and upright is happy. Flattened or pale means more light. Red tips mean too much light or cold stress. Mushy base means overwater or no airflow. Adjust one variable at a time. Wait a week. Observe again.
Troubleshooting Common USB Haworthia Problems
Etiolation Even With Lights
If plants stretch despite 14 hours of light the intensity is too low. Lower the lights. Add a second clip. Check PPFD with the app. Aim for 100+ at leaf level. Also verify spectrum. Some cheap LEDs peak in blue and red but lack mid-range. A 5000K white COB fixes this fast.
Leaf Tip Burn or Bleaching
White or brown crispy tips mean light stress. Raise the lights two inches. Reduce hours to 12. Ensure fan runs during lights on. Heat buildup at leaf surface causes burn even if air temp feels fine. A small clip fan blowing directly on the light head heatsink helps too.
Fan Vibration Noise
Cheap fans rattle on lightweight shelves. Stick rubber feet on the fan base. Or hang the fan from a zip tie loop so it floats. Bladeless fans eliminate vibration but cost more. A 120mm PC fan at 5V runs near silent.
USB Port Power Cycling
If lights flicker when the fridge kicks on your hub is underpowered. Upgrade the charger. Or split loads across two wall outlets. A UPS backup protects schedules during brief outages.
Moisture Probe Drift
Capacitive probes can drift as salts build up. Flush the soil monthly with distilled water. Recalibrate dry and wet readings after flush. If readings still wander replace the probe. They are five dollars.
Algae on Soil Surface
Constant moisture plus light grows green fuzz. Top dress with coarse grit or pumice. Reduce watering frequency. Increase fan runtime. Algae is harmless but ugly.
Advanced Tips for the Obsessed Grower
Spectral Tuning for Variegates
Variegated Haworthia like Haworthia cymbiformis variegata have less chlorophyll. They burn easier. They also grow slower. Drop PPFD to 50-80. Extend photoperiod to 16 hours. Add a far-red 730nm LED strip for 15 minutes at lights off. This Emerson effect boosts photosynthesis efficiency. A 1W 730nm module plugs into USB. It makes a measurable difference.
CO2 Enrichment on a Budget
A USB powered CO2 generator does not exist. But a small USB fan blowing over a yeast sugar bottle raises local CO2 slightly. It is a fun experiment. Measure with a cheap CO2 meter. Do not expect miracles. Good light and airflow beat marginal CO2 gains.
Automated Watering with USB Peristaltic Pump
A 5V peristaltic pump plus a soil moisture relay creates a self-watering pot. Code the microcontroller to pump 10ml when probe reads below threshold. Use a reservoir bottle hidden behind the shelf. This keeps you away for two weeks. Test thoroughly before vacation.
Data Logging for Year Over Year Comparison
Export sensor data to CSV. Plot DLI, temperature, humidity by month. Correlate with growth photos. You will see patterns. Winter DLI drops. Growth slows. Summer heat spikes. Fans save the day. Data turns guesswork into knowledge.
Seasonal Adjustments for Year-Round Success
Winter Short Days
Natural light drops. Extend artificial photoperiod to 16 hours. Keep spectrum cool white. Reduce watering frequency. Soil stays wet longer in cool rooms. Run fans more to compensate. Watch for mealybugs. They love dry heated air.
Spring Ramp Up
Increase light intensity gradually. Raise lights back down. Resume fertilizing at quarter strength. Repot root-bound plants. Fresh gritty mix drains faster. Adjust moisture thresholds.
Summer Heat Management
Ambient temps above 85F stress Haworthia. Add a second fan. Run lights at night if room is cooler. Use a timer to shift photoperiod to 8 PM to 10 AM. Move power bank setups to coolest room. Shade cloth on windows helps.
Fall Transition
Shorten photoperiod to 12 hours. Stop fertilizing. Reduce water. Prepare for winter rest. Clean light lenses. Dust cuts output 15 percent. Check fan blades for dust. Vacuum gently.
Budget Breakdown: Three Build Tiers
Starter Kit Under Thirty Dollars
- One 10W clip light with timer – $12
- One 92mm USB fan – $6
- One capacitive moisture meter with display – $8
- Phone charger and cable you already own – $0
- Total – $26
Covers two to three small pots on a desk. Perfect for a beginner.
Enthusiast Shelf One Hundred Dollars
- Two 10W clip lights with dimming – $28
- One 20 inch 10W light bar – $22
- Two 120mm silent fans – $18
- One 10-port 12A USB hub – $15
- One environment dongle – $20
- One mechanical timer – $8
- Total – $111
Lights a three foot shelf holding a dozen plants. Automated and monitored.
Showcase Cabinet Three Hundred Dollars
- Four 12W full spectrum panels – $120
- Two bladeless vortex fans – $60
- One 60W USB-C PD charger with trigger board – $35
- One ESP32 custom monitor with three probes – $40
- One 20,000 mAh pass-through power bank – $35
- Smart plug and cable management – $20
- Total – $310
Powers a glass display cabinet with precise climate control. Portable for shows.
Safety and Longevity Best Practices
Electrical Safety
Never daisy chain power strips. Use one quality hub per outlet. Keep connections dry. Route cords away from watering zones. Label each plug. Unplug before moving shelves. Inspect cables monthly for fraying. Cheap USB cables fail fast. Spend two dollars on braided nylon cables.
Heat Management
LEDs produce heat at the base. Do not bury the driver in insulation. Leave air gaps. If the hub feels hot to touch it is overloaded. Spread loads. A warm hub is fine. A hot hub is a fire risk.
Device Lifespan
Run lights at 80 percent brightness. They last twice as long. Clean fan blades monthly. Dust kills bearings. Replace moisture probes yearly. Sensors drift. Hubs last three to five years. Chargers last two to three. Budget for replacements.
Travel and Moving
Pack lights in original boxes. Wrap goosenecks loosely. Carry power banks in carry-on. TSA allows up to 100Wh. That is 27,000 mAh. Your 20k bank is fine. Secure shelves so pots do not tip. A bungee cord across the front saves plants.
Conclusion
USB-powered gear has democratized high-quality Haworthia care. You no longer need a dedicated grow tent or expensive electrical work. A twenty-dollar clip light and a six-dollar fan can transform a dark corner into a thriving succulent display. The key is matching light intensity, airflow, and monitoring to what your specific plants tell you. Start small. Measure often. Adjust one thing at a time. Keep notes. Share photos with the community. Your Haworthia will reward you with plump leaves, brilliant windows, and steady offsets. And the best part? You can take the whole setup with you when you move. Just unplug, pack, and plug in at the new place. Happy growing.
Frequently Asked Questions
What color temperature is best for Haworthia grow lights?
4000K to 6500K cool white to daylight spectrum works best. It mimics the filtered bright light Haworthia receive in habitat. Avoid warm white below 3500K for primary growth lighting.
How many hours of artificial light do Haworthia need daily?
12 to 14 hours is ideal for active growth. 10 to 12 hours maintains mature plants. Use a timer for consistency. Extend to 16 hours in winter if plants show stretching.
Are USB grow lights strong enough for Haworthia flowering?
Yes. A 10W to 15W full-spectrum light at 8 inches provides enough PPFD to trigger blooms on mature plants. Flowering also depends on plant maturity and seasonal cues.
Can I use a regular desk fan instead of a USB fan?
You can but desk fans draw more power and need an AC outlet. USB fans integrate with your light hub and timers. They are quieter and sized for shelf spaces.
How do I know if my Haworthia is getting too much light?
Leaf tips turn white, brown, or red. Rosette closes tightly. Leaves feel warm to touch. Raise lights or reduce hours. Red tips on some species are normal stress coloration.
What is the cheapest way to start with USB Haworthia lighting?
A single 10W clip-on grow light with built-in timer costs $12 to $15. Plug into any phone charger. Add a $6 clip fan for airflow. Total under $25 for a starter setup.