Complete Guide to Usb-powered for Bird of Paradise
USB-powered grow lights offer a convenient, energy-efficient way to supplement light for indoor Bird of Paradise plants. This guide covers everything from choosing the right device and proper placement to troubleshooting common issues like insufficient light, overheating, and connectivity problems. Learn how to optimize your setup for healthy, vibrant growth year-round.
Key Takeaways
- USB grow lights provide flexible, low-cost supplemental lighting: Perfect for Bird of Paradise plants needing 6+ hours of bright light daily, especially in low-light homes or during winter months.
- Choose lights with full spectrum output and adjustable intensity: Look for 5000-6500K color temperature and dimmable settings to match your plant’s growth stage and prevent leaf burn.
- Proper placement is critical for effectiveness: Position lights 12-24 inches above foliage, run 12-14 hours daily, and rotate the plant regularly for even growth.
- Power delivery matters more than you think: Use quality USB-C PD adapters (minimum 18W) or powered hubs to avoid voltage drops that cause flickering or reduced output.
- Monitor for heat buildup and moisture damage: USB lights can generate surprising warmth; ensure airflow and keep connections away from watering zones to prevent shorts.
- Troubleshoot systematically when issues arise: Check cable integrity, port power limits, timer settings, and light distance before assuming the unit is defective.
- Combine USB lighting with proper care fundamentals: Supplemental light works best alongside correct watering, humidity, well-draining soil, and seasonal fertilizing for a thriving Bird of Paradise.
Quick Answers to Common Questions
Can a standard phone charger run a USB grow light?
Most phone chargers only output 5W-18W at 5V, which is insufficient for quality grow lights needing 12V/20W+ via USB Power Delivery. You need a dedicated PD adapter rated 30W or higher.
How far should a USB grow light be from my Bird of Paradise?
Position the light 12-24 inches above the highest leaves. Start at 18-24 inches and lower gradually over two weeks while monitoring for leaf stress.
Why does my USB grow light flicker or turn off randomly?
This usually indicates a power negotiation issue: the cable, hub, or adapter cannot deliver the voltage/current the light requests. Try a shorter high-current cable and a known-good 30W+ PD charger directly.
How many hours per day should I run the light?
Run 12-14 hours for vegetative growth, 14-16 hours to encourage blooming on mature plants. Use a timer for consistency and ensure at least 10 hours of darkness.
Can I use a power bank to run my USB grow light overnight?
Only if the power bank supports PD output at your light’s required voltage (usually 12V) and has sufficient capacity (50,000mAh+ for 8+ hours). Most standard power banks cannot do this.
📑 Table of Contents
- Why Your Bird of Paradise Needs Supplemental Light
- Understanding USB Power Delivery for Grow Lights
- Choosing the Right USB Grow Light for Bird of Paradise
- Setting Up Your USB Grow Light System
- Troubleshooting Common USB Grow Light Problems
- Integrating USB Lights into a Complete Care Routine
- Advanced Tips and Pro Setups
- Conclusion
Why Your Bird of Paradise Needs Supplemental Light
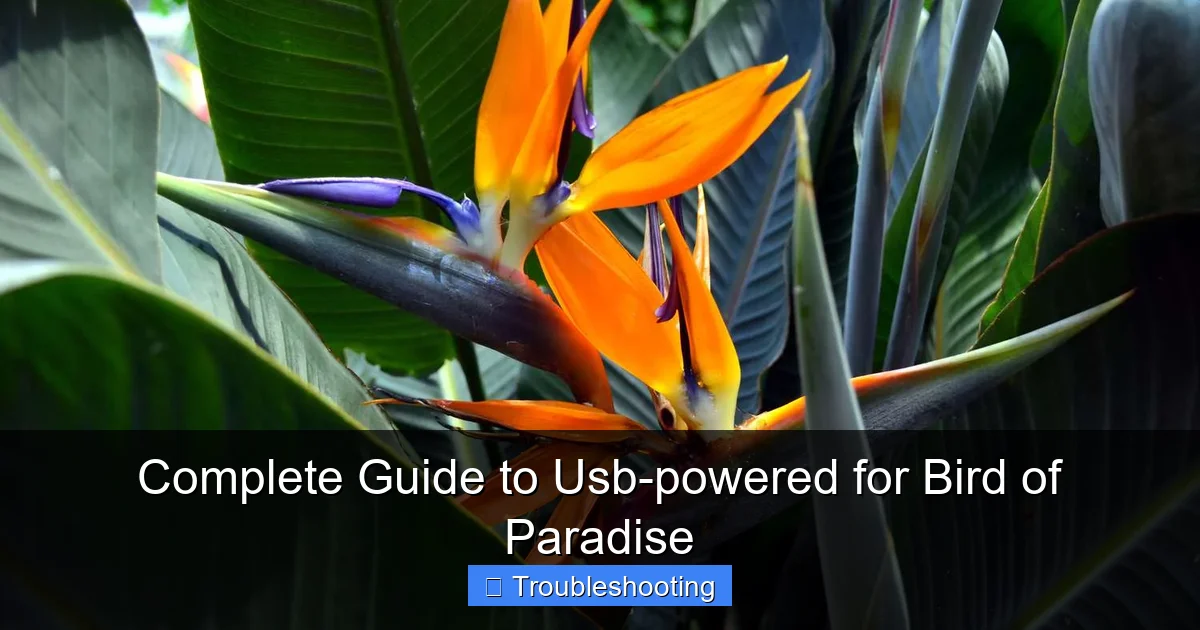
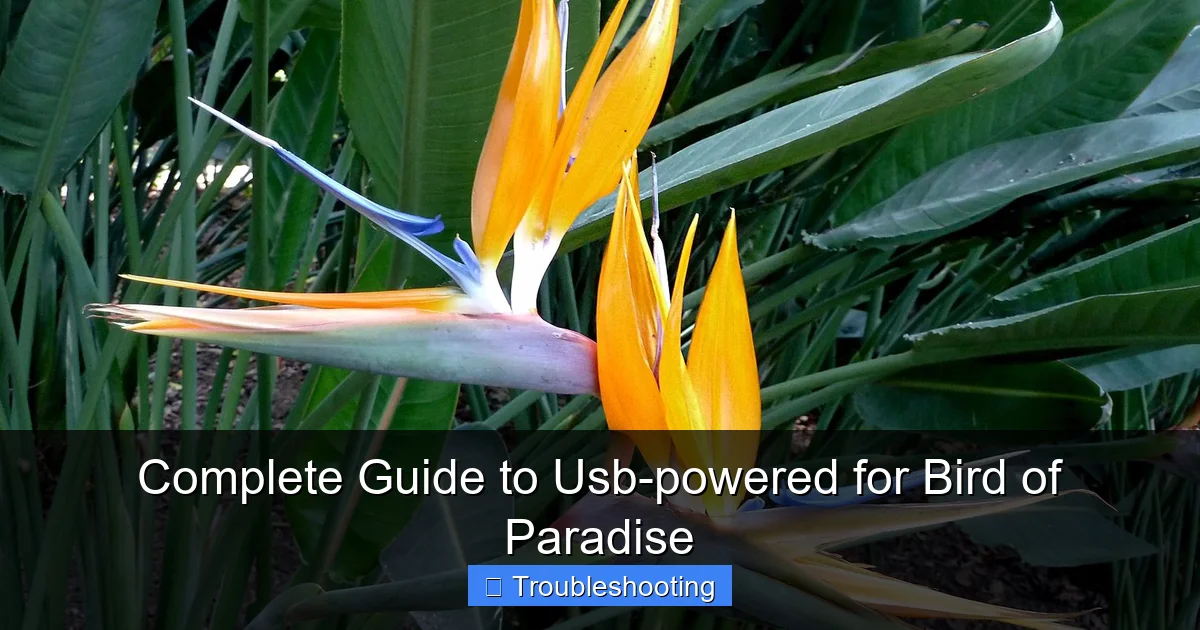
Bird of Paradise plants (Strelitzia reginae and Strelitzia nicolai) are stunning tropical specimens that bring dramatic, architectural foliage and iconic crane-like blooms to indoor spaces. But here is the honest truth: most homes simply do not provide enough natural light for these sun-loving plants to thrive long-term. A Bird of Paradise needs at least six hours of bright, direct or very bright indirect light every single day. Without it, you will see leggy growth, smaller leaves, no flowers, and an overall decline in vigor.
This is where USB-powered grow lights enter the picture. They have evolved from novelty gadgets into genuinely useful tools for indoor gardeners. Unlike traditional grow light fixtures that require dedicated outlets, mounting hardware, and often professional installation, USB lights plug into ports you already have: laptop chargers, power banks, wall adapters, smart power strips, even monitor hubs. They are portable, affordable, and surprisingly capable when chosen and used correctly. This guide walks you through everything you need to know to make USB-powered lighting work for your Bird of Paradise, from selection and setup to troubleshooting the quirks that inevitably pop up.
Understanding USB Power Delivery for Grow Lights
The Basics of USB Standards and Wattage
Not all USB ports are created equal, and this is the single biggest source of frustration for new users. The original USB 2.0 standard delivers a measly 2.5 watts (5V at 0.5A). USB 3.0 bumps that to 4.5 watts (5V at 0.9A). Neither is enough to run a decent grow light at full brightness. You need USB Power Delivery (PD) or Quick Charge (QC) protocols, which negotiate higher voltages (9V, 12V, 15V, 20V) and currents up to 5A, delivering anywhere from 18W to 100W+.
Visual guide about Complete Guide to Usb-powered for Bird of Paradise
Image source: bhg.com
Most quality USB grow lights require at least 18W (typically 12V at 1.5A or 9V at 2A) to produce meaningful photosynthetically active radiation (PAR). If you plug a 20W light into a standard 5W phone charger, it will either run very dim, flicker, shut off, or not turn on at all. Always check the light’s input requirements (printed on the unit or in the manual) and match or exceed them with your power source. A 30W or 45W USB-C PD wall adapter is a safe, future-proof investment that costs $15-25 and runs virtually any USB grow light on the market.
Cable Quality Matters More Than You Think
The cable is not just a wire; it is a critical component of the power delivery chain. Cheap, thin cables have high internal resistance, causing voltage drop under load. Your 20W light might only receive 12W at the end of a 6-foot bargain cable, leading to reduced output, flickering, or the light’s protection circuit shutting it down. Use cables rated for at least 3A (preferably 5A) with USB-C connectors on both ends, or USB-A to USB-C cables with built-in E-marker chips for PD support. Keep cable runs as short as practical. If you need distance, use a longer AC extension cord to the adapter, not a longer USB cable to the light.
Power Banks and Portable Operation
One of the coolest advantages of USB grow lights is the ability to run them off power banks for temporary setups, travel, or areas without outlets. But you need a power bank that supports PD output at the voltage your light requires. Many power banks only output 5V on their USB-A ports and reserve PD for the USB-C port. Check the specs: you want “PD 18W,” “PD 30W,” or higher on the output side. Capacity matters too. A 20,000mAh (74Wh) PD power bank will run a 15W light for roughly 4-5 hours. For overnight operation, you need 50,000mAh+ or a wall outlet. Also, power banks shut off if the draw drops too low (some lights’ dimmest settings trigger this), so test your specific combination before relying on it.
Choosing the Right USB Grow Light for Bird of Paradise
Light Spectrum and Color Temperature
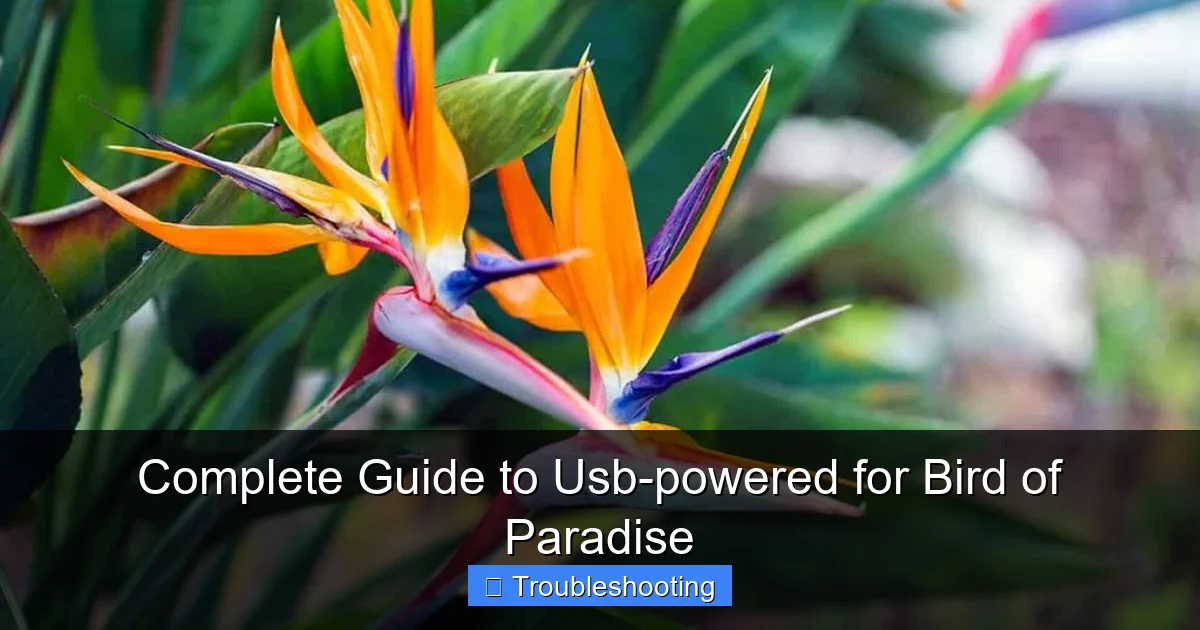
Bird of Paradise plants use light primarily in the blue (400-500nm) and red (600-700nm) ranges for photosynthesis, but they also benefit from green and far-red for morphology and flowering signals. “Full spectrum” white LEDs (typically 4000K-6500K) provide a balanced mix that looks natural to human eyes and supports all growth stages. Avoid “blurple” (heavy blue/red) lights unless you are in a dedicated grow tent where aesthetics do not matter. For a living room plant, 5000K-6500K (daylight/cool white) is ideal. It promotes compact, sturdy growth and encourages blooming in mature plants. Some USB lights offer selectable spectra (veg/bloom switches); leave them on full spectrum or “veg” mode for foliage, switch to “bloom” only if you are actively trying to trigger flowers on a mature (5+ year) plant.
Visual guide about Complete Guide to Usb-powered for Bird of Paradise
Image source: plantglossary.com
PPFD, Coverage Area, and Realistic Expectations
Photosynthetic Photon Flux Density (PPFD) measures usable light intensity at the canopy. A Bird of Paradise wants 300-600 µmol/m²/s for strong growth. Most USB lights in the 10-30W range deliver 100-300 µmol/m²/s at 12-18 inches over a roughly 12×12 inch area. That means one USB light bar or panel supplements one side of a medium plant or fully covers a small juvenile. For a large, floor-sized Bird of Paradise (4-6 feet tall), you need multiple units arranged around the canopy or a single higher-wattage unit (40-60W USB-C PD) with a wider beam angle. Do not expect a single 10W clip light to transform a dark corner. It helps, but it is not a substitute for a south-facing window or a proper 100W+ quantum board.
Form Factors: Bars, Panels, Bulbs, and Flexible Strips
USB grow lights come in several shapes. Rigid bars (12-24 inches) mount under shelves or on stands; they offer good heat dissipation and even coverage. Panels (square or rectangular) pack more LEDs into a compact footprint, great for directional lighting from a tripod. E26/E27 bulbs screw into standard desk lamps or pendant cords powered by a USB adapter—versatile but check the lamp’s max wattage rating. Flexible LED strips (often 5V, not PD) can wrap around stems or run along a trellis; they are best as accent light, not primary. For Bird of Paradise, rigid bars or panels on adjustable stands/arms give you the best control over distance and angle as the plant grows.
Dimming, Timers, and Smart Features
Built-in dimming (usually 3-10 levels or continuous) is essential. Bird of Paradise leaves burn easily if a new light is too intense too fast. Start at 25-50% and ramp up over two weeks. Integrated timers (4/8/12/16 hour cycles) are convenient but often reset after power loss. If your power flickers or you unplug to water, the timer loses sync. A separate mechanical or digital outlet timer ($10) or a smart plug ($15-25) is far more reliable. Some newer USB lights offer Bluetooth or WiFi app control with sunrise/sunset ramping, custom schedules, and grouping. Nice to have, not necessary. Prioritize light quality and power stability over smart features.
Setting Up Your USB Grow Light System
Mounting Options for Renters and Homeowners
You do not need to drill holes. Adhesive-backed hooks (Command strips, 3M dual-lock) hold lightweight bars under shelves or on window frames. Tension rods between window jambs or inside bookshelf uprights create instant mounting lines. Gooseneck clips with weighted bases sit on the floor or shelf and bend to aim light precisely. Tripod stands (camera style) support panels at adjustable heights. Magnetic mounts work on metal shelving or with adhesive metal plates. For a floor plant, a pair of tripod-mounted panels on either side, or a single overhead bar on a tension rod above the canopy, provides the most balanced light. Keep the setup modular so you can raise lights as the plant grows.
Optimal Distance and Angling
Distance determines intensity. Most USB bars/panels should sit 12-24 inches above the highest leaves. Too close (under 8 inches) risks photoinhibition and heat stress; too far (over 30 inches) wastes output. Use a PAR meter app (Photone, PPFD Meter) with a diffuser (white paper) over the phone camera for a rough check. Aim for 300+ µmol/m²/s at mid-canopy. Angle lights slightly inward (10-15 degrees) so beams overlap at the center, reducing shadow zones. Rotate the plant 90 degrees weekly so all sides receive equal light. This prevents the “lean” toward the light source and promotes symmetrical, upright growth.
Photoperiod: How Long to Run the Lights
Bird of Paradise is a long-day plant. It wants 12-14 hours of light daily for vegetative growth, 14-16 hours to encourage blooming. In winter, when natural light is 8-9 hours, run USB lights 14-16 hours total (supplementing before dawn and after dusk). In summer, 4-6 hours of evening extension may suffice. Consistency is key. Use a timer. Do not run lights 24/7; plants need a dark period for respiration and hormonal regulation. A 10-hour dark period minimum is best. If your room gets decent morning sun, set the timer for 2 PM to 10 PM. If the room is dim all day, run 6 AM to 10 PM. Adjust seasonally.
Power Distribution: Hubs, Strips, and Adapters
Running multiple USB lights? Do not daisy-chain them off one port. Use a powered USB-C hub with PD passthrough (e.g., 100W in, 60W out to host, 40W shared across ports) or a multi-port PD wall charger (2x USB-C PD 30W each, or 4-port 65W total). Label cables with tape tags (“Light Left,” “Light Right”) so you know which port controls which light if you need to troubleshoot. Keep the power adapter in a ventilated spot, not buried under a plant saucer or inside a closed cabinet. Heat kills adapters faster than anything else. Surge protection is wise; a $20 surge-protected power strip feeding your PD adapter protects against spikes that can fry sensitive LED drivers.
Troubleshooting Common USB Grow Light Problems
Light Won’t Turn On or Flickers at Startup
This is almost always a power negotiation failure. The light’s driver requests a voltage (e.g., 12V) that the source cannot provide. Fixes: 1) Verify your adapter supports the required voltage (check light specs: “Input: 12V/2A” means you need a 12V-capable PD adapter). 2) Try a different cable (must support 3A+ and PD). 3) Plug directly into the adapter, bypassing hubs or extension cables. 4) If using a power bank, press its power button to wake PD negotiation. 5) Some lights have a specific startup sequence: plug in, wait 3 seconds, press power button. Read the manual. If nothing works, test the light on a known-good high-wattage PD charger (like a 65W laptop charger). If it works there, your original adapter/cable is the culprit.
Light Runs Dim Even at 100% Setting
Voltage drop under load. The adapter negotiates correctly, but the cable or hub cannot deliver the current without excessive resistance. The driver sees low voltage and throttles output to protect itself. Fixes: 1) Swap to a shorter, thicker, high-current cable (look for “5A” or “100W” rating). 2) Remove intermediate hubs; plug straight into the adapter. 3) If using a multi-port charger, ensure total draw does not exceed its budget (e.g., two 20W lights on a 30W charger will both run dim). 4) Check for debris in USB-C ports (both ends); lint increases resistance dramatically. Clean with compressed air and a plastic dental pick. 5) Some cheap lights simply overstate their wattage; a “20W” light may only draw 12W max. Measure with a USB-C power meter ($15) to know the truth.
Timer Resets or Loses Schedule
Built-in timers on USB lights almost universally lack battery backup. Any power interruption (unplugging to water, brief outage, adapter thermal shutdown) resets the clock to zero. The light then runs from that moment, not the intended schedule. Fix: Use an external timer at the AC side, not the USB side. Plug your PD adapter into a digital outlet timer with battery backup or a smart plug (TP-Link Kasa, Wyze, Meross) that retains schedule in non-volatile memory and syncs time via WiFi. Set the light to “always on” (or its highest dimming level) and let the external timer control power. This also lets you group multiple lights on one schedule.
Overheating, Burnt Leaf Tips, or Bleached Patches
USB lights run cooler than HID or high-wattage COB LEDs, but they still produce heat concentrated in a small area. If leaves touch the lens or sit within 6 inches of a 20W+ bar, you get heat stress: brown crispy tips, yellow halos, or white bleached spots. Fixes: 1) Increase distance immediately. 2) Add a small USB desk fan (5V, 2W) blowing across the light’s heatsink and the canopy; this drops leaf temperature 3-5°F. 3) Reduce intensity by 20-30% and extend photoperiod by 1-2 hours to compensate DLI (Daily Light Integral). 4) Ensure the light’s heatsink fins are vertical (hot air rises) and not blocked by cables or plant tags. 5) Check that the driver (often in the plug or inline box) is not sitting on a heat-trapping surface.
Connectivity Issues with Smart/App-Controlled Lights
Bluetooth lights lose connection beyond 30 feet or through walls. WiFi lights need 2.4GHz networks (not 5GHz) and often fail on mesh systems with band steering enabled. Fixes: 1) For Bluetooth, keep your phone within range during setup; schedules then run on the light’s internal clock. 2) For WiFi, create a dedicated 2.4GHz SSID (Guest network or IoT VLAN) with band steering off. 3) If the app shows “device offline” but the light works on its physical buttons, the cloud sync is broken, not the light. Re-pair by power-cycling the light (unplug 10 seconds) and re-adding in the app. 4) Firmware updates fix many bugs; check the app monthly. 5) If all else fails, treat it as a dumb light on an external smart plug; you lose ramping but gain reliability.
Water Damage and Corrosion
Bird of Paradise likes humidity and frequent watering. USB ports and connectors hate moisture. Water drips down leaves onto cables, or misting settles on exposed contacts. Corrosion (green/white powder) increases resistance, causes shorts, and kills drivers. Prevention: 1) Route cables away from the plant’s drip line. Use adhesive cable clips to run wires up the back of the stand, not across the soil. 2) Apply dielectric grease (silicone-based) to USB-C plugs before inserting; it repels water and prevents oxidation. 3) Use right-angle connectors so cables point down, not out, reducing drip paths. 4) Cover unused ports on hubs with silicone dust plugs. 5) If you see corrosion, unplug immediately, clean contacts with 99% isopropyl alcohol and a soft brush, dry thoroughly, re-grease, and reassemble. Replace cables with damaged jackets.
Integrating USB Lights into a Complete Care Routine
Watering Adjustments Under Supplemental Light
More light means more photosynthesis, more transpiration, faster soil drying. A Bird of Paradise under 14 hours of quality USB light will drink 30-50% more water than the same plant in a dim corner. Check soil moisture every 2-3 days instead of weekly. Use the finger test (dry to second knuckle) or a wooden chopstick (comes out clean = water). Water thoroughly until it drains freely, then empty the saucer. Do not let the pot sit in water. Consider a moisture meter if you have multiple plants; the XLUX T10 is cheap and reliable. Adjust seasonally: winter growth slows even with lights, so reduce frequency but not volume per watering.
Humidity and Airflow Considerations
USB lights warm the immediate microclimate. This lowers relative humidity around the leaves, risking crispy edges and spider mite outbreaks. Target 50-60% RH. Group plants together, use a pebble tray (pot on stones, water below stone level), or run a small humidifier (3-5L) on a timer opposite the lights. Airflow is equally critical. Stagnant air + warmth + humidity = fungal issues. A clip-on fan (USB-powered, naturally) running 15 minutes per hour on a cycle timer keeps air moving without drying leaves excessively. Point it above the canopy, not directly at leaves.
Fertilizing Under Consistent Light
Consistent year-round light means consistent growth, which means consistent nutrient demand. Do not stop fertilizing in winter if your lights keep the plant actively growing. Use a balanced urea-free fertilizer (3-1-2 or 9-3-6 ratio) at 1/4 strength every watering, or 1/2 strength every other watering. Flush the pot monthly with 3x pot volume of plain water to prevent salt buildup. Watch for tip burn (over-fertilizing) or pale new growth (under-fertilizing). Bird of Paradise also appreciates occasional magnesium (Epsom salts, 1 tsp/gal monthly) and calcium (Cal-Mag supplement if using RO or very soft water).
Seasonal Transitions and Acclimation
If you move your Bird of Paradise outdoors for summer, acclimate it over 10-14 days. Start in full shade, add 30 minutes of morning sun every 2 days. USB lights make this easier: run them at 50% indoors for a week before moving out, then 25% for a week in shade, then off. Reverse the process in fall: bring inside, run lights at 25% for a week, ramp to full over 2 weeks. This prevents the massive leaf drop that shocks plants moved abruptly between light environments. Keep the same photoperiod timer schedule throughout to maintain circadian rhythm.
Advanced Tips and Pro Setups
Multi-Light Arrays for Large Specimens
For a 5-foot Bird of Paradise, a single light is insufficient. Build a three-point array: one overhead panel (30-40W) on a boom arm or ceiling mount, two side bars (15-20W each) on goosenecks or tripods at mid-height, angled inward. Total 60-80W draw, requiring a 100W multi-port PD charger or two 65W adapters. This mimics overhead sun with fill light, reducing self-shading in the dense lower canopy. Wire all lights to a single smart plug group for unified control. Use a PAR meter to map coverage and adjust angles until the lower leaves read 200+ µmol/m²/s.
Spectral Tuning for Flower Induction
Mature Bird of Paradise (5+ years, 12+ leaves) can be coaxed into bloom with spectral manipulation. After 6 months of strong vegetative growth under 6500K, switch to a bloom-boost spectrum (higher red/far-red ratio, ~3000K with 660nm and 730nm peaks) for 8-10 weeks while maintaining 14-hour photoperiod. Some USB panels offer this via app or physical switch. Reduce nitrogen fertilizer, increase phosphorus/potassium (1-3-2 ratio). Slightly cooler nights (65°F vs 72°F) help too. This mimics the seasonal shift that triggers flowering in nature. Success is not guaranteed, but light quality is a major lever.
Data Logging and Environmental Monitoring
Serious growers track DLI (Daily Light Integral), temperature, humidity, and VPD (Vapor Pressure Deficit). A Govee H5075 or SensorPush Bluetooth hygrometer logs temp/RH. A PAR meter (Apogee MQ-500 or cheaper Chinese clones) gives spot PPFD readings. Calculate DLI: PPFD (µmol/m²/s) × photoperiod (hours) × 3600 / 1,000,000 = mol/m²/day. Target 15-25 mol/m²/day for Bird of Paradise. Log weekly in a spreadsheet. Correlate with growth metrics (new leaf size, unfurling speed, petiole length). This turns guesswork into optimization.
Emergency Backup Power
If you live in an area with frequent outages, a UPS (Uninterruptible Power Supply) for your lighting circuit is cheap insurance. A 450VA UPS ($60) runs a 60W USB light array for 30-40 minutes—enough to bridge short outages without resetting timers or stressing plants with sudden darkness. For longer outages, a portable power station (Jackery 240Wh, EcoFlow River 288Wh) runs the same array 4-5 hours. Plug your PD adapter into the UPS/station, not the wall. Test quarterly. Your plants will thank you for the consistency.
Conclusion
USB-powered grow lights have democratized supplemental lighting for indoor gardeners. They are affordable, flexible, and increasingly capable. For a Bird of Paradise, they can mean the difference between a surviving specimen and a thriving, blooming centerpiece. But success depends on understanding the nuances: power delivery standards, cable quality, realistic coverage expectations, and the discipline to integrate lighting into a holistic care routine. Start with one quality 20-30W full-spectrum bar on a timer, powered by a 30W+ PD adapter. Observe your plant for two weeks. Adjust distance, intensity, and duration based on its response. Add a second light if needed. Automate with a smart plug. Keep cables dry and connections clean. And most importantly, enjoy the process. There is something deeply satisfying about watching a tropical giant unfurl massive, glossy leaves in a northern apartment in January, powered by the same port that charges your phone. Your Bird of Paradise will reward you with growth that is structural, architectural, and unmistakably alive.
Frequently Asked Questions
What wattage USB grow light do I need for a Bird of Paradise?
A single 20-30W full-spectrum USB-C PD light bar or panel supplements one side of a medium plant. For a large floor specimen, use 60-80W total across 2-3 lights (e.g., one 40W overhead + two 20W side bars) powered by a 100W multi-port PD charger.
Will USB grow lights burn my Bird of Paradise leaves?
Yes, if placed too close (under 8 inches) or run at 100% intensity without acclimation. Start at 50% intensity and 24 inches distance, then gradually increase over 10-14 days while monitoring for bleached patches or crispy tips.
Do I need a special cable for my USB grow light?
Yes. Use a USB-C to USB-C cable rated for 5A/100W or USB-A to USB-C with an E-marker chip supporting Power Delivery. Cheap charging cables cause voltage drop, flickering, and reduced light output.
Can I plug multiple USB grow lights into one USB hub?
Only if the hub has its own power adapter (PD passthrough) and the total light wattage does not exceed the hub’s output budget. Unpowered hubs split 500mA-900mA across ports—nowhere near enough for grow lights.
How do I prevent my USB light’s timer from resetting when I unplug to water?
Do not rely on the light’s built-in timer. Plug the PD adapter into a battery-backed digital outlet timer or a WiFi smart plug (Kasa, Wyze, Meross) that retains schedules through power loss. Set the light to “always on” mode.
Is it okay to run USB grow lights 24 hours a day for faster growth?
No. Plants require a dark period (minimum 10 hours) for respiration, hormone regulation, and carbohydrate translocation. Continuous light causes oxidative stress, leaf chlorosis, and long-term decline. Stick to 14-16 hours maximum.