How to Maintain Perlite for String of Turtles
Perlite keeps the soil airy for string of turtles, but it can break down or compact over time. Regular flushing, gentle stirring, and timely replacement keep the mix healthy and your plant thriving.
If you love the trailing vines of a string of turtles, you already know that the right soil mix makes all the difference. Perlite is the secret ingredient that keeps the mix light, airy, and fast‑draining. But perlite is not a set‑and‑forget material. Over time it can break down, settle, or collect salts that hurt your plant. This guide walks you through every step to keep perlite performing at its best for your string of turtles.
We’ll cover why perlite matters, how to spot trouble early, simple routine care, and when it’s time for a full refresh. By the end you’ll have a clear maintenance schedule that fits into a busy lifestyle and keeps your string of turtles looking lush year after year.
Key Takeaways
- Perlite provides essential aeration: It creates air pockets that let roots breathe and water drain quickly.
- Watch for compaction: When perlite settles, drainage slows and roots can suffocate.
- Flush regularly: Running water through the pot removes salts and keeps perlite loose.
- Stir gently each season: Lightly turning the top layer refreshes air spaces without damaging roots.
- Replace old perlite every 12‑18 months: Fresh material restores optimal structure and prevents buildup.
- Combine with organic matter: A small amount of coconut coir or peat balances moisture retention.
Quick Answers to Common Questions
How often should I flush perlite for string of turtles?
Flush the pot with lukewarm water once a month to remove salts and keep perlite airy.
Can I reuse old perlite after cleaning?
You can rinse and sterilize old perlite, but it loses structure over time; replacing it annually is safer.
What ratio of perlite to soil works best?
A 1:1:1 mix of potting soil, perlite, and coconut coir provides excellent drainage and moisture balance.
Why does my string of turtles have yellow lower leaves?
Yellowing often signals root suffocation from compacted perlite or overwatering; check drainage and aerate the mix.
Is biochar necessary for perlite maintenance?
Biochar is optional but adds lasting porosity and nutrient retention, reducing how often you need to replace perlite.
📑 Table of Contents
Understanding Perlite and Its Role for String of Turtles
What is perlite?
Perlite is a volcanic glass that expands when heated. The result is a lightweight, white granule full of tiny air pockets. Those pockets are what give perlite its superpower: they hold air while letting water pass through almost instantly.
Why string of turtles loves perlite
String of turtles (Peperomia prostrata) has delicate, succulent‑like leaves and a shallow root system. It hates soggy feet. A mix rich in perlite mimics the rocky, well‑drained habitats the plant enjoys in the wild. The air pockets let roots breathe, reduce the risk of rot, and encourage steady growth.
Typical perlite ratio
Most growers use a 1:1:1 blend of potting soil, perlite, and a moisture‑retentive component like coconut coir. This ratio gives enough structure for support while keeping the mix loose. Adjust the perlite up to 50 % if you live in a humid climate or tend to overwater.
Signs Your Perlite Needs Attention
Surface crust and hard spots
When you press the top of the pot and feel a firm crust, perlite has likely compacted. Water will pool on the surface instead of soaking in.
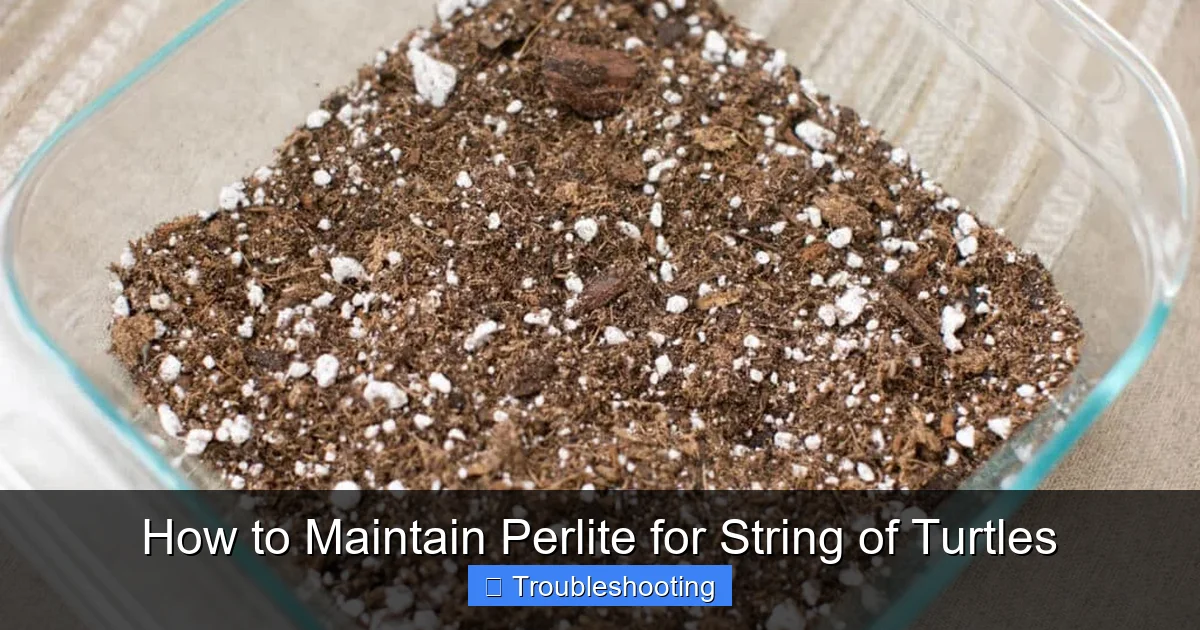
Visual guide about How to Maintain Perlite for String of Turtles
Image source: greengardencottage.com
Slow drainage
If water sits in the saucer for more than a minute after watering, the perlite network is clogged. This often happens when fine dust from degraded perlite fills the air gaps.
Salt buildup on the rim
White crusty deposits on the pot edge signal that minerals from fertilizer have accumulated. Perlite does not absorb salts, so they concentrate in the remaining pore space.
Root health clues
Yellowing lower leaves, mushy stems, or a foul smell from the soil are late warnings. They usually mean the roots have been sitting in anaerobic conditions caused by compacted perlite.
Routine Maintenance: Flushing and Aeration
Monthly deep flush
Once a month, take the pot to a sink or outdoor area. Run lukewarm water through the soil until it flows freely from the drainage holes for at least two minutes. This pushes out excess salts and re‑opens tiny channels in the perlite.
Gentle top‑layer stir
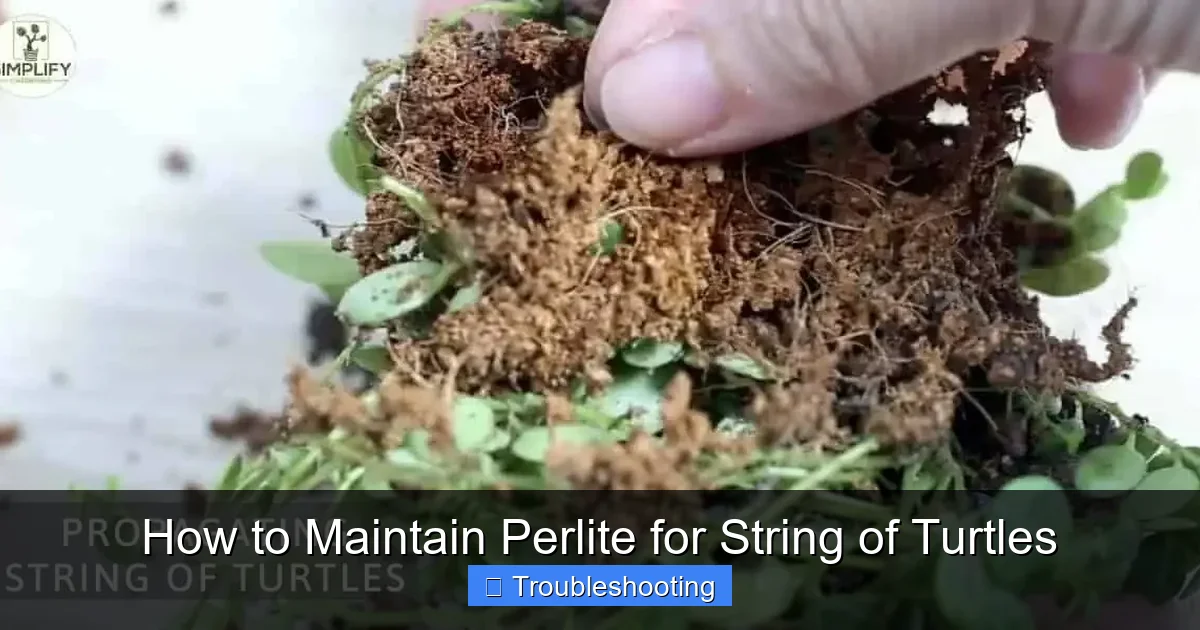
After flushing, use a chopstick or a small hand fork to lightly loosen the upper 2‑3 cm of mix. Work slowly to avoid tearing the shallow roots of your string of turtles. A quick stir restores air pockets that may have collapsed during watering.
Check moisture with a finger
Insert your index finger up to the second knuckle. If the mix feels dry at that depth, it’s time to water. If it’s still moist, hold off. Consistent moisture checks prevent both over‑ and under‑watering, which both stress perlite structure.
Use a moisture meter for precision
If you prefer gadgets, a simple analog moisture meter gives a quick readout. Aim for a reading in the “moist” zone, not “wet.” This tool is especially handy when you have several pots to manage.
Preventing Compaction and Salt Buildup
Choose high‑quality perlite
Not all perlite is created equal. Horticultural grade perlite is screened for uniform size and low dust. Cheap construction perlite often contains fine particles that accelerate compaction.
Add a thin mulch layer
A 1‑cm layer of fine bark or coconut husk on top of the mix reduces surface evaporation and protects perlite from direct water impact. The mulch also slows salt migration to the surface.
Fertilize wisely
Use a diluted, balanced liquid fertilizer at half strength every 4‑6 weeks during the growing season. Over‑fertilizing loads the mix with salts that perlite cannot buffer. Flush thoroughly after each feeding.
Rotate the pot
Every few weeks, turn the pot a quarter turn. This encourages even root distribution and prevents one side of the perlite from compacting faster than the other.
When and How to Replace Perlite
Typical replacement timeline
Plan to refresh the perlite component every 12 to 18 months. In high‑humidity homes or with heavy feeding, lean toward the 12‑month mark. In drier conditions with light feeding, you can stretch to 18 months.
Step‑by‑step replacement
- Remove the plant: Gently tip the pot and slide the root ball out. Support the base of the string of turtles to avoid stem breakage.
- Shake off old mix: Lightly tap the root ball to dislodge loose perlite and soil. Do not wash roots; a little old mix helps reduce transplant shock.
- Inspect roots: Trim any black, mushy roots with sterile scissors. Healthy roots are white or light tan and firm.
- Prepare fresh blend: Mix new horticultural perlite with fresh potting soil and a handful of coconut coir in your chosen ratio.
- Repot: Place a layer of fresh mix at the bottom, set the plant, and fill around the sides. Lightly firm the mix, then water thoroughly to settle.
Signs you can wait longer
If the plant shows vigorous new growth, the perlite still feels loose when you press the soil, and drainage remains fast, you can push the replacement to the later end of the window.
Advanced Tips for Long‑Term Success
Incorporate biochar
A small handful of horticultural biochar (about 5 % of total volume) adds permanent microporosity. It does not break down like perlite and helps retain nutrients without holding excess water.
Use a double‑pot system
Place the nursery pot inside a decorative cache pot with a layer of gravel at the bottom. The gravel creates an extra drainage reservoir, reducing the load on perlite during heavy watering.
Monitor pH periodically
Perlite is neutral, but the surrounding soil can drift. A quick pH test every 3‑4 months keeps the environment in the 6.0‑6.5 range that string of turtles prefers.
Seasonal watering adjustments
In winter, cut watering frequency by half. Cooler temperatures slow evaporation, so perlite stays moist longer. Overwatering in winter is the fastest way to compact the mix.
Keep a care journal
Note the date of each flush, stir, fertilizer application, and perlite replacement. Patterns emerge over a year, letting you fine‑tune the schedule for your specific microclimate.
Conclusion
Maintaining perlite for string of turtles is not a chore; it’s a rhythm that keeps your plant happy. By understanding the role of perlite, spotting early warning signs, and following a simple monthly flush‑and‑stir routine, you prevent compaction and salt buildup before they become problems. Replace the perlite once a year or so, add a pinch of biochar or mulch for extra stability, and adjust watering with the seasons. With these habits in place, your string of turtles will reward you with cascading, turtle‑shaped leaves that stay vibrant and healthy for years to come.
Frequently Asked Questions
What is the best type of perlite for string of turtles?
Horticultural grade perlite screened for uniform particle size and low dust is ideal. It resists compaction better than construction grade perlite.
How do I know when perlite has compacted?
Press the soil surface; if it feels hard or water pools on top, the perlite has likely compacted and needs aeration or replacement.
Can I mix sand with perlite for better drainage?
Adding coarse sand can improve drainage, but too much sand reduces aeration. Keep sand under 10 % of the total mix.
Should I fertilize during winter?
Reduce or stop fertilizing in winter because the plant’s growth slows and excess salts accumulate in the perlite.
How deep should I stir the top layer?
Stir only the top 2‑3 cm to refresh air pockets without disturbing the shallow roots of string of turtles.
What signs indicate it’s time to replace perlite entirely?
Persistent slow drainage, a hard crust that won’t break up, and recurring root rot despite regular flushing all point to a full perlite refresh.