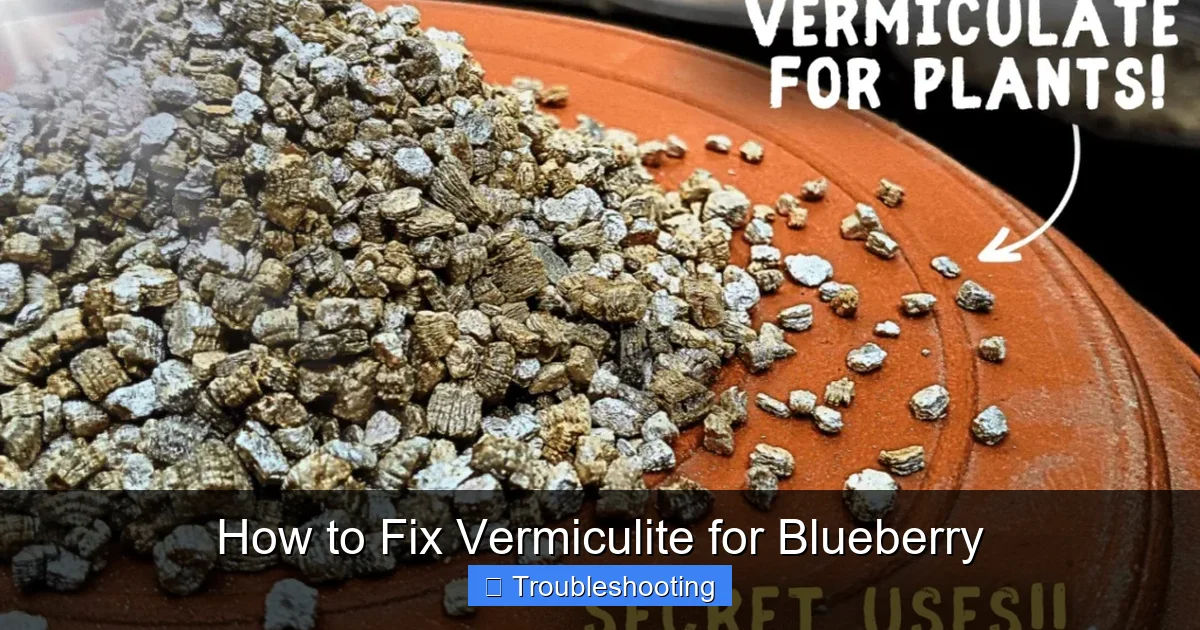
How to Fix Vermiculite for Blueberry
This guide explains how to fix vermiculite for blueberry by testing pH, adding acidic amendments, and mixing a balanced medium. Follow the step‑by‑step plan to give your blueberries the acidic, well‑drained home they need for big yields.
When you learn how to fix vermiculite for blueberry, you start with a clear goal. Blueberries love acidic soil. Vermiculite alone is neutral. You must lower the pH. This guide shows you each step.
First, understand why vermiculite is popular. It holds water well. It also aerates the root zone. But the pH is too high for blueberries. You will adjust it with simple amendments.
Next, gather your tools. You need a pH meter or test kit. You need peat moss, elemental sulfur, and pine bark. You also need a clean container for mixing. Having everything ready speeds the work.
Key Takeaways
- Test pH first: Knowing the starting pH helps you choose the right amendments.
- Use acidic additives: Peat moss, sulfur, or pine bark lower the pH for blueberries.
- Mix thoroughly: Even distribution prevents hot spots that hurt roots.
- Water gently: Keep the mix moist but not soggy to avoid root rot.
- Monitor regularly: Retest pH each season to keep the soil in the ideal range.
- Mulch with pine needles: This adds organic acidity and conserves moisture.
- Follow a step‑by‑step plan: A clear process reduces mistakes and saves time.
Quick Answers to Common Questions
What is the ideal pH for blueberries?
The ideal pH range for blueberries is 4.5 to 5.5.
Can I use only vermiculite for blueberries?
Pure vermiculite is too neutral; you must amend it to lower the pH.
How long does sulfur take to lower pH?
Elemental sulfur can take several weeks to fully react in the mix.
Should I fertilize right after planting?
Wait a few weeks before applying fertilizer to let roots establish.
How often should I retest the soil pH?
Retest at least twice a year, in spring and fall.
📑 Table of Contents
Why Vermiculite Matters for Blueberries
When you study how to fix vermiculite for blueberry, you see that vermiculite gives great moisture retention. It also keeps the mix light. Blueberries have shallow roots that need constant moisture. The neutral pH of plain vermiculite can limit nutrient uptake. Adding acidic material solves this problem.
Blueberries thrive at a pH between 4.5 and 5.5. Vermiculite usually measures around 7.0. That gap blocks iron and manganese absorption. The result is yellow leaves and poor fruit set. Adjusting the mix restores healthy growth.
Many growers choose vermiculite because it is sterile and free of weeds. It also resists compaction over time. When you combine it with the right amendments, you get a stable, long‑lasting medium. This makes the effort worthwhile.
When you learn how to fix vermiculite for blueberry, you discover that consistent moisture is critical. The vermiculite particles hold water like tiny sponges. This reduces the need for daily watering. However, you must still check the surface each morning. A dry top layer signals the need for a light mist. Over time the mix will settle and create a stable root zone. Regular monitoring prevents stress on the plants. This habit leads to stronger canes and better fruit set.
When you explore how to fix vermiculite for blueberry, you notice that the light texture helps roots spread quickly. Young roots can penetrate the mix without resistance. This early vigor translates into earlier flowering. A well‑aerated medium also reduces the risk of fungal diseases. Good airflow around roots keeps them healthy. You will see fewer wilted leaves during hot spells. The result is a more resilient bush.
When you practice how to fix vermiculite for blueberry, you appreciate that the medium stays loose for years. Unlike peat, it does not break down into a dense mat. This longevity means you can reuse the mix for several seasons. You only need to refresh the acidic amendments each year. The cost savings add up over time. Your garden budget stays friendly.
Testing and Adjusting pH
Before you begin how to fix vermiculite for blueberry, test the current pH. Use a reliable soil pH meter or a colorimetric kit. Take a small sample of the dry vermiculite. Follow the kit instructions carefully. Record the reading for reference.
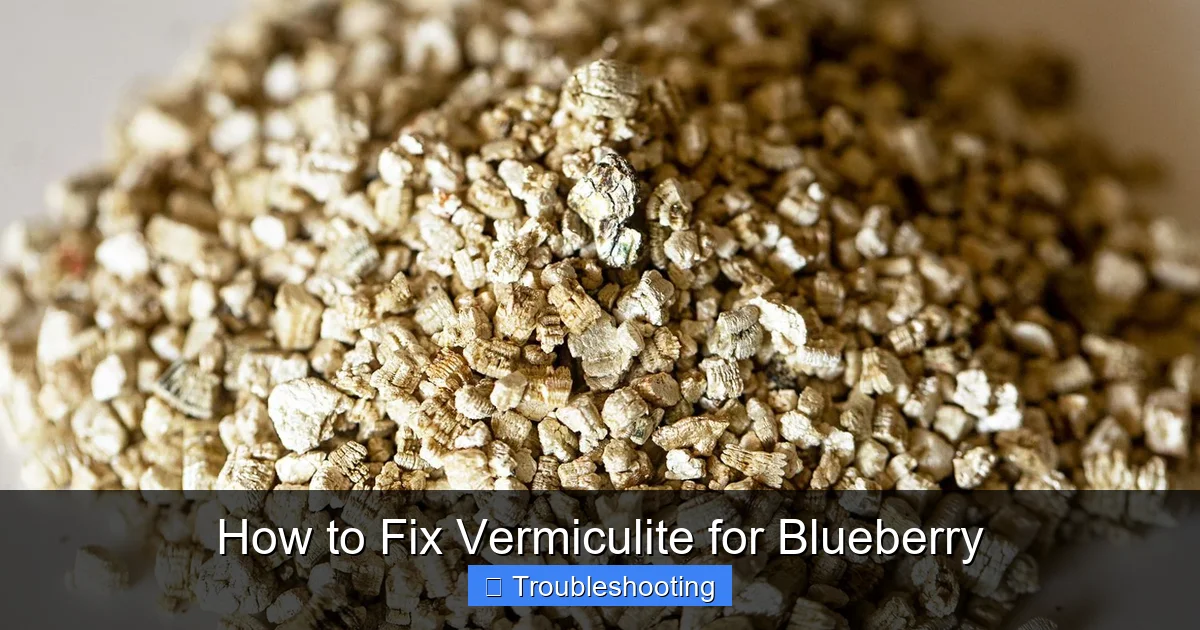
Visual guide about How to Fix Vermiculite for Blueberry
Image source: thespruce.com
If the pH is above 5.5, you need to lower it. Elemental sulfur works slowly but lasts long. Peat moss drops pH faster and adds organic matter. Pine bark adds structure and acidity. Choose one or blend them based on how fast you want results.
After adding amendments, wait 24 hours and retest. The pH should move into the target range. If it is still high, add a little more sulfur. Retest again after another day. Patience prevents over‑acidifying the mix.
When you follow how to fix vermiculite for blueberry, you learn that a digital meter gives instant feedback. Calibrate the probe before each use. Rinse it with distilled water between readings. This avoids cross‑contamination. Accurate data leads to precise amendment rates. You will waste less material and time.
When you test how to fix vermiculite for blueberry, you may see a temporary pH dip after watering. This is normal as water dissolves some amendments. Wait a few hours before the final reading. The stabilized value guides your next step. Consistency in testing builds confidence.
When you adjust how to fix vermiculite for blueberry, keep a log of each test date and result. Note the amendment type and amount used. Over seasons you will see patterns. This record helps you predict when to re‑amend. A simple notebook works fine.
How to Fix Vermiculite for Blueberry: Step‑by‑Step Guide
Gather Materials
When you follow how to fix vermiculite for blueberry, start by collecting all ingredients. You need coarse vermiculite, peat moss, elemental sulfur, pine bark fines, and a clean bucket. A garden trowel and gloves help keep things tidy.
Mix the Base
In the bucket combine three parts vermiculite with one part peat moss. Stir until the texture looks uniform. This base holds water and provides a light structure. The peat begins to lower the pH right away.
Add Acidic Amendments
Sprinkle one tablespoon of elemental sulfur per gallon of mix. Add a handful of pine bark fines for extra acidity and drainage. Mix thoroughly so every particle contacts the amendments. Even distribution is key for consistent pH.
Moisten and Settle
Lightly spray the blend with water until it feels damp but not soggy. Let the mix sit for an hour. This rest period allows sulfur to start reacting. Check the moisture level again before planting.
Plant Your Blueberries
Make a hole in the prepared mix large enough for the root ball. Set the plant at the same depth it grew in the nursery pot. Backfill gently and firm the mix around the roots. Water thoroughly to settle the medium.
When you execute how to fix vermiculite for blueberry, you notice the mix feels light in your hands. This lightness means roots can expand without obstruction. The first watering will settle any air pockets. Check for any dry spots after the first soak. Add a little more mix if needed. The plant will establish quickly.
When you monitor how to fix vermiculite for blueberry after planting, watch for new leaf growth within two weeks. Healthy green leaves indicate the pH is in range. If you see yellowing, test the pH again. A small top‑dress of sulfur can correct it. Early action saves the crop.
When you maintain how to fix vermiculite for blueberry through the first season, mulch the surface with pine needles. This mulch slowly releases acidity as it breaks down. It also conserves moisture and suppresses weeds. Refresh the mulch layer each year. Your bushes will thank you.
Common Mistakes and How to Avoid Them
When you practice how to fix vermiculite for blueberry, avoid over‑watering. Too much water fills air pores and suffocates roots. Keep the mix just moist. Use a finger test to gauge moisture daily.
Another error is adding lime or wood ash. These raise pH and undo your work. Stick to acidic amendments only. Read labels before buying any soil additive.
Ignoring drainage is a third pitfall. Even a perfect pH mix can fail if water pools at the bottom. Ensure containers have drainage holes. Add a layer of coarse gravel if needed.
When you learn how to fix vermiculite for blueberry, you see that using too much sulfur at once can shock the roots. Apply the recommended rate and wait. Gradual change is safer for the plant. Patience pays off.
When you avoid how to fix vermiculite for blueberry mistakes, you also skip the temptation to add compost that is not acidic. Compost often raises pH. If you must add organic matter, choose well‑rotted pine bark instead. This keeps the acidity stable.
When you prevent how to fix vermiculite for blueberry errors, you check the container size. A pot that is too small restricts root growth. Choose at least a 15‑gallon container for mature bushes. Adequate space supports higher yields.
Long‑Term Care for Blueberries in Vermiculite
After you master how to fix vermiculite for blueberry, feed the plants with a fertilizer formulated for acid‑loving crops. Apply in early spring and again after harvest. Follow the label rates to avoid salt buildup.
Mulch the surface with pine needles or shredded bark. This mulch slowly releases acidity as it breaks down. It also conserves moisture and suppresses weeds. Refresh the mulch layer each year.
Check the pH at least twice a season. Spring and fall are ideal times. If the pH drifts upward, top‑dress with a little sulfur or peat. Small adjustments keep the plants in the sweet spot.
When you sustain how to fix vermiculite for blueberry over years, you rotate the mulch type occasionally. Switching between pine needles and bark adds diverse organic acids. This diversity supports a healthy microbial community. A thriving soil life improves nutrient availability.
When you continue how to fix vermiculite for blueberry, you prune the bushes each winter. Removing old wood encourages new fruiting canes. Pruning also improves air flow through the canopy. Better airflow reduces disease pressure.
When you perfect how to fix vermiculite for blueberry, you keep a seasonal calendar. Mark testing dates, fertilizer applications, and mulch renewal. A simple wall chart works well. Consistency turns good habits into great harvests.
Wrap Up
You now know how to fix vermiculite for blueberry from start to finish. Test the pH, add the right acidic ingredients, mix well, and monitor over time. With a little patience your blueberry bushes will reward you with abundant, sweet berries. Happy growing!
Frequently Asked Questions
What amendments work best to acidify vermiculite?
Peat moss, elemental sulfur, and pine bark fines are the most effective amendments for lowering vermiculite pH.
Can I reuse the vermiculite mix for multiple seasons?
Yes, the mix can be reused if you refresh the acidic amendments and monitor pH each season.
Is it necessary to sterilize vermiculite before use?
Commercial vermiculite is already sterile; additional sterilization is not required.
What type of container works best for blueberry plants in vermiculite?
Choose a container with good drainage holes and a capacity of at least 15 gallons for mature bushes.
How do I know if my blueberries are getting enough acidity?
Healthy green leaves and steady fruit set indicate proper acidity; yellowing leaves signal a pH problem.
Can I mix compost into the vermiculite blend?
Compost is usually neutral to alkaline; use it sparingly and always retest pH afterward.