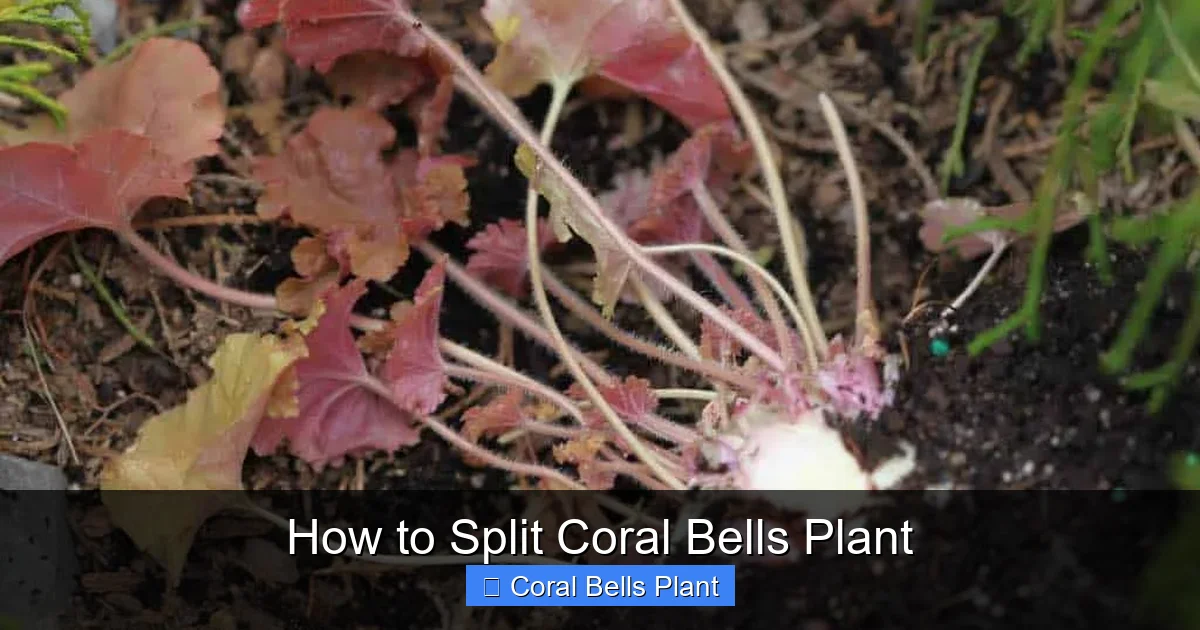
How to Split Coral Bells Plant
Splitting coral bells rejuvenates the plant, boosts vigor, and gives you free new starts. Follow the right season, use clean tools, and give divisions a gentle watering routine for success.
Key Takeaways
- Timing matters: Early spring or early fall gives the best recovery window.
- Clean tools prevent disease: Sterilize knives or spades before each cut.
- Divide healthy crowns: Each piece needs roots and at least three shoots.
- Water gently after planting: Keep soil moist but not soggy for the first few weeks.
- Mulch helps retain moisture: A thin layer of shredded bark protects new roots.
- Watch for stress signs: Yellowing leaves or wilting mean the division needs more shade or water.
- Replant promptly: The longer a division sits out of soil, the lower its survival rate.
Quick Answers to Common Questions
What is the best time of year to split coral bells?
Early spring or early fall, when temperatures are mild and the plant is actively growing.
How many shoots should each division have?
At least three healthy shoots with a good root mass for a strong start.
Do I need rooting hormone for coral bells divisions?
It’s optional; most divisions root well without it, but hormone can help very small pieces.
How deep should I plant the crown after splitting?
Plant the crown at the same depth it was originally, just at soil level.
How often should I water newly divided coral bells?
Keep the soil consistently moist for the first two weeks, then water when the top inch feels dry.
📑 Table of Contents
Introduction
If you love the colorful foliage of coral bells, you probably want more of them in your garden. Learning how to split coral bells plant is a simple way to multiply your collection without buying new pots. The process is straightforward, but a few key details make the difference between thriving divisions and disappointed plants. In this guide we walk through every step, from choosing the right time to caring for the new starts.
Coral bells, also known as Heuchera, form tight clumps that slowly expand. Over time the center can become woody and less vigorous. Splitting the clump refreshes the plant, encourages fresh growth, and gives you extra pieces to share or plant elsewhere. The best part? You only need basic garden tools and a little patience.
Understanding Coral Bells
What makes coral bells unique
Coral bells are prized for their ruffled leaves that come in shades of purple, bronze, lime, and silver. They produce delicate bell‑shaped flowers on tall stems in late spring. The plant grows from a central crown with fibrous roots that spread outward. Because the crown can become dense, periodic division keeps the plant healthy.
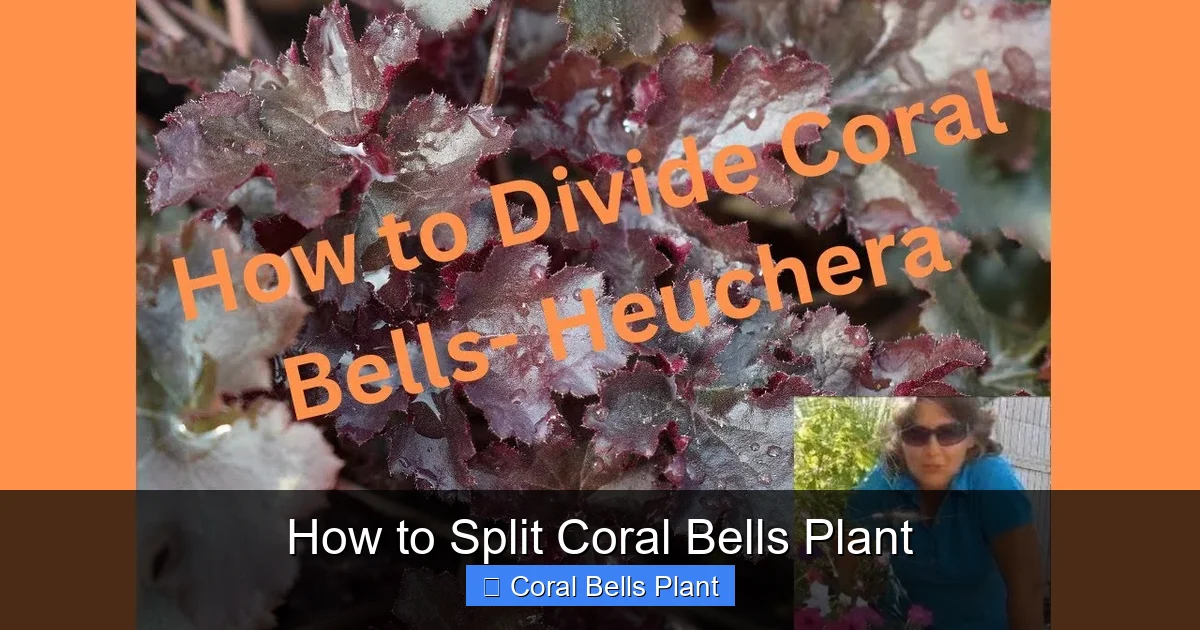
Visual guide about How to Split Coral Bells Plant
Image source: i.ytimg.com
Growth habit and root structure
The root system is shallow but wide. Each division should contain a portion of the crown plus a good handful of roots. When you learn how to split coral bells plant, you’ll see that the roots are easy to tease apart if the soil is moist. Dry soil makes the roots brittle and harder to separate.
When to Split Coral Bells
Ideal seasons
Early spring, just as new growth emerges, is the classic window. The plant has energy stored from winter and can quickly establish new roots. Early fall works too, provided you finish at least six weeks before the first hard frost. Avoid splitting in the heat of summer or the depths of winter.
Signs your plant is ready
Look for a clump that is at least three years old, with a crowded center and reduced flowering. If the foliage looks tired or the center turns brown, it’s time. A healthy, vigorous plant will bounce back faster after division.
Tools and Materials You Need
Essential tools
- Sharp garden knife or spade: Clean cuts reduce damage.
- Hand trowel: Helpful for loosening soil around the clump.
- Gloves: Protect your hands and keep the plant clean.
- Bucket of water: Keeps roots moist while you work.
Optional but useful
- Rooting hormone: Can speed up root development on very small pieces.
- Mulch (shredded bark or straw): Helps retain moisture after replanting.
- Label tags: Mark each division if you have multiple varieties.
Step‑by‑Step Guide to Split Coral Bells
1. Water the plant the day before
Moist soil makes the root ball easier to lift and reduces shock. Give the clump a deep soak so the soil is evenly damp but not soggy.
2. Dig around the clump
Insert your spade about 8‑10 inches from the crown. Work around the perimeter, loosening the soil. Lift the entire clump gently; try to keep as many roots intact as possible.
3. Shake off excess soil
Tap the root ball against the side of the bucket. You want to see the crown and the root network clearly. This step is crucial when you practice how to split coral bells plant because clean roots separate more cleanly.
4. Identify natural divisions
Look for sections where the crown naturally splits into separate shoots. Each piece should have at least three healthy shoots and a decent root mass. If the clump is very tight, you can cut it with a sterilized knife.
5. Make clean cuts
Using a sharp knife, slice through the crown between the shoots. Cut straight down, avoiding tearing. Sterilize the blade between cuts with rubbing alcohol to prevent disease spread.
6. Trim damaged roots
Snip away any brown, mushy, or overly long roots. Healthy roots are white or light tan and firm. Trimming encourages new root growth once the division is planted.
7. Pot or plant immediately
Place each division in a prepared hole or container. The crown should sit at the same depth it was originally. Backfill with native soil mixed with a handful of compost. Firm gently to eliminate air pockets.
8. Water thoroughly
Give each new plant a deep watering. This settles the soil around the roots and reduces transplant shock. Keep the soil consistently moist for the first two weeks.
9. Mulch and shade
Apply a thin layer of mulch around the base, leaving a small gap around the crown. If the weather is hot, provide temporary shade with a garden cloth for a few days.
Aftercare for Divided Plants
Watering schedule
Check the soil daily. Water when the top inch feels dry. Avoid letting the soil dry out completely, but also avoid waterlogging. A soaker hose or drip line works well for consistent moisture.
Fertilizing
Wait four to six weeks before applying a balanced, slow‑release fertilizer. Early feeding can burn tender new roots. A light feeding in early summer supports vigorous foliage.
Monitoring for pests and disease
Watch for aphids, slugs, or fungal spots. Remove any affected leaves promptly. Good air circulation and proper spacing reduce disease pressure.
Long‑term maintenance
After the first season, treat the divisions like mature coral bells. Divide again every three to four years to keep them vigorous. Regular deadheading of spent flowers encourages a tidy appearance.
Common Mistakes and Troubleshooting
Dividing too early or too late
Splitting in midsummer stresses the plant because heat accelerates water loss. Splitting in late fall may not give roots enough time to establish before frost. Stick to the recommended windows.
Using dull or dirty tools
Dull blades crush tissue, creating entry points for pathogens. Always sharpen and sterilize before each use.
Leaving divisions out of soil too long
Roots dry out quickly. If you must pause, keep divisions in a bucket of water in a shaded spot for no more than an hour.
Planting too deep
Buried crowns rot. Keep the crown at soil level, just as it was in the original clump.
Overwatering after planting
Soggy soil leads to root rot. Ensure good drainage; amend heavy clay with compost or grit.
Signs of trouble
- Wilting despite moist soil: May indicate root damage; check for rot.
- Yellowing lower leaves: Often a sign of nutrient deficiency or poor drainage.
- Stunted growth: Could be due to insufficient light; coral bells prefer partial shade.
Conclusion
Mastering how to split coral bells plant gives you a reliable method to expand your garden palette year after year. The key is timing, clean cuts, and gentle aftercare. With a little practice you’ll turn one mature clump into several thriving plants, each ready to brighten a shady corner or a container display. Happy dividing!
Frequently Asked Questions
Can I split coral bells in summer?
Summer splitting is not recommended because heat stresses the plant and increases water loss. Stick to spring or fall for best results.
What type of soil do coral bells prefer after division?
They thrive in well‑draining, humus‑rich soil with a slightly acidic to neutral pH. Amend heavy clay with compost or grit.
How long does it take for a division to establish?
Most divisions show new growth within 4‑6 weeks and become fully established by the end of the first growing season.
Should I fertilize immediately after planting divisions?
Wait 4‑6 weeks before applying a balanced slow‑release fertilizer to avoid burning tender roots.
What pests commonly affect newly divided coral bells?
Aphids, slugs, and spider mites are the most common. Inspect regularly and treat early with insecticidal soap or hand removal.
Can I divide coral bells grown in containers?
Yes, container plants can be divided the same way. Just ensure the pot is large enough for the new divisions or repot them into separate containers.