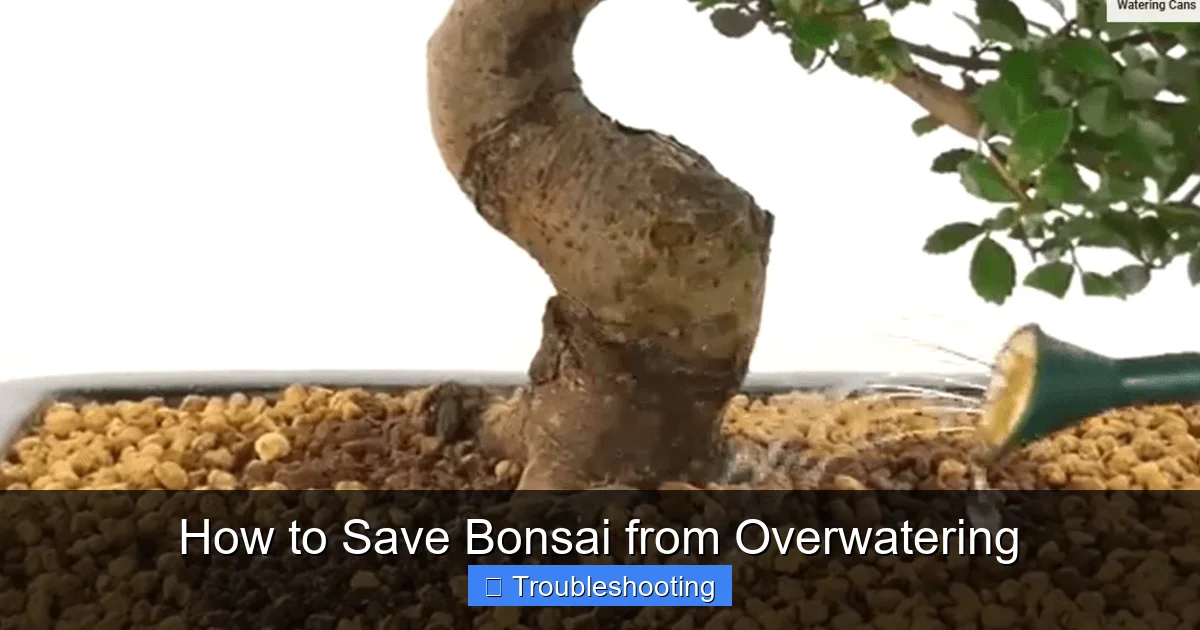
How to Save Bonsai from Overwatering
Overwatering is the most common cause of bonsai decline, but quick action can revive most trees. This guide shows you how to spot the warning signs, rescue a water‑logged bonsai, repot with the right mix, and set a sustainable watering routine for long‑term health.
Key Takeaways
- Spot the symptoms early: Yellow leaves, mushy trunk, and surface fungus mean too much water.
- Act fast: Remove the tree, trim rotted roots, and let the root ball air‑dry before repotting.
- Use a well‑draining soil mix: Combine akadama, pumice, and lava rock for optimal airflow.
- Choose a pot with plenty of drainage holes: Good drainage prevents future water buildup.
- Adopt the finger test: Water only when the top inch of soil feels dry.
- Adjust for seasons: Reduce watering in winter and increase airflow in summer.
- Keep a care journal: Tracking water dates and observations helps you avoid repeat mistakes.
Quick Answers to Common Questions
How do I know if my bonsai is overwatered?
Look for yellowing leaves, a mushy trunk, fungal growth on the soil, and brown or black slimy roots when you inspect the root ball.
Can I save a bonsai with severe root rot?
Yes, if you remove all rotted roots, let the remaining healthy roots dry, and repot in fresh, well‑draining soil, many trees recover.
What soil mix works best for preventing overwatering?
A mix of equal parts akadama, pumice, and lava rock provides excellent drainage while retaining enough moisture for healthy growth.
How often should I water my bonsai after repotting?
Water thoroughly once after repotting, then use the finger test; water only when the top inch of soil feels dry, typically every 2 to 5 days in the growing season.
Does misting replace watering?
No, misting only raises humidity around the foliage; it does not supply water to the root zone where the tree absorbs moisture.
📑 Table of Contents
Introduction
Bonsai trees are living sculptures that demand precise care. Water is essential, yet too much of it can suffocate roots and invite disease. Many beginners water on a fixed schedule, ignoring the tree’s actual needs. The result is often a soggy root zone that leads to yellowing foliage, soft wood, and fungal growth. Understanding how to save bonsai from overwatering starts with recognizing the problem early and then following a clear rescue plan.
In this article you will learn the tell‑tale signs of excess moisture, immediate steps to pull a tree back from the brink, how to repot with a drainage‑focused mix, and how to build a watering routine that matches the seasons. By the end you will have a practical checklist you can use every time you tend to your miniature masterpiece.
Recognize the Signs of Overwatering
Yellowing Leaves
One of the first clues is a change in leaf color. Healthy bonsai foliage is vibrant green. When roots sit in water, they cannot absorb oxygen. The plant responds by shedding chlorophyll, turning leaves pale yellow. This yellowing usually starts at the lower branches and moves upward. If you see a gradual fade rather than a sudden scorch, suspect water excess.
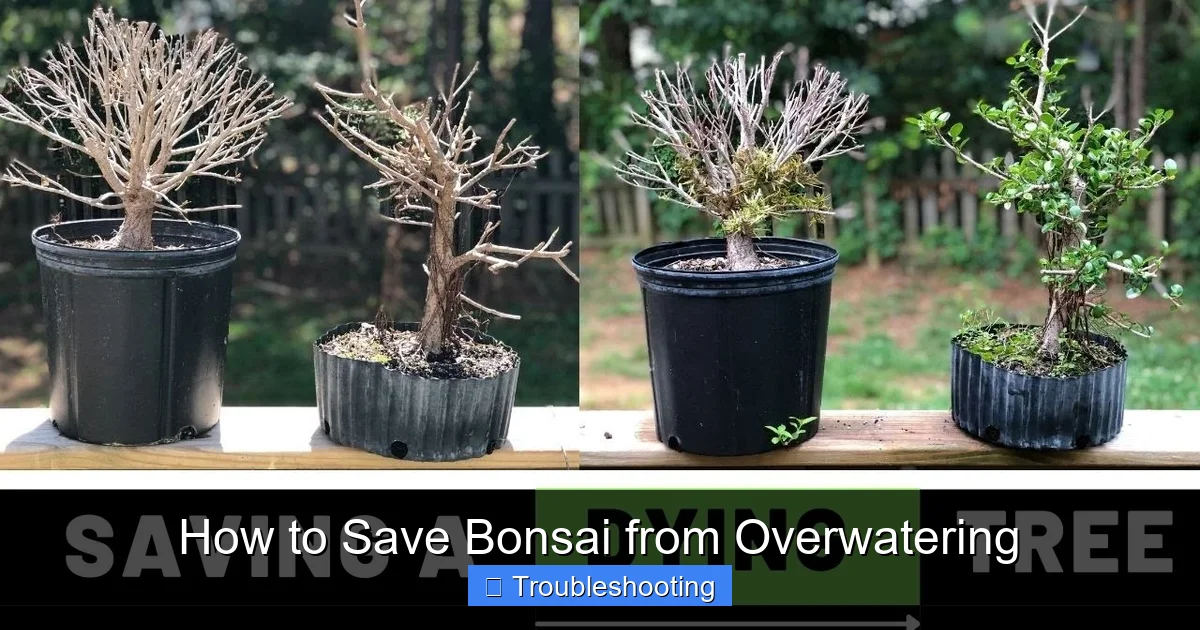
Visual guide about How to Save Bonsai from Overwatering
Image source: i.ytimg.com
Soft or Mushy Trunk
The trunk and major branches should feel firm. Press gently with your fingertip. A spongy texture indicates that the cambium layer is rotting. This softness often appears near the soil line where moisture lingers longest. A mushy trunk is a serious warning; the structural integrity of the tree is compromised.
Fungal Growth on Soil Surface
White, gray, or green fuzzy patches on the top of the soil are classic signs of fungal colonization. These fungi thrive in constantly wet conditions. While some surface mold is harmless, persistent growth signals that the substrate stays saturated for too long. Remove the visible mold, but treat the underlying moisture problem first.
Root Appearance
When you finally lift the tree, healthy roots are white or light tan and firm. Overwatered roots turn brown, black, or translucent and feel slimy. A foul, sour smell often accompanies root rot. The extent of discoloration tells you how much root mass you must remove.
Stunted Growth
Even if the tree survives, new shoots may be weak, short, or absent. The plant diverts energy to survival rather than growth. Over time the bonsai loses its refined shape, and branch ramification suffers. This slowdown is a long‑term indicator that the watering regime needs correction.
Immediate Rescue Steps
Remove the Tree from Its Pot
Gently tip the pot sideways and slide the root ball out. If the tree is stuck, tap the pot’s sides or run a thin knife around the interior edge. Avoid pulling on the trunk; use the root ball as a handle. Place the tree on a clean work surface covered with newspaper or a disposable tarp.
Inspect and Trim Damaged Roots
Examine every root. Using sterilized bonsai shears, cut away any root that is black, mushy, or smells rotten. Make clean cuts just above the damaged tissue. Preserve as many healthy white roots as possible. After trimming, dust the cut ends with a light coating of cinnamon or a commercial fungicide powder to discourage further infection.
Let the Root Ball Dry
Spread the root mass on a shaded, well‑ventilated area. Allow it to air‑dry for 2 to 4 hours, or until the surface feels barely damp. Do not expose the roots to direct sun or heat, which can cause desiccation. This drying period restores oxygen flow and halts the spread of rot.
Prepare a Fresh Pot and Soil
While the roots dry, ready a clean pot with ample drainage holes. A shallow training pot works well for most species. Fill the bottom with a layer of coarse drainage material such as pumice or lava rock. This layer prevents soil from washing out and creates an air gap at the base.
Repotting with Proper Drainage
Choose the Right Soil Mix
A balanced bonsai mix provides water retention, aeration, and nutrient holding capacity. A classic recipe blends equal parts akadama, pumice, and lava rock. Akadama holds moisture, pumice adds structure, and lava rock creates macro‑pores for airflow. Adjust ratios for species: conifers prefer more pumice, while deciduous trees tolerate a bit more akadama.
Select a Pot with Adequate Holes
Drainage holes are non‑negotiable. A pot with only one small hole will clog quickly. Look for at least three to five holes spaced around the base. If your favorite decorative pot lacks holes, drill them yourself or use it as an outer cache pot with a functional inner container.
Position the Tree Correctly
Place the tree slightly off‑center for visual interest, but keep the root flare just above the soil line. Fill around the roots with the prepared mix, tapping the pot gently to settle soil without compacting it. Leave a small rim at the top to make watering easier and to prevent overflow.
Water Thoroughly After Repotting
Give the newly potted bonsai a deep soak until water runs freely from the drainage holes. This settles the soil around the roots and eliminates air pockets. After the initial soak, allow the pot to drain completely before returning the tree to its display location.
Adjust Your Watering Routine
Use the Finger Test
Insert your index finger about one inch into the soil. If it feels dry at that depth, it is time to water. If it feels moist, wait another day. This simple tactile check replaces guesswork and adapts automatically to weather changes.
Water Deeply but Infrequently
When you water, apply enough to saturate the entire root zone. A thorough soak encourages roots to grow downward, seeking moisture. Light surface sprinkling only wets the top layer and promotes shallow roots that dry out quickly. Aim for a full pot soak every 2 to 5 days, depending on species and season.
Consider Seasonal Changes
During the growing season (spring through early autumn) bonsai transpire more and need more frequent watering. In winter dormancy, metabolic activity drops dramatically. Reduce watering to once every 7 to 10 days, or only when the finger test signals dryness. Indoor heating can dry the air, so monitor humidity as well.
Use a Watering Can with a Fine Rose
A fine rose distributes water evenly without eroding the soil surface. Avoid high‑pressure hoses that can compact the mix or dislodge delicate roots. A gentle, steady stream mimics natural rainfall and protects the soil structure.
Track Watering Dates
Write each watering date in a notebook or a phone app. Note the weather, soil feel, and any observations. Over weeks you will see patterns and can fine‑tune frequency. This habit also prevents accidental double‑watering on busy days.
Long‑Term Care to Prevent Recurrence
Monitor Humidity and Airflow
Good airflow speeds evaporation from the soil surface, reducing the chance of lingering moisture. Place the bonsai where a gentle breeze circulates, but avoid drafty spots that cause rapid drying. A humidity tray filled with pebbles and water can raise ambient moisture without wetting the roots directly.
Fertilize Wisely
Excess fertilizer salts can mimic overwatering symptoms by burning roots. Use a balanced, diluted bonsai fertilizer at half strength during the active growth period. Flush the pot with plain water once a month to leach accumulated salts.
Prune Roots Periodically
Every 2 to 3 years, during repotting, trim a portion of the root mass. This encourages fresh, vigorous roots and prevents the root ball from becoming a dense, water‑holding mat. Always keep the root‑to‑shoot ratio balanced for the species.
Choose the Right Species for Your Environment
Some species, like juniper, tolerate drier conditions, while others, like ficus, prefer more consistent moisture. Matching the tree to your climate and indoor conditions reduces the temptation to overwater. Research the native habitat of your bonsai before setting a schedule.
Keep a Care Journal
Document watering, fertilizing, pruning, and any pest or disease events. Include photos each season. A journal turns anecdotal memory into data, making it easier to spot trends and adjust care before problems escalate.
Conclusion
Saving a bonsai from overwatering is a blend of observation, swift action, and disciplined routine. By learning the early warning signs — yellow leaves, soft trunk, surface fungus — you can intervene before permanent damage occurs. The rescue process — removing the tree, trimming rotten roots, drying the root ball, and repotting in a well‑draining mix — gives the plant a fresh start. Long‑term success hinges on a watering habit guided by the finger test, seasonal awareness, and careful record‑keeping. With these practices, your miniature tree will thrive, displaying the elegance and resilience that make bonsai a living art form.
Frequently Asked Questions
What are the first signs of overwatering in a bonsai?
The earliest signs include yellowing lower leaves, a soft or spongy trunk near the soil line, and a fuzzy white or gray mold on the soil surface.
How long should I let the root ball dry before repotting?
Allow the root ball to air‑dry in a shaded, ventilated spot for 2 to 4 hours, or until the surface feels only slightly damp to the touch.
Can I use regular garden soil for bonsai?
Regular garden soil compacts too easily and retains excess water; a specialized bonsai mix with akadama, pumice, and lava rock is far superior for drainage.
Is it okay to water bonsai on a fixed schedule?
Fixed schedules ignore weather and seasonal changes; using the finger test ensures you water only when the tree actually needs moisture.
How can I improve airflow around my bonsai?
Place the tree where a gentle breeze circulates, avoid crowding with other plants, and consider a small fan on low setting for indoor specimens.
When should I fertilize a bonsai recovering from overwatering?
Wait until new growth appears, then apply a half‑strength balanced fertilizer during the active growing season; avoid feeding while the tree is still stressed.