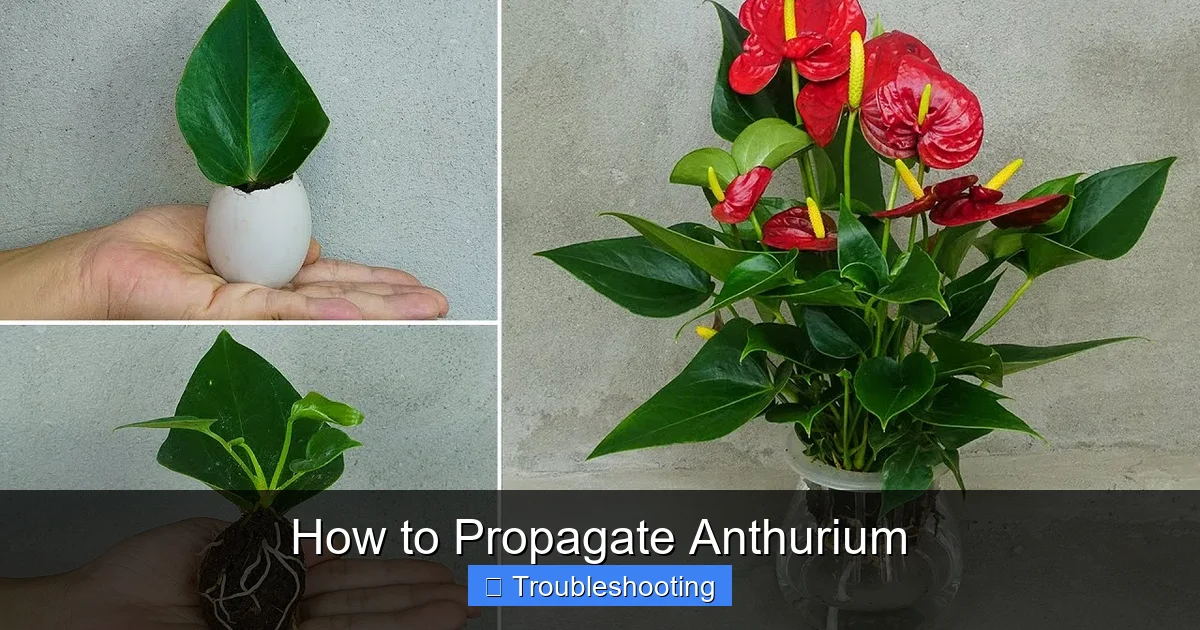
How to Propagate Anthurium
Propagating anthurium is simple when you use division, stem cuttings, or seed. Follow our guide to grow new plants quickly and keep them healthy.
Key Takeaways
- Division works best: Mature plants split into several new plants with roots attached.
- Stem cuttings root fast: Cut a healthy stem, let it callus, then place in moist medium.
- Seeds take longer: Seed propagation needs patience and a warm, humid environment.
- Use clean tools: Sterilize knives and scissors to avoid disease.
- Maintain high humidity: New plants need 70‑80 % humidity for strong root growth.
- Watch for pests: Check young plants weekly for aphids, mealybugs, and spider mites.
Quick Answers to Common Questions
What is the fastest way to propagate anthurium?
Division is the fastest method because each section already has roots.
Can I propagate anthurium from a leaf?
No, anthurium leaves cannot produce roots; you need a stem node or root division.
How long do stem cuttings take to root?
Typically two to four weeks under warm, humid conditions.
Do I need rooting hormone for cuttings?
It is optional but can speed up root formation, especially for difficult varieties.
When should I repot a newly propagated anthurium?
Repot when roots fill the current pot, usually after 6‑12 months.
📑 Table of Contents
Why Propagate Anthurium?
Anthurium plants are prized for their glossy leaves and bright spathes. Propagation lets you multiply your collection without buying new pots. It also helps you save a favorite cultivar that may be hard to find. When you know how to propagate anthurium, you can share plants with friends or expand your indoor garden. The process is rewarding and teaches you more about plant care.
Many growers propagate to replace older plants that lose vigor. A fresh division often grows faster than a tired mother plant. Propagation also gives you backup plants in case of disease. If one plant fails, you still have clones that carry the same genetics. This safety net is valuable for rare varieties.
Finally, propagation is a fun project. You watch roots form and new leaves unfurl. It connects you to the life cycle of the plant. Even beginners can succeed with a little guidance.
Choosing the Right Propagation Method
There are three main ways to propagate anthurium. Each method suits different situations. Division works well for mature, clumping plants. Stem cuttings are ideal when you have a healthy, leggy stem. Seed propagation is best for breeding new hybrids or when no vegetative material is available.
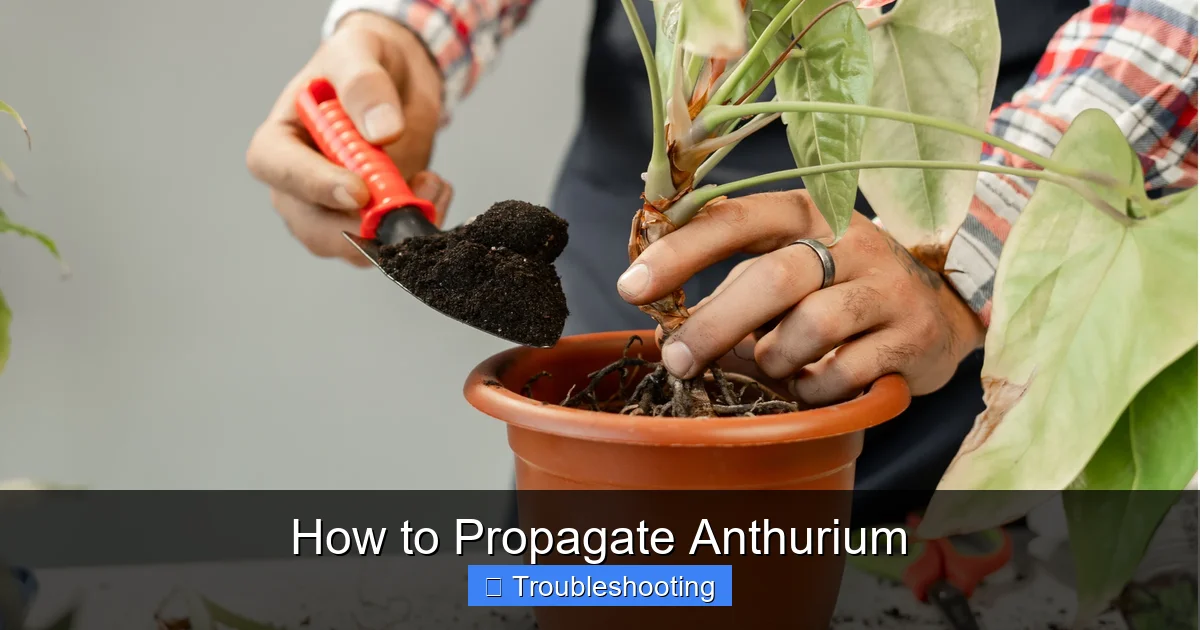
Visual guide about How to Propagate Anthurium
Image source: cdn.mos.cms.futurecdn.net
Division
Division splits the root ball into several sections. Each section must have roots and at least one growing point. This method gives you instant plants with established roots. It is the fastest way to get a full‑size anthurium.
Stem Cuttings
Stem cuttings use a piece of stem with a node. The node is where roots will emerge. You let the cut end dry for a day, then place it in a moist medium. Roots usually appear in two to four weeks. This method works well for plants that have long stems.
Seed
Seed propagation starts with fresh anthurium berries. You extract the tiny seeds, sow them on a fine, sterile mix, and keep them warm and humid. Germination can take several weeks to months. Seedlings vary genetically, so you may get new colors or forms.
Pick the method that matches your plant’s condition and your goal. If you want quick results, choose division or cuttings. If you enjoy experimentation, try seeds.
Propagation by Division (Step‑by‑Step)
Follow these steps to divide an anthurium successfully.
1. Gather Your Tools
- Clean, sharp knife or garden shears
- Disinfectant (rubbing alcohol or 10 % bleach solution)
- Fresh potting mix (peat‑based, well‑draining)
- New pots with drainage holes
- Gloves (optional)
2. Prepare the Mother Plant
Water the plant a day before division. Moist soil makes roots easier to separate. Remove the plant from its pot. Gently shake off excess soil to expose the root system.
3. Identify Natural Divisions
Look for separate crowns or clusters of leaves. Each crown should have its own root mass. If the plant is a single crown, you can still cut the root ball into pieces, but each piece must retain roots.
4. Cut the Root Ball
Using the sterilized knife, cut between crowns. Make clean cuts to avoid tearing tissue. Aim for sections about the size of a fist. Each section needs at least three healthy roots.
5. Pot the Divisions
Fill each new pot with moist potting mix. Place a division in the center. Backfill with mix, firming gently. Water thoroughly until water drains out the bottom.
6. Provide Ideal Conditions
Place the new pots in bright, indirect light. Keep humidity high (70‑80 %). A humidity tray or a clear plastic bag loosely draped over the pot helps. Maintain temperatures between 70‑85 °F (21‑29 °C).
7. Monitor and Care
Check soil moisture daily. Keep it evenly moist but not soggy. New growth should appear within two to three weeks. Once established, treat the divisions like mature anthuriums.
Tip: Label each pot with the date and cultivar name. This helps you track progress and share accurate information.
Propagation by Stem Cuttings (Step‑by‑Step)
Stem cuttings are a reliable way to clone an anthurium. Here is the process.
1. Select a Healthy Stem
Choose a stem that is at least 6 inches long. It should have at least two nodes. Avoid stems with flowers or buds; they divert energy from rooting.
2. Make the Cut
Using sterilized scissors, cut just below a node. The cut should be clean and straight. Remove any lower leaves, leaving only the top two or three leaves.
3. Allow the Cut to Callus
Place the cutting on a clean paper towel in a shaded spot. Let the cut end dry for 12‑24 hours. Callusing reduces the risk of rot when the cutting contacts moist medium.
4. Prepare the Rooting Medium
Use a mix of equal parts peat moss and perlite. Moisten the mix until it feels like a wrung‑out sponge. Fill a small pot or propagation tray with the medium.
5. Insert the Cutting
Make a hole in the medium with a pencil. Insert the cutting so that at least one node is buried. Firm the medium around the stem.
6. Create a Humid Environment
Cover the pot with a clear plastic dome or a zip‑lock bag. Ventilate daily by opening the cover for a few minutes. This prevents fungal growth while keeping humidity high.
7. Provide Light and Warmth
Place the setup in bright, indirect light. Keep temperature around 75 °F (24 °C). Avoid direct sun, which can overheat the cutting.
8. Watch for Roots
After two to four weeks, gently tug the cutting. Resistance means roots have formed. You can also see white roots through the clear pot.
9. Transplant
Once roots are 1‑2 inches long, move the cutting to a regular anthurium pot with standard potting mix. Water well and continue normal care.
Tip: Dip the cut end in rooting hormone powder before planting. This can speed up root development, especially for harder‑to‑root varieties.
Propagation by Seed (Overview)
Seed propagation is slower but rewarding for hybridizers. Here is a concise overview.
Collecting Seeds
Wait until the anthurium berries turn bright red or orange. Squeeze the berries onto a paper towel. Rinse the seeds under lukewarm water to remove pulp. Spread them on a dry towel and let them air‑dry for a few hours.
Sowing
Use a sterile seed‑starting mix (fine peat and sand). Sprinkle seeds on the surface; do not cover them. Mist lightly with water. Cover the tray with a clear lid to keep humidity near 100 %.
Germination Conditions
Maintain a temperature of 80‑85 °F (27‑29 °C). Provide 12‑14 hours of bright, indirect light daily. Keep the medium consistently moist. Germination can take 4‑12 weeks.
Seedling Care
When the first true leaves appear, gradually lower humidity by venting the lid. Transplant seedlings into individual pots once they have two to three leaves. Use a diluted fertilizer at quarter strength.
Note: Seedlings may not look like the parent plant. This variability is why breeders use seeds to create new cultivars.
Caring for New Anthurium Plants
Young anthuriums need consistent care to thrive. Follow these guidelines.
Light
Provide bright, indirect light. A north‑ or east‑facing window works well. Too much direct sun scorches leaves. Too little light slows growth and reduces flowering.
Water
Water when the top inch of soil feels dry. Use room‑temperature water. Avoid letting the pot sit in standing water. Good drainage prevents root rot.
Humidity
Keep humidity at 70‑80 %. Use a humidifier, pebble tray, or group plants together. Mist leaves in the morning if the air is dry.
Temperature
Maintain 70‑85 °F (21‑29 °C) during the day. Night temperatures can drop to 60 °F (16 °C) without harm. Avoid cold drafts.
Fertilizer
Feed with a balanced, water‑soluble fertilizer at half strength every four weeks during the growing season. Reduce feeding in winter.
Repotting
Repot every 1‑2 years or when roots fill the pot. Choose a pot only one size larger. Fresh mix replenishes nutrients and improves aeration.
Tip: Rotate the pot weekly. This ensures even light exposure and symmetrical growth.
Common Problems and How to Fix Them
Even with good technique, issues can arise. Here are the most frequent problems and solutions.
Root Rot
Root rot shows as black, mushy roots and yellowing leaves. It is caused by overwatering or poor drainage. Remove the plant, trim away rotten roots, and repot in fresh, well‑draining mix. Water less frequently.
Leaf Spot
Brown or black spots with yellow halos indicate fungal leaf spot. Improve air circulation. Avoid wetting foliage when watering. Apply a copper‑based fungicide if needed.
Pest Infestations
Aphids, mealybugs, and spider mites love tender new growth. Inspect weekly. Wipe leaves with a damp cloth. Spray neem oil or insecticidal soap for persistent pests.
Slow Rooting
If cuttings or divisions do not root in four weeks, check temperature and humidity. Increase warmth to 80 °F (27 °C) and raise humidity. Consider using rooting hormone.
Leggy Growth
Long, weak stems mean insufficient light. Move the plant to a brighter spot. Prune leggy stems to encourage bushier growth.
Tip: Keep a care journal. Record watering dates, fertilizer applications, and any symptoms. Patterns help you diagnose problems faster.
Conclusion
You now have a complete roadmap for how to propagate anthurium. Whether you choose division, stem cuttings, or seeds, the key steps are clean tools, proper medium, high humidity, and patience. Start with a healthy mother plant. Follow the method that fits your situation. Monitor the new plants closely. Adjust light, water, and humidity as they grow. With practice, you will multiply your anthurium collection and enjoy vibrant blooms for years to come. Happy propagating!
Frequently Asked Questions
How do I know if my anthurium division has enough roots?
Each division should have at least three healthy, white roots. If roots are few, keep the division in a humid tray until more roots develop.
What potting mix is best for anthurium propagation?
A peat‑based mix with perlite or orchid bark provides good aeration and moisture retention.
Can I propagate anthurium in water?
Water propagation is possible for stem cuttings, but soil or a sterile medium yields stronger roots.
Why are my anthurium seeds not germinating?
Seeds need fresh viability, constant warmth (80‑85 °F), high humidity, and light. Old or dried seeds often fail.
How often should I mist new anthurium cuttings?
Mist once or twice daily to keep humidity high, but avoid soaking the medium.
What temperature range is ideal for anthurium propagation?
70‑85 °F (21‑29 °C) during the day, with a slight drop at night, supports rapid root growth.