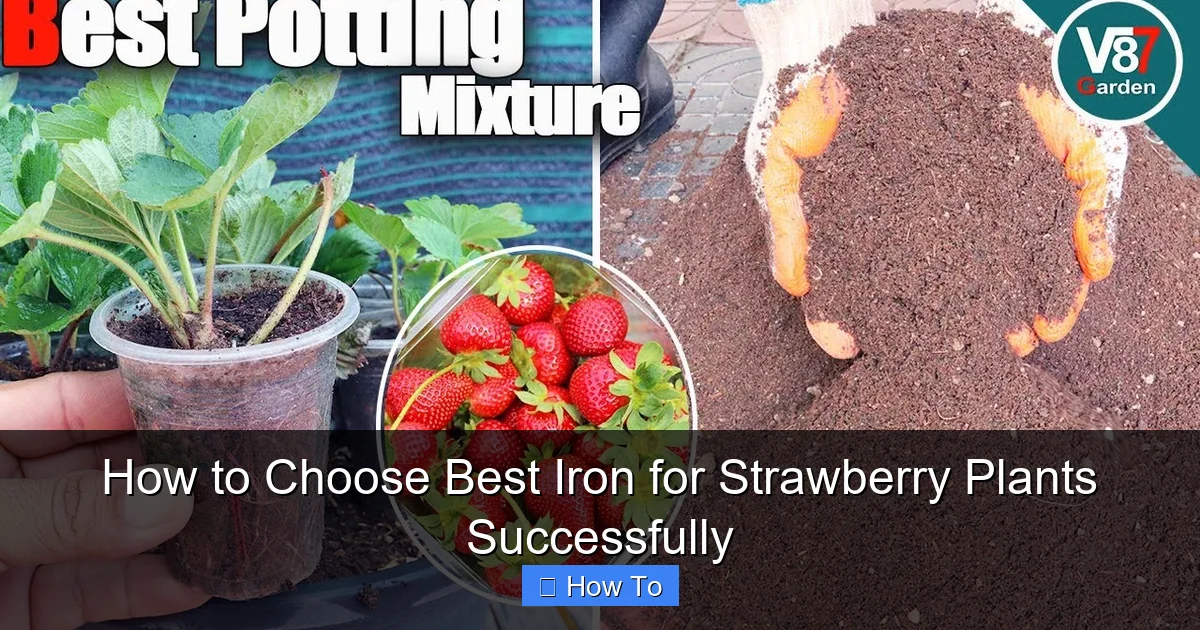
How to Choose Best Iron for Strawberry Plants Successfully
Choosing the right iron supplement ensures your strawberry plants get the nutrients they need for vibrant foliage and sweet fruit. This guide walks you through soil testing, product types, application rates, and common mistakes to avoid.
Quick Answers to Common Questions
How often should I test soil for iron?
Test at the start of each season and again after any major amendment.
Can I use iron sulfate on alkaline soil?
It works poorly on alkaline soil; choose a chelate like EDDHA instead.
What is the best time of day for foliar spray?
Early morning or late afternoon to avoid leaf burn.
How do I know if I applied too much iron?
Leaf edges turn brown and roots may look black; flush with water.
Should I mix iron with other fertilizers?
Apply iron separately unless the label says it is compatible.
Introduction
Welcome to the complete guide on how to choose the best iron for strawberry plants. In this article you will learn why iron matters, how to test your soil, which iron forms work best, and how to apply them safely. By the end you will feel confident picking the best iron for strawberry and keeping your berries sweet and healthy. We will cover each step in simple language so you can follow along even if you are new to gardening. The goal is to give you a clear path from soil test to harvest. Let’s get started.
Step 1: Understand Strawberry Iron Needs
Why Iron Matters
Iron is a key nutrient that helps strawberry plants make chlorophyll. Without enough iron the leaves turn yellow while the veins stay green. This condition is called chlorosis and it reduces fruit size and flavor. Knowing the role of iron helps you see why the best iron for strawberry is essential for a strong crop. Iron also supports enzyme functions that move energy through the plant. When iron is low the plant cannot produce the sugars that make berries sweet. A steady supply of iron keeps the canopy green and the fruit plump. Choose a product that delivers iron in a form the plant can take up quickly.
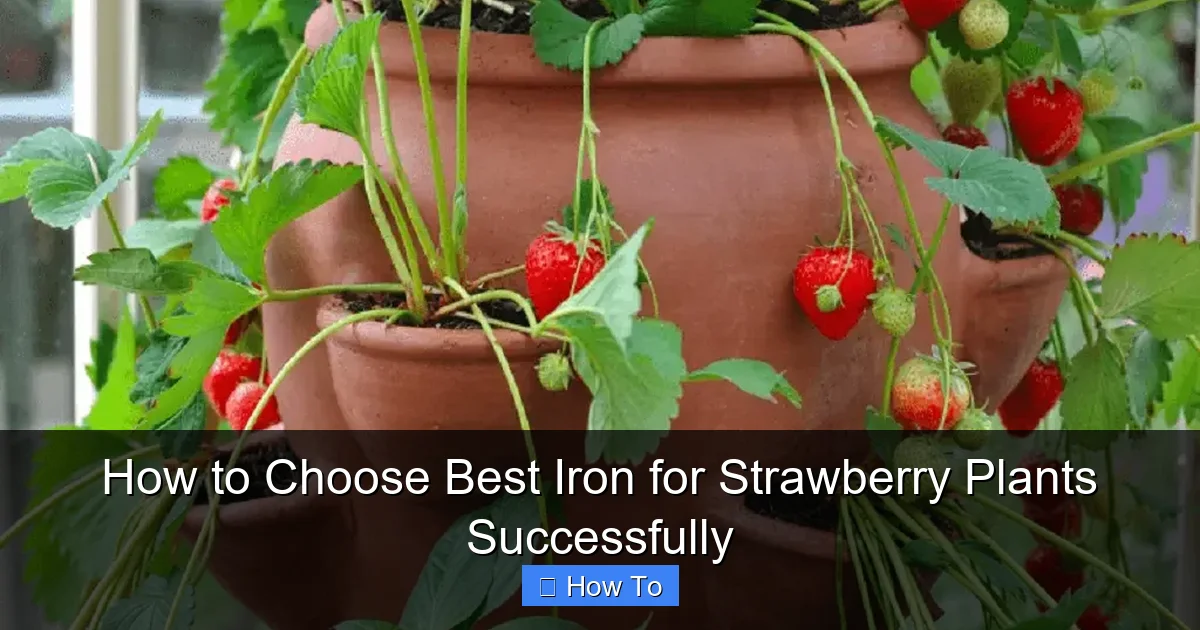
Visual guide about How to Choose Best Iron for Strawberry Plants Successfully
Image source: kj1bcdn.b-cdn.net
Signs of Deficiency
Look for pale young leaves, stunted growth, and poor runner production. If you see these symptoms you likely need to add iron. Early detection lets you correct the problem before it hurts your harvest. The best iron for strawberry will reverse these signs quickly when applied correctly. Yellowing often starts on the newest leaves and spreads inward. Runners may be thin and few. Fruit may be small and lack sweetness. Checking the plants weekly helps you catch the problem early. A simple visual check can save you time and money.
How Iron Moves in Soil
Iron moves through the soil solution to the roots. In acidic soils iron stays dissolved and is easy for plants to absorb. In alkaline soils iron binds to minerals and becomes unavailable. Soil pH above 7.0 is the most common reason strawberry beds show chlorosis. Adding organic matter can lower pH slightly and improve iron mobility. The best iron for strawberry products often include a chelate that keeps iron soluble across a wider pH range. Understanding your soil chemistry helps you pick the right form. A quick pH test tells you if you need a stronger chelate.
Step 2: Test Your Soil
DIY Test Kits
Home test kits are cheap and give a quick snapshot of pH and iron levels. Follow the kit instructions, mix soil with the reagent, and compare the color chart. A pH above 7.0 often locks iron away from roots. The best iron for strawberry works better when you know your starting numbers. Kits usually cost less than ten dollars and can be used several times. They are perfect for a first check before you send a sample to a lab. Keep a notebook of each reading so you can track changes over the season.
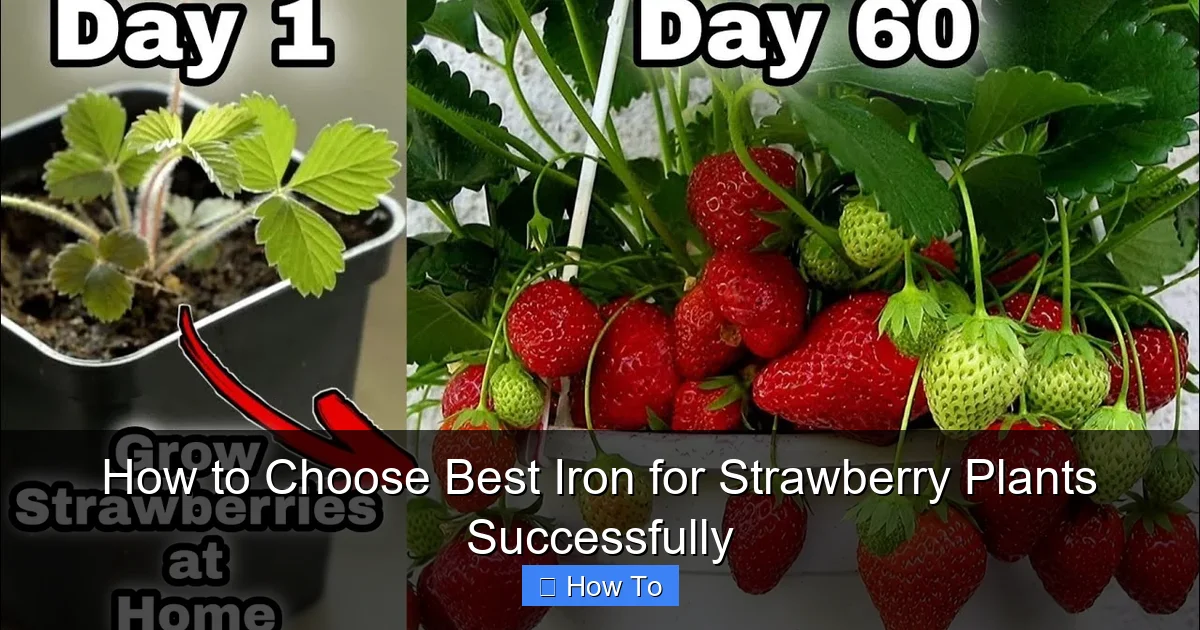
Visual guide about How to Choose Best Iron for Strawberry Plants Successfully
Image source: i.ytimg.com
Lab Analysis
For a more accurate picture send a sample to a local extension service. The lab report will list exact iron concentration and pH. Use this data to choose the right product and rate. The best iron for strawberry can be matched to the lab results for optimal uptake. Labs often provide recommendations for specific crops. You will also learn if other nutrients are out of balance. A lab test costs a bit more but saves you from guessing. Many universities offer free or low cost testing for home gardeners.
Interpreting Results
When you get the numbers compare them to the ideal range for strawberries. The target pH is 5.5 to 6.5 and iron should be above 5 ppm. If pH is high and iron low you need a strong chelate. If pH is low you can use a simple sulfate. The best iron for strawberry choice depends on both numbers. Write the values down and refer to them when you shop. A clear picture prevents over or under applying. Re‑test after any major amendment to see the shift.
Step 3: Choose the Right Iron Form
Chelated Iron
Chelated iron stays soluble in a wide pH range. Common chelates include EDTA, DTPA, and EDDHA. EDDHA works best in alkaline soils. The best iron for strawberry often uses EDDHA because strawberry beds can be slightly alkaline. Chelates protect the iron ion from binding to soil particles. This means the plant can absorb it for a longer period. Liquid chelates are easy to mix and apply. Granular chelates release slowly and are good for season long feeding.
Iron Sulfate
Iron sulfate is inexpensive and provides a quick green‑up. It works well in acidic soils but can lower pH further. If your soil is already low, use it with caution. The best iron for strawberry may be a blend of sulfate and chelate for fast and lasting results. Sulfate gives an immediate color change within days. However it can leach away in heavy rain. Apply it as a soil drench for root uptake. Pair it with a chelate if you need longer availability.
Iron EDTA vs DTPA vs EDDHA
EDTA is stable up to pH 6.5. DTPA remains stable up to pH 7.5. EDDHA works up to pH 9.0. Choose DTPA if your soil tests near neutral. Choose EDDHA for high pH beds. The best iron for strawberry in neutral beds usually contains DTPA. In very alkaline soils EDDHA is the only reliable option. Read the label to see which chelate is inside. Matching the chelate to your pH saves money and prevents waste.
Organic Options
Blood meal, fish emulsion, and seaweed extracts supply iron slowly. They also add organic matter that improves soil structure. Organic growers often prefer these because they build long term fertility. The best iron for strawberry in an organic system can be a certified organic chelate. These products release iron as microbes break them down. They are gentle on beneficial soil life. Apply them as a soil drench or mix into compost. Expect a slower green‑up but healthier soil over time.
Liquid vs Granular
Liquid iron products mix with water and can be sprayed or drenched. They act fast because the iron is already dissolved. Granular products sit on the soil and release iron slowly with moisture. The best iron for strawberry may be a liquid for quick fixes and a granular for maintenance. Use liquid when you see sudden yellowing. Use granular at planting time for a steady supply. Both forms can be combined in a season plan. Choose based on how fast you need results and how often you want to apply.
Step 4: Determine Application Rate
Follow Label Rates
Every product lists a rate per gallon or per 100 square feet. Start with the lowest recommended rate. Over‑dosing can cause leaf burn and root damage. The best iron for strawberry label will give a safe range for strawberries. Read the entire label before mixing. Some labels give separate rates for foliar and soil use. Use a measuring cup or syringe for accuracy. Write down the rate you use for future reference.
Adjust for Soil pH
High pH soils need a higher rate or a more stable chelate. Low pH soils may need less. Use your soil test to fine‑tune the amount. The best iron for strawberry application rate changes with pH. If pH is above 7.0 increase the rate by 25 percent. If pH is below 5.5 reduce the rate by 15 percent. Small adjustments prevent toxicity. Always re‑test after a few weeks to confirm the change.
Calculate for Your Bed Size
Measure the length and width of your strawberry bed in feet. Multiply to get square footage. Divide by 100 to find how many 100‑square‑foot units you have. Multiply the label rate by that number. The best iron for strawberry calculation ensures you apply the right total amount. For example a 4 by 8 foot bed is 32 square feet. That is 0.32 of a 100‑square‑foot unit. Multiply the per‑unit rate by 0.32. Round to the nearest measurable amount.
Step 5: Apply Correctly
Foliar Spray
Mix the product with water and spray the leaves until they drip. Apply early morning or late afternoon to avoid sun scorch. Foliar feeding gives a rapid green‑up within days. The best iron for strawberry foliar spray works fast on chlorotic leaves. Use a fine mist nozzle for even coverage. Do not spray when rain is expected within six hours. Repeat every two weeks while symptoms persist. Stop when new growth is deep green.
Soil Drench
Pour the solution around the base of each plant so it reaches the root zone. Water lightly after to move the iron down. Soil drenches feed the plant for weeks. The best iron for strawberry soil drench provides long‑term nutrition. Use a watering can or a hose with a slow flow. Apply enough liquid to wet the top 6 inches of soil. Avoid splashing the foliage to prevent burn. Schedule drenches every three to four weeks during the growing season.
Drip Irrigation Injection
If you have a drip system you can inject iron directly into the line. This method delivers a steady dose to each plant. The best iron for strawberry drip injection reduces labor and ensures even distribution. Use a fertilizer injector calibrated for the product rate. Run the system for the normal irrigation time. Check emitters for clogging after each injection. This technique works well for large beds or commercial plots. It also keeps foliage dry which lowers disease risk.
Timing and Frequency
Apply at first sign of yellowing or as a preventive in early spring. Repeat every two to four weeks during the growing season. The best iron for strawberry schedule matches the plant’s growth cycles. Avoid applications during extreme heat or frost. Morning applications give the leaves time to dry before night. Keep a calendar to track each treatment. Consistent timing prevents nutrient gaps. Adjust frequency based on soil test results and plant response.
Step 6: Monitor and Adjust
Visual Checks
Watch new leaves for a deep green color. If yellowing returns, increase the rate slightly or switch to a stronger chelate. The best iron for strawberry results show up in the newest growth first. Inspect the underside of leaves for pests that can mimic chlorosis. Note any changes in runner production. A healthy plant will send out vigorous runners. Record observations in a garden journal. This habit helps you spot trends early.
Follow‑Up Soil Test
Retest soil after four to six weeks. Compare iron levels to the first test. Adjust future applications based on the new data. The best iron for strawberry program uses test feedback to stay on track. If iron is still low, increase the rate or change chelate. If iron is high, cut back to avoid toxicity. Keep a log of each test date and result. Over time you will see the pattern and can fine‑tune your plan.
Record Keeping
Write down the product name, rate, date, and method for every application. Note the weather conditions and any plant reactions. The best iron for strawberry success often comes from good records. A simple spreadsheet or notebook works fine. Review the log before each new season. You will learn which products gave the best color and yield. This information saves money and time in the long run. Share your findings with other growers to help the community.
Troubleshooting Common Problems
Even with the best iron for strawberry you may run into issues. Here are quick fixes.
- Leaf burn: Reduce concentration and spray in cooler hours.
- Persistent chlorosis: Check pH again; you may need a stronger chelate.
- Root damage: Flush soil with clean water and pause applications.
- Algae growth on soil surface: Cut back on organic iron sources and improve drainage.
- Uneven growth: Ensure even coverage when spraying or drenching.
Common Mistakes to Avoid
One common mistake is applying iron without testing the soil first. This wastes product and can harm the plants. The best iron for strawberry works only when the pH is in the right range. Another error is using a sulfate on alkaline soil where it will not stay soluble. Over‑spraying foliage in hot sun causes leaf burn. Skipping follow‑up tests means you never know if the treatment worked. Not recording rates leads to guesswork next season. Avoid these pitfalls by following the steps in this guide.
Another mistake is mixing incompatible fertilizers in the same tank. Some products react and precipitate iron out of solution. The best iron for strawberry should be applied alone or with compatible nutrients. Using a chelate that does not match your pH wastes money. Applying too much at once can cause toxicity and root damage. Ignoring the label’s maximum rate is a fast way to damage your crop. Keep a simple checklist to prevent these errors.
Seasonal Care Calendar
Early spring is the time for the first soil test and a preventive iron application. The best iron for strawberry applied now sets the stage for strong growth. In late spring watch for the first flowers and apply a light foliar spray if leaves look pale. Summer heat can raise soil pH so test again in midsummer. If pH has drifted up, add a chelated drench. Fall is the time to apply a slow‑release granular iron for winter root health. Mulch heavily after the last harvest to protect the crowns. Winter requires no iron work but keep the bed covered. Following this calendar keeps iron levels steady all year.
Adjust the calendar to your local climate. In cooler regions start the spring test a week later. In hot regions add an extra midsummer check. The best iron for strawberry schedule should match your frost dates. Write the dates on a wall calendar or phone reminder. Consistency is the key to avoiding deficiency spikes. Review the calendar each year and note any changes. Over time you will develop a custom plan that fits your garden perfectly.
Integrating Iron with Other Nutrients
Iron works best when the overall nutrient balance is correct. Nitrogen, potassium, and magnesium all affect how the plant uses iron. The best iron for strawberry will be more effective if you also supply adequate nitrogen for leaf growth. A balanced fertilizer with a 10‑10‑10 ratio works well early in the season. Avoid excess phosphorus because it can bind iron in the soil. Calcium levels should be moderate; too much calcium raises pH and locks iron away. Test for these nutrients when you do your iron test. Adjust the fertilizer program based on the results. A complete nutrient plan prevents hidden deficiencies that mimic iron shortage.
Micronutrients like manganese, zinc, and copper also interact with iron. High manganese can interfere with iron uptake. The best iron for strawberry program includes a micronutrient mix if your soil test shows low levels. Apply a chelated micronutrient blend once per season. Follow the label for rates and timing. Too many micronutrients can cause toxicity, so stick to the recommended amounts. Keep a record of all applications in your garden journal. This holistic approach ensures the iron you add is actually used by the plant.
Final Checklist
Before you start each season run through this quick checklist. Test soil pH and iron levels. Choose a chelated product that matches your pH. Calculate the exact rate for your bed size. Apply as a foliar spray for fast green‑up or a soil drench for long term feed. Schedule applications every two to four weeks. Record every treatment in your journal. Retest soil after four weeks and adjust. Keep the bed mulched and weed free. Following this list ensures you get the most from the best iron for strawberry. Repeat the checklist each year for consistent results.
Conclusion
Choosing the best iron for strawberry does not have to be guesswork. Test your soil, pick a chelated form that matches your pH, follow label rates, and apply at the right time. Monitor the plants and retest periodically. With these steps your strawberry patch will stay green, productive, and delicious all season long. Remember to keep records and adjust as needed. Happy growing and enjoy the sweet rewards of your effort. Your strawberries will thank you with bigger, sweeter berries. Enjoy the harvest and share the bounty with friends.