
How to Care for Spider Plant in Spring for Lush Growth
Spring is the best time to give your spider plant a fresh start. Follow these simple steps to boost growth and keep leaves bright.
Quick Answers to Common Questions
How often should I water my spider plant in spring?
Water when the top inch of soil feels dry, usually every 7 to 10 days.
Can I use tap water for my spider plant?
Filtered or distilled water is best because fluoride can cause brown tips.
When is the best time to repot a spider plant?
Early spring, just as new growth begins, is the ideal repotting window.
Do spider plants need high humidity?
They prefer moderate humidity; a pebble tray or grouping plants helps.
How do I propagate spider plant babies?
Cut a runner with spiderettes, root them in water, then pot in soil.
Introduction
Welcome to the complete guide on how to care for spider plant in spring. This article walks you through every step you need to help your spider plant thrive during the growing season. You will learn how to inspect the plant, when to repot, how to water, the best light conditions, fertilizing tips, pruning methods, pest control, and humidity management. Follow each step and your spider plant will reward you with lush green foliage and many baby spiderettes.
Step 1: Check the Plant After Winter
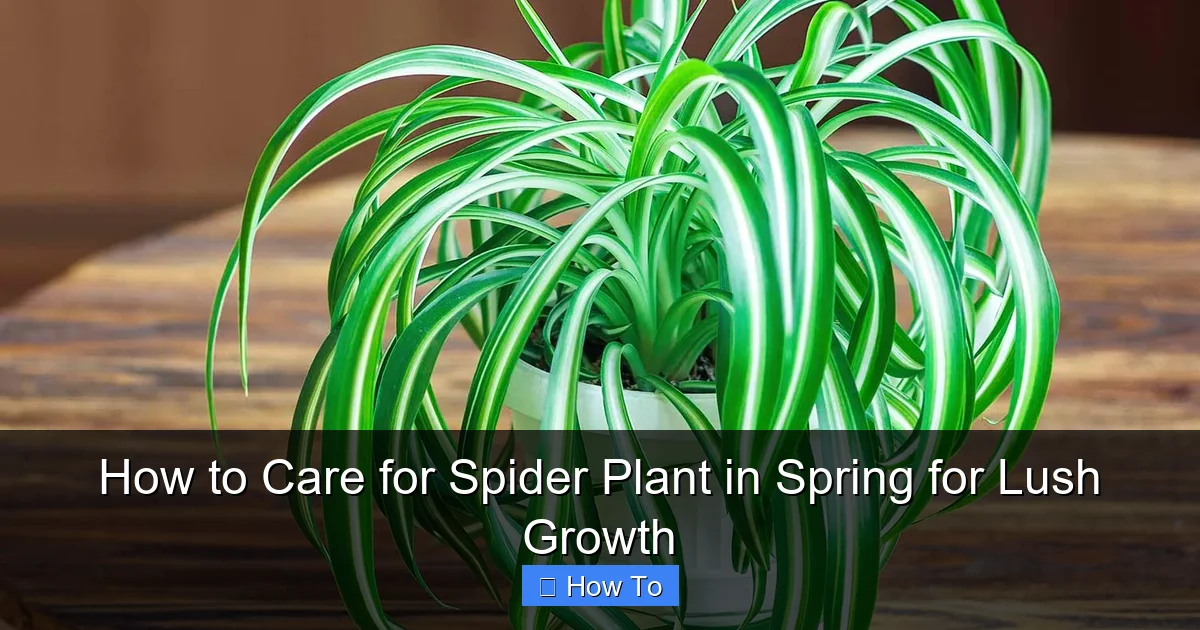
Begin by giving your spider plant a thorough look after the cold months. Winter can leave the spider plant with dry soil, dust on leaves, and sometimes root crowding. A quick check now prevents problems later.
Visual guide about How to Care for Spider Plant in Spring for Lush Growth
Image source: lovethegarden.com
Inspect Leaves
Look at each leaf of the spider plant. Healthy leaves are bright green and firm. Yellow leaves may signal overwatering or low light. Brown tips often mean low humidity or fluoride in tap water. Remove any completely dead leaves with clean scissors.
Look for Root Crowding
Gently lift the spider plant from its pot. If you see roots circling the bottom or poking out of drainage holes, the spider plant is root bound. Root crowding limits water uptake and nutrient access. Plan to repot soon.
Remove Dead Foliage
Trim away any brown or mushy leaves at the base. Cutting dead foliage improves air flow around the spider plant and reduces the chance of fungal issues. Dispose of the trimmed material in the trash, not the compost.
Step 2: Repot If Needed
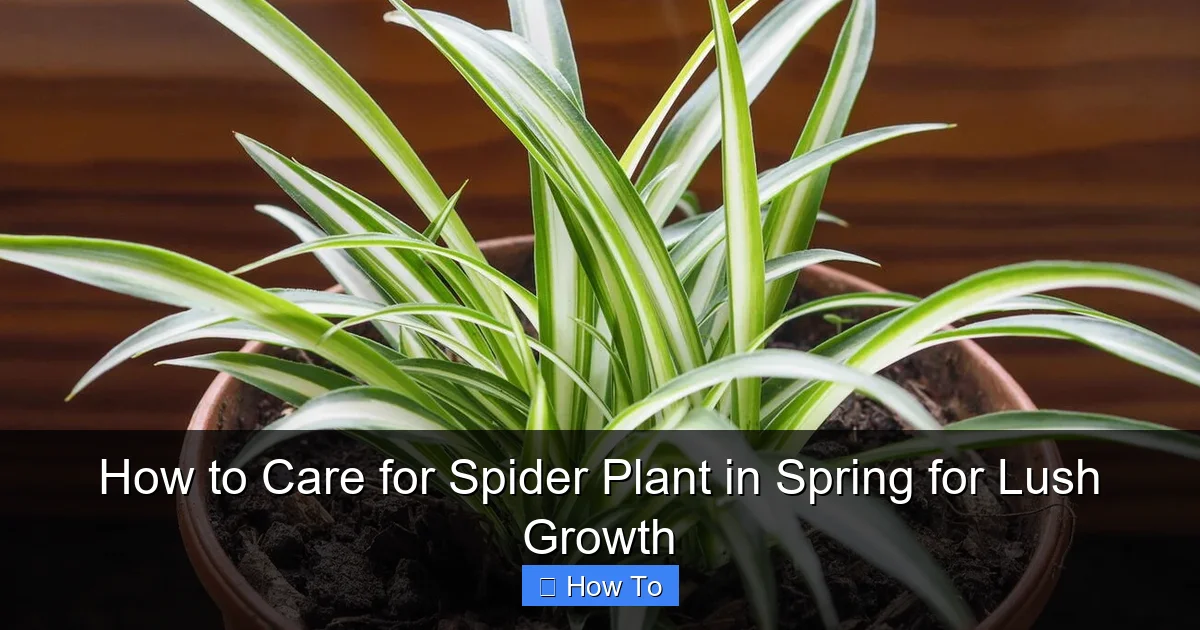
Repotting gives the spider plant fresh soil and room to grow. Spring is the ideal time because the plant enters active growth.
Visual guide about How to Care for Spider Plant in Spring for Lush Growth
Image source: almanac.com
Choose Pot Size
Select a pot that is one to two inches larger in diameter than the current container. A pot too large holds excess water and can cause root rot. Ensure the new pot has drainage holes.
Prepare Soil Mix
Use a well‑draining mix for the spider plant. A good recipe is two parts peat‑based potting soil, one part perlite, and one part coarse sand. This blend holds moisture but lets excess water escape quickly.
Transfer Plant
Place a layer of fresh soil in the bottom of the new pot. Set the spider plant in the center, keeping the root ball at the same depth as before. Fill around the roots with soil, firm gently, and water thoroughly to settle the mix.
Step 3: Adjust Watering Schedule
Watering correctly is the single most important factor for a healthy spider plant in spring.
Test Soil Moisture
Insert your finger about one inch into the soil. If it feels dry, it is time to water. If it feels moist, wait a day and test again. This simple test prevents overwatering.
Water Deeply
When you water, pour until water runs out of the drainage holes. Deep watering encourages roots to grow downward. Allow the excess to drain completely; never let the spider plant sit in standing water.
Set Routine
In spring, the spider plant usually needs water every seven to ten days. Adjust frequency based on temperature, light, and pot size. Keep a calendar or phone reminder to stay consistent.
Step 4: Provide Proper Light
Light drives photosynthesis and determines how fast the spider plant grows.
Find Bright Indirect Spot
Place the spider plant near a north or east facing window where it receives bright, indirect light. Direct afternoon sun can scorch the leaves. A sheer curtain can diffuse harsh rays.
Rotate Plant
Turn the spider plant a quarter turn each week. Rotation ensures all sides receive equal light, preventing the plant from leaning toward the window.
Avoid Direct Sun
If you only have a south or west window, move the spider plant a few feet back or use a light‑filtering shade. Too much direct sun causes brown patches and leaf curl.
Step 5: Fertilize for Growth
Feeding the spider plant supplies the nutrients needed for new leaves and baby spiderettes.
Pick Balanced Fertilizer
Choose a liquid houseplant fertilizer with an N‑P‑K ratio close to 10‑10‑10 or 20‑20‑20. Balanced formulas support both foliage and root development.
Dilute Correctly
Mix the fertilizer at half the strength recommended on the label. Over‑fertilizing can burn the spider plant roots and cause brown leaf tips.
Apply Monthly
Feed the spider plant once a month during spring and summer. Skip fertilizing in fall and winter when growth slows. Water the plant first, then apply the diluted solution.
Step 6: Prune and Propagate
Pruning keeps the spider plant tidy and gives you free new plants.
Trim Brown Tips
Use clean scissors to cut off any brown leaf tips. Cut at an angle just above the healthy tissue. This improves appearance and stops the damage from spreading.
Cut Runners for Babies
The spider plant produces long runners with small plantlets called spiderettes. Snip a runner with at least two spiderettes attached. Each spiderette can become a new spider plant.
Plant Babies in Water or Soil
Place spiderettes in a glass of water until roots are an inch long, then pot them in the same soil mix used for the mother plant. Alternatively, plant directly in moist soil and keep humid until established.
Step 7: Monitor Pests and Diseases
Spring warmth can bring pests that love the spider plant.
Check for Spider Mites
Look for tiny webs on the undersides of leaves and a stippled, dusty appearance. If you see them, spray the spider plant with a strong jet of water, then apply insecticidal soap.
Look for Mealybugs
Mealybugs appear as white cottony clusters in leaf axils. Dab them with a cotton swab dipped in rubbing alcohol. Repeat weekly until gone.
Treat Early
Early treatment stops infestations from spreading to other houseplants. Keep the spider plant isolated for a few days after treatment to monitor recovery.
Step 8: Set Up Humidity and Temperature
The spider plant prefers moderate humidity and stable temperatures.
Increase Humidity
Group the spider plant with other houseplants, or set the pot on a tray of pebbles filled with water. As water evaporates, humidity rises around the leaves.
Keep Temperature Steady
Ideal range is 65 to 75 degrees Fahrenheit. Avoid drafts from air conditioners, heaters, or open windows. Sudden temperature swings stress the spider plant.
Use Pebble Tray
A simple pebble tray is a shallow dish with stones and water. Place the spider plant pot on top, ensuring the pot bottom does not touch the water. Refill as needed.
Troubleshooting Common Spring Issues
Even with good care, the spider plant may show signs of stress.
Yellow Leaves
Yellow leaves often mean too much water or poor drainage. Check the soil moisture and ensure the pot drains well. Reduce watering frequency and consider repotting with fresher mix.
Brown Tips
Brown leaf tips usually indicate low humidity, fluoride in tap water, or over‑fertilizing. Use filtered water, raise humidity, and cut fertilizer strength in half.
Leggy Growth
Long, thin stems with few leaves mean the spider plant is not getting enough light. Move it to a brighter spot and rotate regularly. Prune leggy stems to encourage bushier growth.
Conclusion
Caring for a spider plant in spring is straightforward when you follow these steps. Inspect, repot, water wisely, give bright indirect light, fertilize monthly, prune and propagate, watch pests, and maintain humidity. With consistent attention, your spider plant will produce vibrant foliage and plenty of baby spiderettes for sharing. Enjoy the rewarding process and watch your indoor garden flourish.