Ultimate Guide How to Choose Best COB for Hoya Plants
Choosing the right COB LED grow light transforms Hoya care from guesswork into consistent success. This guide covers spectrum needs, wattage calculations, heat management, and placement strategies so your wax plants bloom vigorously year-round.
Quick Answers to Common Questions
How do I know if my Hoya is getting enough light?
Check internode spacing. Compact growth with short gaps between leaves means good light. Long, stretched stems with pale leaves signal deficiency. A PAR meter reading 200-300 µmol/m²/s confirms vegetative needs are met.
Can I use a single COB for multiple Hoya plants?
Yes, if the coverage area matches. A 100-watt COB at 18 inches covers roughly a 3-foot diameter. Place plants in a circle under the light. Rotate weekly for even exposure. Add side lighting for taller vines.
Do Hoyas need UV light to thrive?
Not strictly needed, but UV-A (365-395nm) for 2-3 hours daily boosts wax production and leaf gloss. It may enhance pest resistance. Avoid UV-B and UV-C as they damage foliage quickly.
What hanging height is best for COB lights over Hoyas?
Start at 24 inches for acclimation. Lower to 12-18 inches for mature plants. Use an IR thermometer to keep leaf surface temperature under 85°F. Adjust based on species tolerance and PPFD readings.
How often should I replace COB LEDs?
Quality COBs (Citizen, Samsung, Cree) maintain 90% output for 50,000+ hours (5-7 years at 16 hrs/day). Budget COBs degrade faster. Replace when PPFD drops 20% from baseline or flowering declines noticeably.
Introduction Why COB LEDs Matter for Hoya Growers
Hoya plants, affectionately called wax plants, have exploded in popularity among houseplant enthusiasts. Their thick, succulent leaves and stunning star-shaped flower clusters make them prized possessions. But getting a Hoya to bloom indoors can feel like solving a puzzle. Light is usually the missing piece. COB LED technology has changed the game for indoor growers. These lights pack intense, full-spectrum output into a small footprint. They run cooler than old-school HID bulbs. They last longer than cheap panel LEDs. For Hoya collectors, a well-chosen COB setup means faster growth, thicker leaves, and reliable flowering.
This guide walks you through every factor that matters when selecting a COB for Hoya plants. You will learn how to match light intensity to your growing space. You will understand spectrum nuances that trigger blooms. You will discover mounting options, heat management tricks, and budget-friendly builds. Whether you tend a single Hoya carnosa on a shelf or curate a rare species collection in a grow tent, this guide gives you the knowledge to choose with confidence.
Step 1 Understand Hoya Light Requirements
Before you shop for a COB, you need to know what your plants actually want. Hoyas hail from tropical and subtropical forests across Asia and Australia. Most grow as epiphytes on tree branches. They receive bright, filtered light. Direct midday sun can burn their leaves. Deep shade leads to leggy growth and zero flowers.
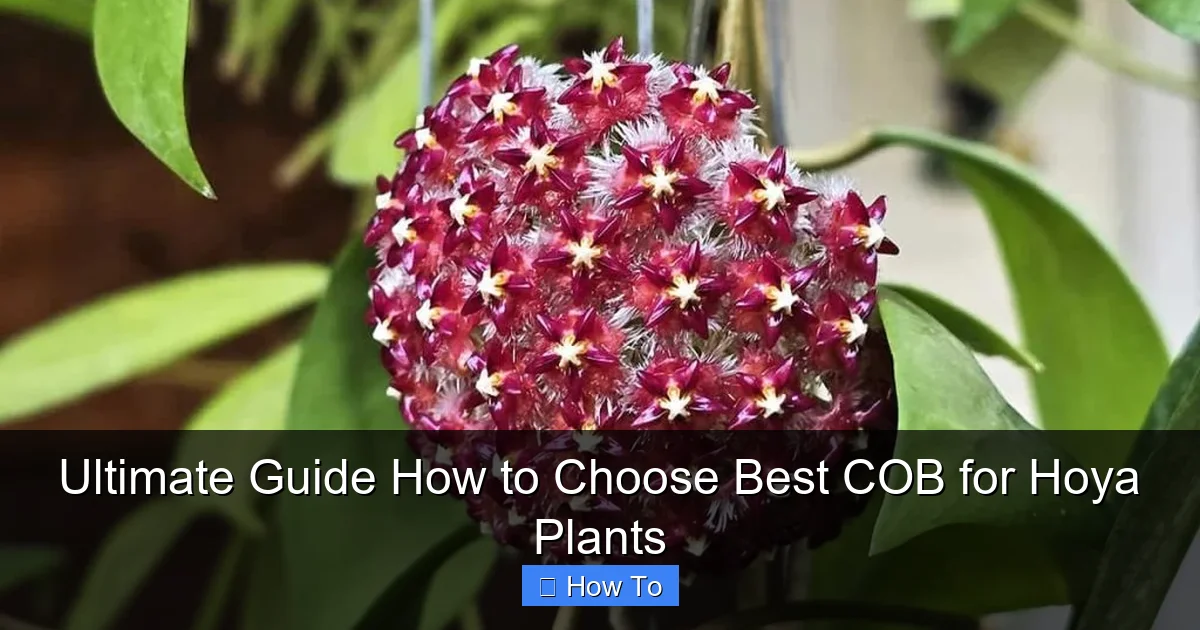
Visual guide about Ultimate Guide How to Choose Best COB for Hoya Plants
Image source: plantglossary.com
Natural Habitat Clues
In nature, Hoyas experience light intensities between 200 and 800 µmol/m²/s photosynthetic photon flux density (PPFD). The canopy filters harsh rays. Morning or late afternoon sun touches them briefly. This translates to a daily light integral (DLI) of roughly 8-15 mol/m²/day. Your goal indoors is to replicate this range consistently.
Growth Stage Differences
Young Hoya cuttings and newly rooted plants prefer lower light, around 100-150 µmol/m²/s. Too much intensity stresses tender roots. Established vegetative plants thrive at 150-300 µmol/m²/s. When you want to initiate flowering, ramp up to 300-500 µmol/m²/s. Some high-light species like Hoya sunrise or Hoya pubicalyx tolerate even more. Always observe leaf color and internode distance. Pale, stretched stems signal insufficient light. Yellowing or crispy edges mean too much.
Photoperiod Needs
Hoyas are generally day-neutral regarding flowering triggers, but they respond well to longer days during active growth. A 14-16 hour photoperiod in spring and summer mimics their natural season. Reduce to 10-12 hours in winter to give plants a rest period. Consistent timing matters more than exact duration. Use a reliable timer. Manual switching leads to irregular cycles that confuse plants.
Step 2 Decode COB LED Specifications
COB stands for Chip on Board. Multiple LED chips are mounted directly on a substrate, creating a single high-output light source. This design yields higher lumen density and better thermal performance than discrete LEDs spread across a board. But not all COBs are created equal. You need to read spec sheets like a pro.
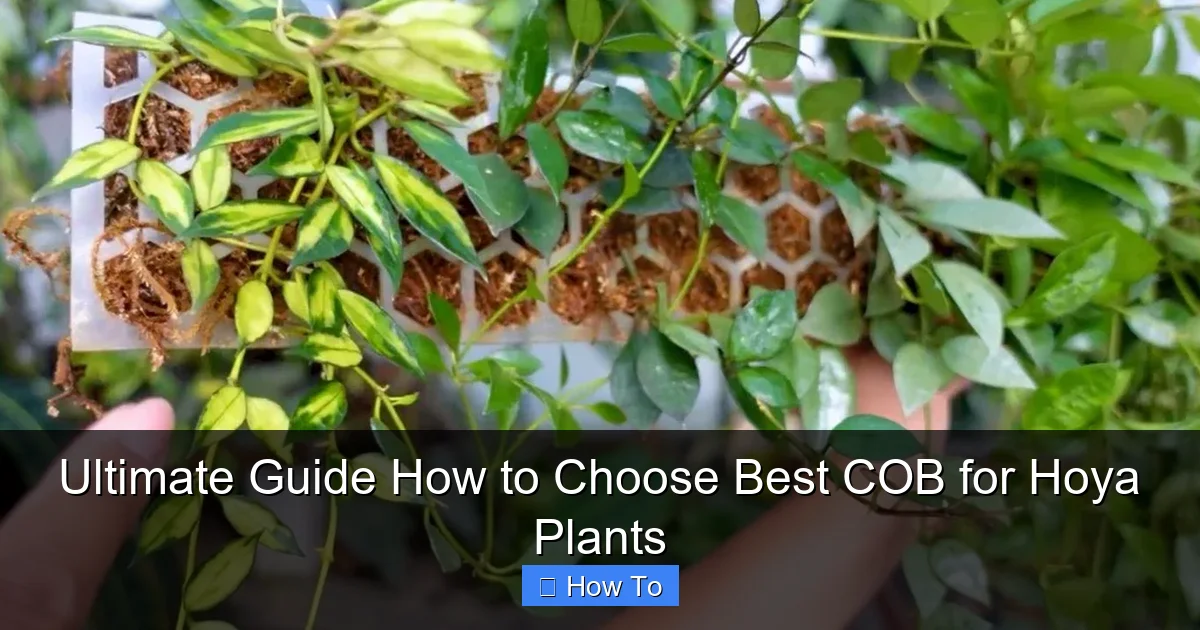
Visual guide about Ultimate Guide How to Choose Best COB for Hoya Plants
Image source: cdn.shopify.com
Wattage Real vs Advertised
Manufacturers often advertise “equivalent wattage” comparing to HID or incandescent. Ignore that number. Look for actual power draw in watts at the wall. A genuine 50-watt COB draws 50 watts. A “100-watt equivalent” might only draw 30 watts. For Hoya, target 35-50 actual watts per square foot of canopy. A 2×2 foot area needs 140-200 watts total draw. Two 100-watt COBs or four 50-watt COBs both work. Multiple smaller COBs distribute light more evenly.
Spectrum and CRI
Full spectrum is non-negotiable. Hoyas need blue (400-500nm) for compact growth and red (600-700nm) for flowering. Look for COBs rated 3500K-4000K color temperature with CRI (Color Rendering Index) above 90. High CRI means the light renders colors accurately, which correlates with a broad, continuous spectrum. Some COBs add discrete 660nm deep red and 730nm far-red diodes. These boost flowering response significantly. UV-A (365-395nm) enhances wax production on leaves, giving that signature Hoya shine.
PPFD and Efficiency Metrics
Photosynthetic Photon Flux Density (PPFD) measures usable light reaching your plants. Reputable sellers provide PPFD maps at various hanging heights. Look for efficacy ratings in µmol/J (micromoles per joule). Modern COBs hit 2.5-3.0 µmol/J. Higher efficacy means more light per watt and less heat. Ask for third-party test data or integrate sphere reports. If a vendor cannot provide these, keep looking.
Driver Quality and Dimming
The driver converts AC power to the DC current COBs need. Constant-current drivers are mandatory. Cheap constant-voltage drivers kill COBs fast. Mean Well, Inventronics, and HLG drivers are industry standards. Choose dimmable drivers (0-10V or PWM) so you can lower intensity for acclimation or young plants. Built-in potentiometers on the driver housing allow manual dimming without a separate controller.
Step 3 Calculate Your Lighting Footprint
Matching COB count and placement to your growing area ensures even coverage. Hotspots burn leaves. Dark corners produce weak growth. Simple math and a little planning prevent both.
Measure Your Canopy Area
Measure the width and depth of your plant shelf, tent, or table. Multiply for square footage. A 3-foot by 2-foot shelf equals 6 square feet. At 40 watts per square foot, you need 240 actual watts. That could be three 80-watt COBs or four 60-watt COBs. Round up slightly for edge falloff.
Determine Hanging Height
COBs emit light in a 120-140 degree beam angle. At 12 inches, a single COB covers roughly a 2-foot diameter circle with usable intensity. At 18 inches, coverage widens to 3 feet but intensity drops by half. For shelves 12-14 inches above plants, space COBs 18-24 inches apart on center. For tents with 18-24 inch clearance, space 24-30 inches apart. Overlap beam edges by 20-30 percent for uniform PPFD.
Layout Patterns
Grid layouts work best for rectangular areas. Staggered (offset) grids improve uniformity. For a 4×4 foot tent, nine COBs in a 3×3 grid at 18-inch spacing delivers exceptional coverage. For a 12-inch deep shelf, a single row centered 6 inches from the front edge lights both front and back rows of pots. Use reflective material on side walls (Mylar, panda film, or flat white paint) to reclaim edge light.
Step 4 Choose the Right COB Form Factor
COBs come in several physical formats. Your space, budget, and DIY comfort level dictate the best choice.
Bare COB Chips with Heatsinks
This is the most affordable route. You buy raw COB chips (Citizen, Cree, Samsung, Bridgelux) and mount them on aluminum heatsinks. You wire them to drivers yourself. Pros: maximum customization, lowest cost per watt, easy to replace individual COBs. Cons: requires soldering or Wago connectors, thermal paste application, and basic electrical safety knowledge. Exposed chips need protective lenses or glass covers.
COB Modules (Chip on Heatsink)
Pre-mounted COBs on finned aluminum heatsinks with leads ready for driver connection. Brands like HLG, Rapid LED, and CobKits sell these. Pros: no thermal paste hassle, safer wiring, often include lenses. Cons: higher cost per watt, fixed heatsink size may not fit tight spaces.
Integrated COB Fixtures
Complete lights with housing, driver, heatsink, and sometimes lens in one unit. Examples: HLG R-Spec, ChilLED, Growcraft. Pros: plug-and-play, UL/ETL listed, warranty support, optimized thermal design. Cons: highest cost, least flexible, harder to repair.
Quantum Boards vs COBs
Quantum boards use hundreds of mid-power LEDs spread across a large PCB. They run cooler and spread light more evenly than COBs. For Hoya, both work. COBs penetrate canopy better due to higher intensity per point source. Quantum boards excel in low-clearance shelves. If your Hoya vines climb a trellis 2 feet tall, COBs reach lower leaves better. If plants stay under 12 inches, quantum boards are simpler.
Step 5 Manage Heat for Healthy Hoyas
Hoyas hate hot roots and scorched leaves. COBs concentrate heat in a small area. Proper thermal management protects both the LED investment and your plants.
Passive Cooling with Heatsinks
Most quality COB heatsinks are extruded aluminum with fins. Mount them with fins vertical for natural convection. Ensure at least 2 inches of clearance above fins for airflow. In a grow tent, inline fans pulling air across heatsinks dramatically improve performance. Never enclose a COB heatsink in a sealed box without active ventilation.
Active Cooling Options
Small 12V or 24V DC fans mounted directly on heatsinks allow higher drive currents in smaller footprints. PWM-controlled fans ramp speed with temperature. This adds a failure point (fan death) but enables compact builds. If you use active cooling, wire fans to the same timer as lights so they run only when COBs are on.
Thermal Interface Material
If mounting bare COBs, use high-quality thermal paste (Arctic MX-6, NT-H2) or phase-change pads. Apply a thin, even layer. Too much paste insulates. Clamp COB to heatsink with even pressure using the manufacturer’s mounting screws or spring clips. Verify contact with a thermal camera or infrared thermometer after 30 minutes of operation. Junction temperature should stay under 85°C for long life.
Protecting Plants from Radiant Heat
Even with perfect heatsinking, COBs emit infrared radiation. Leaves directly under a COB at 12 inches can experience leaf surface temperatures 5-8°F above ambient. Use a handheld IR thermometer to check. If leaf temps exceed 85°F, raise the light or add a small clip fan blowing across the canopy. Air movement breaks the boundary layer and cools leaves effectively.
Step 6 Select Optimal Spectrum for Flowering
Getting Hoyas to bloom is the holy grail. Spectrum tuning makes the difference between a green vine and a flower factory.
Blue Light for Structure
Blue photons (400-500nm) inhibit stem elongation. They promote thick, waxy leaves and short internodes. Aim for 15-25% blue in your total spectrum. Too much blue (>30%) can stunt some Hoya species and cause purple stress coloring on leaves. A 3500K COB naturally provides ~20% blue. Supplement with 450nm royal blue diodes only if plants stretch excessively.
Red Light for Blooms
Red photons (600-700nm) drive photosynthesis efficiently and signal flowering via phytochrome. Deep red 660nm is the gold standard. Far-red 730nm triggers shade avoidance and can synchronize flowering across a collection. Target 35-45% red + far-red combined. Many “flowering” COBs (3000K-3500K) already hit this. Add discrete 660nm chips if your COB runs 4000K or higher.
Green and Yellow for Penetration
Green light (500-600nm) penetrates deeper into leaf mesophyll and lower canopy layers. It drives photosynthesis in shaded leaves. Full-spectrum white COBs provide ample green. Do not fall for “blurple” (blue+red only) panels. They look cool but produce leggy, weak Hoya growth.
UV-A for Wax and Defense
UV-A (365-395nm) stimulates flavonoid and wax production. This gives Hoya leaves their glossy sheen and may improve pest resistance. Add a few 365nm or 395nm UV-A LEDs per square foot. Run them 2-3 hours mid-day. Do not use UV-B or UV-C. They damage DNA and burn leaves quickly.
Step 7 Build or Buy Your COB System
Now you have the specs. Time to acquire hardware. Three paths exist: full DIY, semi-DIY kits, or turnkey fixtures.
Full DIY Component List
For a 4×4 foot flowering footprint (approx. 320 watts):
- 4x Citizen CLU048-1212C4-3535K3 (80W each, 3500K, 90+ CRI)
- 4x Mean Well HLG-80H-C2800B drivers (dimmable, constant current)
- 4x 120mm x 120mm x 50mm pin-fin heatsinks
- Thermal paste, Wago 221 connectors, 18AWG silicone wire
- 4x 90-degree glass lenses (optional but recommended)
- Aluminum frame or 2×4 lumber for mounting
- Mounting hardware, zip ties, cable glands
- Timer and surge protector
Total parts cost: $350-450. Assembly time: 4-6 hours. Tools: drill, screwdriver, wire strippers, multimeter.
Semi-DIY Kit Options
Rapid LED, CobKits, and LED Gardener sell pre-tested kits. You get matched COBs, drivers, heatsinks, and wiring harnesses. Some include frames. You assemble. Cost: $450-600 for equivalent output. Time: 2-3 hours. Best for first-time builders who want support.
Turnkey Fixture Recommendations
If budget allows, these fixtures deliver proven results for Hoya:
- HLG 300L R-Spec (300W, 3500K + 660nm, dimmable, $480)
- ChilLED X3 320 (320W, tunable spectrum, app control, $650)
- Growcraft X3 Bloom (330W, 3500K + 660nm + UV-A, $700)
- Spider Farmer SF-4000 (400W, Samsung LM301B + 660nm, $420)
Turnkey units include warranties, safety certifications, and optimized thermal design. They hold resale value well.
Step 8 Install and Acclimate Your Hoyas
New lights shock plants if introduced abruptly. Follow this acclimation schedule over 10-14 days.
Day 1-3: Low and Slow
Hang COBs at maximum height (24-30 inches above canopy). Set dimmer to 30% power. Run 12-hour photoperiod. Monitor leaves daily. Watch for curling, bleaching, or sudden yellowing. Water slightly less than usual. Transpiration drops under lower light.
Day 4-7: Step Up
Lower lights 3-4 inches. Increase dimmer to 50%. Extend photoperiod to 14 hours. Check leaf temperature with IR gun at midday. Should stay under 82°F. If any species shows stress, raise lights for that shelf only.
Day 8-10: Target Intensity
Lower to final hanging height (12-18 inches). Set dimmer to 75%. Run 16-hour photoperiod for vegetative growth. Take PPFD readings at canopy level in multiple spots. Aim for 200-300 µmol/m²/s average. Adjust dimmer or height to hit target.
Day 11-14: Full Power for Flowering
If plants show zero stress, increase to 100% power. For flowering induction, maintain 16 hours at 300-500 µmol/m²/s. After 4-6 weeks of bud formation, you can reduce to 12 hours to mimic autumn. Continue full intensity.
Ongoing Monitoring
Rotate plants weekly for even light exposure. Clean COB lenses monthly with microfiber cloth and isopropyl alcohol. Dust cuts output 10-15%. Check driver temperatures quarterly. Replace thermal paste every 2-3 years if running bare COBs.
Step 9 Troubleshoot Common Issues
Even with perfect planning, problems arise. Here is how to diagnose and fix the most frequent COB-Hoya mismatches.
Leggy Growth and No Flowers
Symptoms: Long internodes, small pale leaves, zero peduncles after a year.
Causes: Insufficient PPFD, wrong spectrum (too little red), photoperiod too short.
Fixes: Increase intensity 20%. Add 660nm supplemental bars. Extend day to 16 hours. Verify PPFD with meter.
Leaf Bleaching or Crispy Tips
Symptoms: White or yellow patches on upper leaves, brown crispy margins.
Causes: PPFD too high, hanging too close, heat stress, nutrient deficiency exacerbated by light.
Fixes: Raise lights 6 inches. Dim 25%. Increase airflow. Check calcium/magnesium feeding. Flush medium if EC high.
Uneven Canopy Growth
Symptoms: Front row plants compact and flowering, back row stretching.
Causes: Poor light distribution, insufficient overlap, reflective walls missing.
Fixes: Add side lighting (LED strips). Reposition COBs for better overlap. Line walls with Mylar. Rotate plants twice weekly.
Driver Flicker or Failure
Symptoms: Lights strobe, dim randomly, or fail to start.
Causes: Overheating driver, loose wiring, incompatible dimmer, power surges.
Fixes: Ensure driver has airflow. Mount away from COB heatsink. Check all Wago connections. Use surge protector. Match dimmer type (0-10V vs PWM) to driver spec.
COB Degradation Over Time
Symptoms: Gradual intensity loss, color shift toward green/blue, reduced flowering.
Causes: Phosphor degradation, thermal cycling, sulfur contamination from rubber gaskets.
Fixes: Quality COBs (Citizen, Samsung) maintain 90% output at 50,000 hours. Cheap COBs fade at 15,000 hours. Replace if PPFD drops >20% from baseline. Use sulfur-free thermal pads.
Step 10 Advanced Tips for Serious Collectors
Once you master the basics, these refinements push results from good to exceptional.
Side Lighting for Vertical Vines
Hoya vines climb. Top light alone leaves lower leaves in shade. Mount 12-inch LED strips (Samsung LM301H, 4000K) vertically on trellis posts. Run at 20-30 watts per side. This fills the “light well” and keeps lower nodes productive.
Spectral Tuning by Species
High-light Hoyas (H. sunrise, H. pubicalyx, H. wayetii) crave 500+ µmol/m²/s and extra red. Shade-tolerant species (H. bella, H. linearis, H. krohniana) prefer 150-200 µmol/m²/s with more blue. Group plants by light appetite on separate shelves with dedicated COBs.
Automated Dimming Curves
Smart drivers (HLG-600H-C, Inventronics EUM) accept 0-10V signals from controllers like Growtronix or Raspberry Pi. Program sunrise/sunset ramps (30 min fade in/out). Simulate cloud cover with random 10% dips. Reduce photoinhibition risk.
Supplemental CO2 Consideration
At PPFD above 500 µmol/m²/s, CO2 becomes limiting. Ambient 400 ppm caps photosynthesis. Enriching to 800-1000 ppm boosts growth 20-30%. Requires sealed room, CO2 generator or tank, controller, and safety alarms. Only for advanced sealed tents.
Data Logging and PAR Mapping
Buy a quantum sensor (Apogee SQ-520 or budget LiCor clone). Map PPFD monthly. Track DLI. Correlate with flowering dates. Build a spreadsheet. Over years, you develop species-specific recipes. This is how commercial growers optimize. You can too.
Conclusion Light the Way to Hoya Success
Choosing the best COB for Hoya plants blends science with observation. You now understand the core variables: actual wattage, full-spectrum quality, PPFD targets, heat management, and acclimation discipline. Start with your space measurements. Calculate wattage needs. Pick a form factor matching your skills and budget. Build or buy. Install thoughtfully. Acclimate patiently. Monitor relentlessly.
Remember that every Hoya collection is unique. Your humidity, temperature, genetics, and care routine interact with light. The “perfect” COB on paper may need tweaking in your living room. Trust your plants. They tell the truth through leaf color, internode length, and peduncle formation. Adjust. Observe. Repeat.
With the right COB setup, those elusive flower clusters stop being luck and start being routine. The waxy fragrance of Hoya blooms filling your home becomes a seasonal guarantee, not a hopeful wish. Happy growing.