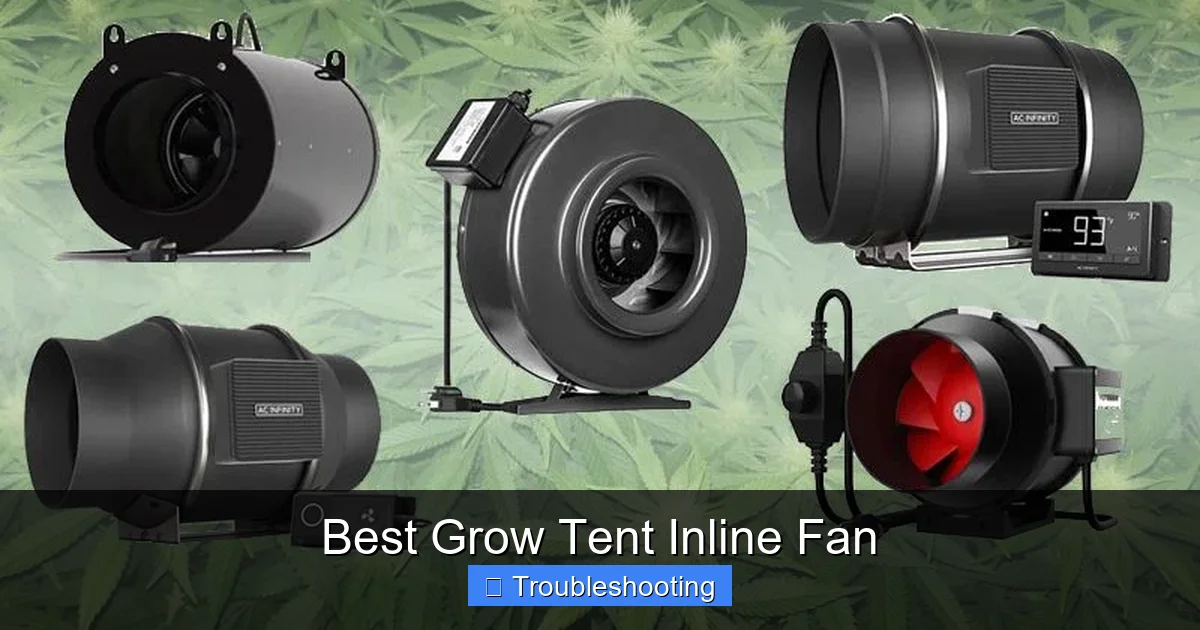
Best Grow Tent Inline Fan
Choosing the best grow tent inline fan ensures proper airflow, temperature control, and odor management for healthy plant growth. This guide covers sizing, key features, troubleshooting common issues, and installation tips to help you pick the perfect fan for your setup.
Setting up a grow tent feels exciting. You have your lights, your pots, your soil. But there is one piece of gear that many new growers overlook. That piece is the inline fan. Without good airflow, your plants will struggle. Heat builds up. Humidity spikes. Stale air sits around the leaves. Pests and mold move in fast. A quality inline fan solves all of this. It pulls fresh air in. It pushes hot, humid air out. It keeps your environment stable. Stable environments mean happy plants. Happy plants mean better yields.
Finding the best grow tent inline fan for your specific setup can feel overwhelming. There are many brands. Many sizes. Many price points. Some fans are loud. Some are weak. Some vibrate so hard they shake the whole tent. This guide walks you through everything you need to know. We cover sizing math. We cover must-have features. We cover common problems and how to fix them. We cover installation tricks that pros use. By the end, you will know exactly what to buy and how to set it up right.
Key Takeaways
- Proper sizing is critical: Match fan CFM to your tent volume for optimal air exchange every 1-3 minutes.
- Noise levels matter: Look for fans with mixed-flow design and speed controllers for quiet operation.
- Carbon filter compatibility: Ensure your fan has enough static pressure to pull air through a carbon filter.
- Speed controllers save energy: Variable speed lets you adjust airflow for different growth stages.
- Regular maintenance extends life: Clean blades and check bearings every few months for peak performance.
- Installation affects efficiency: Use smooth ducting, minimize bends, and seal all connections properly.
- Troubleshooting early prevents crop loss: Address noise, vibration, or airflow drops immediately.
Quick Answers to Common Questions
What size inline fan do I need for a 4×4 grow tent?
For a 4x4x6 tent, you need a minimum of 70 CFM after accounting for carbon filter and ducting losses. A 4-inch or 6-inch fan rated at 200+ CFM gives you plenty of headroom to run at lower, quieter speeds.
Should I run my inline fan 24/7?
Yes, run your inline fan continuously during lights-on. During lights-off, you can reduce speed but maintain some airflow to prevent humidity spikes and CO2 depletion. A controller with a timer or temp/humidity probes automates this perfectly.
How often should I replace my carbon filter?
Replace your carbon filter every 12 to 18 months depending on tent size, humidity, and odor intensity. If you smell plant odor escaping the tent, the carbon is saturated and needs immediate replacement.
Why is my inline fan making a rattling noise?
Rattling usually indicates loose mounting screws, a loose impeller blade, or worn bearings. Check and tighten all screws monthly. If the impeller wobbles when spun by hand, the bearing is failing and the fan needs warranty replacement.
Can I use one inline fan for two grow tents?
It is not recommended. Sharing one fan with a Y-splitter creates pressure imbalances, uneven airflow, and makes environmental control impossible. Each tent should have its own properly sized fan and carbon filter for best results.
📑 Table of Contents
- Why You Need an Inline Fan for Your Grow Tent
- How to Choose the Right Size Inline Fan
- Top Features to Look for in a Quality Inline Fan
- Common Inline Fan Problems and How to Fix Them
- Installation Tips for Maximum Efficiency
- Maintenance and Care for Long-Lasting Performance
- Matching Your Fan to Your Grow Style
- Budget vs. Premium: Where to Spend and Where to Save
- Conclusion
Why You Need an Inline Fan for Your Grow Tent
An inline fan is the lungs of your grow tent. It creates the air exchange your plants need to breathe. Plants take in CO2 and release oxygen. In a sealed tent, CO2 drops fast. Without fresh air, growth slows down. An inline fan pulls fresh, CO2-rich air into the space. It pushes used, oxygen-rich air out. This constant swap keeps photosynthesis humming along.
Temperature Control
Grow lights produce heat. A lot of heat. High-pressure sodium lights run hot. Even LED lights add warmth to a small space. Without ventilation, temperatures climb past safe levels. Heat stress causes curled leaves. It causes fox-tailing on flowers. It reduces potency and yield. An inline fan removes that hot air fast. It keeps your tent in the sweet spot. Most plants love 70 to 80 degrees Fahrenheit. The fan makes that possible.
Humidity Management
Plants transpire. They release water vapor from their leaves. In a closed tent, humidity skyrockets. High humidity invites powdery mildew. It invites botrytis, also known as bud rot. It slows transpiration, which slows nutrient uptake. An inline fan vents that moist air out. It brings drier air in. You maintain the perfect VPD, or vapor pressure deficit. Your plants drink and eat on schedule.
Odor Control
Flowering plants smell strong. That scent escapes through cracks and zippers. It draws unwanted attention. An inline fan paired with a carbon filter scrubs the air clean. The fan pulls air through the filter. Activated carbon traps odor molecules. Clean air exits the tent. Your grow stays private. Your neighbors stay happy.
Stem Strength
Air movement inside the tent matters too. A gentle breeze flexes plant stems. This triggers a hormone response. The plant grows thicker, stronger stalks. Strong stalks hold heavy flowers later. They resist snapping under weight. An inline fan creates this breeze when paired with a clip fan. The inline fan handles the exchange. The clip fan handles the internal circulation. Together they build tough plants.
How to Choose the Right Size Inline Fan
Sizing your fan correctly is the single most important step. Too small and it cannot keep up. Too large and you waste money and energy. You might also pull the tent walls in, causing negative pressure collapse. The goal is a complete air exchange every one to three minutes. One minute is ideal for hot setups. Three minutes works for cool LED setups.
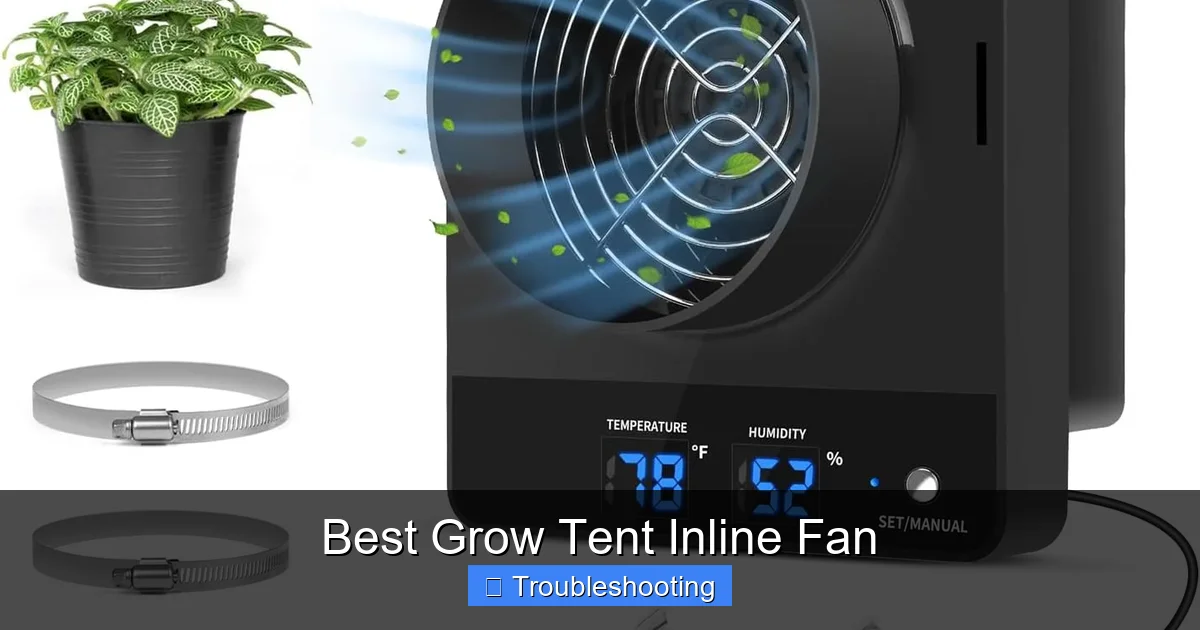
Visual guide about Best Grow Tent Inline Fan
Image source: m.media-amazon.com
Calculate Your Tent Volume
First, find your tent volume in cubic feet. Multiply length by width by height. A 4 by 4 by 6 foot tent equals 96 cubic feet. A 5 by 5 by 7 foot tent equals 175 cubic feet. A 10 by 10 by 7 foot tent equals 700 cubic feet. Write this number down. You need it for the next step.
Determine Required CFM
CFM stands for cubic feet per minute. It measures how much air a fan moves. Divide your tent volume by your target exchange time. For a 96 cubic foot tent with a two-minute exchange, you need 48 CFM. For a 175 cubic foot tent with a one-minute exchange, you need 175 CFM. This is your base CFM.
Add Efficiency Losses
Real world factors reduce fan performance. A carbon filter adds resistance. It cuts airflow by 25 to 30 percent. Ducting adds resistance. Each foot of straight ducting cuts a little. Each 90-degree bend cuts a lot. A 90-degree bend equals about 10 feet of straight ducting. A 45-degree bend equals about 5 feet. Add 10 percent for every 10 feet of ducting. Add 20 percent for a carbon filter. Add 10 percent for each 90-degree bend.
Example Calculation
Let us walk through a real example. You have a 4 by 4 by 6 tent. Volume is 96 cubic feet. You want a two-minute exchange. Base CFM is 48. You use a carbon filter. Add 20 percent. 48 times 1.2 equals 57.6. You have 10 feet of ducting. Add 10 percent. 57.6 times 1.1 equals 63.4. You have one 90-degree bend. Add 10 percent. 63.4 times 1.1 equals 69.7. Round up to 70 CFM minimum. A 4-inch fan rated at 200 CFM gives you plenty of headroom. You can run it at low speed. It stays quiet. It lasts longer.
Common Tent Sizes and Fan Recommendations
Here are quick references for popular tent sizes. A 2 by 2 by 4 tent needs a 4-inch fan around 100 CFM. A 3 by 3 by 6 tent needs a 4-inch fan around 150 CFM. A 4 by 4 by 6 tent needs a 4-inch or 6-inch fan around 200 CFM. A 5 by 5 by 7 tent needs a 6-inch fan around 300 CFM. A 8 by 4 by 7 tent needs a 6-inch fan around 400 CFM. A 10 by 10 by 7 tent needs an 8-inch fan around 700 CFM. Always buy a fan rated higher than your calculated need. Running at 50 to 70 percent speed extends motor life. It reduces noise dramatically.
Top Features to Look for in a Quality Inline Fan
Not all inline fans are built the same. Cheap fans use brushed AC motors. They run hot. They hum loudly. They fail fast. Quality fans use EC motors. EC stands for electronically commutated. These are brushless DC motors. They run cool. They are silent. They use less electricity. They offer precise speed control. The best grow tent inline fan models on the market today all use EC technology.
Mixed-Flow vs. Centrifugal Design
You will see two main designs. Centrifugal fans look like a hamster wheel. They push air out at 90 degrees. They generate high static pressure. They push hard through filters and long ducting. Mixed-flow fans look like a tube with a cone inside. They combine axial and centrifugal principles. They move high volume with good pressure. They are more compact. They are often quieter. For most grow tents, mixed-flow is the sweet spot. It handles a carbon filter and 10 to 20 feet of ducting easily.
Speed Controller Included
A built-in speed controller is non-negotiable. Some fans come with a simple dial on the cord. Others come with a digital controller with a screen. Digital controllers show RPM, temperature, and humidity. Some let you set curves. The fan ramps up when temps rise. It ramps down when lights go off. This automation saves you daily adjustments. It protects plants from heat spikes when you are away.
Thermostat and Hygrometer Integration
Advanced controllers include probe ports. You plug in a temperature probe. You plug in a humidity probe. The fan reacts to real conditions inside the tent. Set your max temp at 82 degrees. The fan speeds up automatically if it hits 83. Set min humidity at 40 percent. The fan slows down if air gets too dry. This level of control used to cost hundreds. Now it comes standard on mid-range fans.
Noise Rating in Decibels
Check the decibel rating at max speed. A quiet fan runs at 30 to 40 dB at low speed. At max speed, 50 to 60 dB is acceptable. Anything over 65 dB sounds like a vacuum cleaner. You will hear it through walls. Look for fans with vibration-dampening mounts. Rubber grommets on the housing help. Foam tape on the tent flange helps. A silent grow is a stealthy grow.
Warranty and Support
A good warranty signals build quality. Look for at least 3 years. Some brands offer 5 years. Check if the warranty covers the motor and the controller. Read reviews about customer service. A fan that fails in month 13 with no support is a bad investment. Established brands like AC Infinity, Vivosun, Mars Hydro, and Spider Farmer have solid track records. New brands appear constantly. Do your homework.
Common Inline Fan Problems and How to Fix Them
Even the best equipment has issues. Knowing how to troubleshoot saves your crop. It saves you money on replacements. Most problems fall into a few categories. Noise. Vibration. Low airflow. Electrical faults. Let us tackle each one.
Excessive Noise
A new fan should be quiet. If it screams, something is wrong. First, check the speed. Running at 100 percent is loud. Dial it back to 60 percent. Noise drops exponentially with speed. Next, check mounting. Is the fan hanging from ducting? That transfers vibration to the tent frame. Use a bungee cord or ratchet strap. Hang the fan from the tent ceiling bars. Let the ducting hang loose. Add a silencer. A duct silencer is a insulated tube. It cuts noise by 50 percent. Install it on the exhaust side.
Rattling and Vibration
Rattling usually means loose parts. Check the impeller blades. Spin them by hand with power off. They should spin freely. No wobble. No grinding. If they wobble, the bearing is shot. Contact warranty support. Check the mounting screws. Vibration loosens them over time. Tighten all screws monthly. Use rubber washers between the fan flange and the ducting. This isolates micro-vibrations. If the fan sits on the floor, put it on a foam pad. Never let it touch the tent floor directly.
Low Airflow
If your tent feels stuffy, airflow is low. First, check the pre-filter. Most fans have a mesh screen on the intake. It catches dust and hair. It clogs fast. Clean it every two weeks. Vacuum it or wash it. Dry it before reinstalling. Next, check the carbon filter. Carbon saturates over time. It becomes restrictive. Replace carbon every 12 to 18 months. Check ducting for crushes or kinks. Flex duct collapses easily. Use semi-rigid or hard ducting for straight runs. Count your bends. Each 90-degree bend kills airflow. Replace two 90s with four 45s. It helps a lot.
Fan Will Not Start
No power means no airflow. Check the outlet first. Plug in a lamp. Does it work? If not, reset the breaker. Check the controller. Is the display lit? If the controller is dead, the fan will not run. Most EC fans need the controller to operate. Try bypassing the controller. Some fans have a test mode. Check the manual. If the fan runs without the controller, the controller is faulty. Replace it. If the fan still will not run, the motor or PCB is dead. Claim warranty.
Speed Controller Malfunction
Digital controllers can glitch. The screen freezes. Buttons stop responding. The fan runs at full speed or zero. Unplug the controller for 30 seconds. Plug it back in. This reboots the microprocessor. It fixes 90 percent of glitches. Check for moisture. Humidity kills electronics. Mount the controller outside the tent. Keep it dry. If problems persist, update firmware if available. Contact support for a replacement.
Burning Smell
A burning smell is serious. Shut off power immediately. Unplug the fan. Smell the motor housing. Smell the controller. Dust buildup on motor windings burns when hot. Clean the motor vents with compressed air. Do this every 3 months. If the smell comes from the controller, it has a failed component. Do not use it. Fire risk is real. Replace the controller. If the motor smells burnt, the windings are damaged bearings may have seized. The motor overheated. Claim warranty. Do not run a fan that smells burnt.
Installation Tips for Maximum Efficiency
Proper installation separates a working system from a great system. Small details make big differences. Airflow efficiency. Noise levels. Equipment lifespan. Follow these tips for a pro-level setup.
Mount the Fan Outside the Tent
Whenever possible, mount the fan outside the tent. Hang it from the ceiling or a wall bracket. This saves space inside. It keeps heat from the motor out of the tent. It makes maintenance easy. You do not need to crawl inside to clean the pre-filter. It reduces noise inside the grow space. Use short ducting from the tent port to the fan intake. Keep it under 3 feet if possible.
Use Smooth Ducting
Flexible aluminum ducting is cheap. It is also terrible for airflow. The ridges create turbulence. Turbulence kills CFM. Use semi-rigid aluminum ducting. It has a smooth interior. It bends easily but holds shape. Better yet, use PVC or metal pipe for straight runs. Use flex only for the final connection to the tent. The smoother the path, the more air moves.
Minimize Bends
Every bend is a restriction. Plan your duct route before cutting. Go straight out the port. Turn once if needed. Exit the room. Two 45-degree elbows flow better than one 90-degree elbow. Four 45s flow better than two 90s. Use large radius elbows. Short radius elbows choke airflow. If you must use 90s, oversize your fan by 30 percent.
Seal All Connections
Air leaks ruin negative pressure. Leaks let unfiltered air escape. Leaks let pests enter. Use foil tape on every joint. Do not use duct tape. It fails in heat. Foil tape lasts years. Wipe the surface clean before taping. Press firmly. Overlap by 2 inches. Check seals monthly. Vibration loosens tape over time.
Intake Strategy
Exhaust fans need intake air. Passive intake works for small tents. Leave a bottom vent open. The fan pulls air in through the vent. For larger tents, use active intake. Add a second inline fan on the intake side. Size it at 50 to 70 percent of exhaust CFM. This maintains slight negative pressure. Negative pressure keeps odor contained. It ensures all air passes through the carbon filter.
Carbon Filter Placement
Mount the carbon filter inside the tent. Hang it from the ceiling bars. Connect it directly to the fan intake. Or connect it with a short duct. This keeps the filter in the conditioned space. It protects the carbon from humidity swings. It makes filter changes easy. Pull the old one down. Push the new one up. No crawling. No duct cutting.
Maintenance and Care for Long-Lasting Performance
A little maintenance goes a long way. Inline fans run 24/7 for months. Dust, heat, and vibration take a toll. A maintained fan lasts 5 to 10 years. A neglected fan fails in 1 to 2. Set a schedule. Stick to it.
Monthly Checks
Once a month, do a quick inspection. Listen to the fan. New noises mean new problems. Feel the housing. It should be warm, not hot. Check the pre-filter. Clean it if dusty. Check all tape seals. Re-tape any loose edges. Check ducting for sags or crushes. Tighten any loose clamps. Verify the controller reads correctly. Compare with a handheld hygrometer.
Quarterly Deep Clean
Every 3 months, do a deep clean. Power off and unplug. Remove the fan from the ducting. Take it outside or to a garage. Use compressed air. Blow out the motor vents. Blow off the impeller blades. Hold the blades so they do not spin. Spinning an unpowered EC motor generates voltage. It can fry the PCB. Wipe the housing with a damp cloth. Dry completely. Reinstall. Check rotation direction. Air should flow from intake to exhaust.
Carbon Filter Replacement
Carbon filters have a lifespan. In a 4 by 4 tent, expect 12 to 18 months. In a 10 by 10, maybe 9 to 12 months. Humidity shortens life. High odor loads shorten life. When you smell odor escaping, the carbon is spent. Do not wait. Replace immediately. Old carbon becomes a restriction. It strains the fan motor. It raises temps. Keep a spare filter on hand. Swap in 5 minutes.
Bearing Lubrication
Most EC fans use sealed bearings. They do not need oil. Do not oil them. Oil attracts dust. Dust destroys bearings. If you hear a dry grinding noise, the bearing is failing. No oil will fix it. Replace the fan under warranty. Some AC fans have oil ports. If yours does, use 1 drop of lightweight machine oil per port per year. Never use WD-40. It is a solvent, not a lubricant.
Controller Care
Keep the controller dry. Mount it at eye level outside the tent. Away from humidifiers. Away from spray bottles. Clean the screen with a microfiber cloth. Do not use chemicals. Check cable connections. Unplug and replug once a year. This prevents corrosion. Update firmware if the manufacturer releases updates. New firmware often fixes bugs and improves efficiency.
Matching Your Fan to Your Grow Style
Different grow styles have different airflow needs. A sea of green setup packs many small plants. A SCROG setup spreads few plants wide. Autoflowers finish fast. Photos take months. Your fan should match your method.
Small Tent, Autoflowers
A 2 by 2 or 3 by 3 tent with autoflowers stays small. Plants finish in 10 weeks. Heat load is low with LEDs. A 4-inch fan at 100 to 150 CFM is plenty. Run it at 40 percent speed. It will be silent. You may not need a carbon filter until week 4. Save money. Buy a quality 4-inch EC fan with a controller. It handles this setup perfectly.
Medium Tent, Photos, SCROG
A 4 by 4 or 5 by 5 with photoperiod plants under SCROG fills the canopy. Flower stretch doubles height. Canopy gets dense. Air struggles to penetrate. You need strong exhaust. A 6-inch fan at 300 to 400 CFM gives headroom. Run at 60 percent veg. 80 percent flower. Add a carbon filter from day one. Odor gets intense. Use two clip fans inside for canopy penetration.
Large Tent, Commercial Style
An 8 by 4 or 10 by 10 tent moves serious air. You need an 8-inch or 10-inch fan. 700 to 1000 CFM range. Consider dual fans for redundancy. If one fails, the other keeps temps safe. Use a controller that manages both. Stage them. Fan 1 runs at 50 percent. Fan 2 kicks in at 80 degrees. This saves power. It extends life. It provides insurance.
Multi-Chamber Tents
Some tents have separate veg and flower chambers. Each chamber needs its own fan. Do not try to share one fan with a Y-splitter. Pressure imbalances ruin both environments. Size each fan for its chamber volume. Run separate ducting. Separate carbon filters. Separate controllers. It costs more upfront. It saves headaches later.
Budget vs. Premium: Where to Spend and Where to Save
Grow gear adds up fast. Lights. Tents. Fans. Nutrients. Meters. You want value. You do not want junk. Here is how to allocate your fan budget wisely.
Spend on the Motor
The motor is the heart. EC motors cost more. They are worth every penny. They use 50 percent less power. Over a year, the electricity savings pay the difference. They run cooler. Cooler motors last longer. They offer infinite speed control. AC motors have 3 speeds. Low. Medium. High. EC motors have 100 speeds. Precision matters.
Spend on the Controller
A smart controller automates your environment. It reacts faster than you can. It protects plants when you sleep. It protects plants when you work. A basic dial controller saves $20. A smart controller saves crops. Spend the extra $30 to $50. Look for temperature probe. Humidity probe. Timer. Data logging. Alarm notifications. These features pay for themselves in one saved harvest.
Save on Ducting
Semi-rigid ducting costs more than flex. But you need less of it. Straight runs need pipe. Buy 4-inch or 6-inch PVC. It costs $2 per foot. It flows 30 percent better. It never sags. It never crushes. Use flex only for the last 2 feet at each end. Total ducting cost stays low. Performance stays high.
Save on Carbon Filter
Premium carbon filters cost $100+. Budget filters cost $40. The difference is carbon quality and bed depth. Premium lasts 18 months. Budget lasts 10 months. Do the math. Two budget filters equal one premium. Cost is similar. But budget filters often have higher restriction. They choke airflow sooner. If you have a strong fan, budget works. If your fan is marginal, buy premium. Match filter to fan.
Do Not Skimp on Clamps and Tape
Worm gear clamps cost $1 each. Foil tape costs $10 a roll. Cheap plastic clamps break. Duct tape fails. A $1 clamp failure collapses your duct. Your fan pulls tent walls in. Your light falls. Your plants get crushed. Spend the $20 on quality hardware. Sleep well.
Conclusion
Choosing the best grow tent inline fan does not have to be complicated. Start with your tent volume. Calculate your CFM need. Add 30 percent for filter and duct losses. Pick a fan that exceeds that number. Prioritize EC motor. Prioritize speed controller. Prioritize low noise. Install it outside the tent. Use smooth ducting. Minimize bends. Seal everything. Maintain it monthly. Replace carbon yearly. That is the formula. Follow it and your air stays fresh. Your temps stay stable. Your plants stay healthy. Your harvests stay heavy.
Remember, airflow is invisible but its effects are obvious. Weak stems. Curled leaves. Powdery mildew. Slow growth. All trace back to bad air. Good air is the foundation. Everything else builds on it. Lights feed the plant. Nutrients feed the plant. Air lets the plant eat and drink. Do not let a $100 fan be the weak link in a $1000 setup. Invest wisely. Install carefully. Maintain diligently. Your plants will thank you with every gram.
Frequently Asked Questions
How do I calculate the CFM needed for my grow tent?
Multiply your tent length x width x height to get cubic feet. Divide by your target air exchange time (1-3 minutes). Multiply by 1.3 for carbon filter loss, 1.1 per 10 feet of ducting, and 1.1 per 90-degree bend. Round up to the next fan size.
What is the difference between AC and EC inline fans?
AC fans use brushed motors with fixed speeds, run hotter, consume more power, and are louder. EC fans use brushless DC motors with variable speed control, run cooler, use 50% less electricity, and offer precise, quiet operation.
Should the inline fan push or pull air through the carbon filter?
Pull air through the filter (filter on intake side of fan). This keeps the fan clean, ensures even airflow through the carbon bed, and makes filter changes easier. Pushing can cause channeling and reduced odor control.
How do I reduce inline fan noise in my grow tent?
Run the fan at 50-70% speed using a controller. Mount the fan outside the tent with bungee cords. Use a duct silencer on the exhaust side. Ensure all connections are tight. Use smooth ducting instead of ridged flex duct.
What causes low airflow from my inline fan?
Common causes include clogged pre-filter, saturated carbon filter, crushed or kinked ducting, too many sharp bends, air leaks at connections, or a failing motor. Check and clean the pre-filter first, then inspect the full duct path.
Can I use an inline fan without a carbon filter?
Yes, during vegetative growth or with low-odor plants. However, flowering plants produce strong odors that require a carbon filter. Running without one risks odor leaks. You can add the filter when flowering begins if needed.