Oxalis Soil Drainage Tips
Oxalis soil drainage tips help you avoid root rot and keep your shamrock plants happy. Use a light, airy mix and ensure excess water can escape quickly.
Oxalis plants are loved for their bright leaves and delicate flowers. Good drainage is the secret to keeping them healthy. Without proper drainage the roots sit in water and rot. This guide shares oxalis soil drainage tips that work for beginners and experts alike.
You will learn why drainage matters, how to pick the right soil, and how to water wisely. Each section gives clear steps you can follow today. By the end you will have a solid plan for perfect drainage every time.
Let us dive into the details and make your oxalis thrive.
Key Takeaways
- Choose a airy mix: Combine peat, perlite, and coarse sand for fast drainage.
- Pot with holes: Always use containers that have drainage holes at the bottom.
- Water deeply but infrequently: Let the top inch of soil dry before watering again.
- Add a drainage layer: Place gravel or broken pottery shards under the soil.
- Repot when needed: Refresh the mix every year to maintain structure.
- Watch for signs: Yellow leaves or mushy stems mean drainage is poor.
Quick Answers to Common Questions
What is the best soil mix for oxalis?
A mix of peat moss, perlite, and coarse sand in equal parts works best.
How often should I water oxalis?
Water when the top inch of soil feels dry, usually once a week in summer.
Can I use a pot without drainage holes?
No, pots must have holes or you risk root rot.
What are signs of poor drainage?
Yellow leaves, wilting despite wet soil, and a sour smell indicate trouble.
How do I improve drainage in an old pot?
Add a gravel layer, mix in perlite, or repot with fresh airy soil.
📑 Table of Contents
Why Drainage Matters for Oxalis
Oxalis roots need air as much as they need water. When soil stays soggy the air pockets disappear. Roots then suffocate and start to decay. This is the main reason growers search for oxalis soil drainage tips.
Root Health
Healthy roots are white and firm. They spread quickly in a loose mix. Good drainage keeps the root zone oxygenated. Oxygen fuels nutrient uptake and strong growth.
When roots have room to breathe they absorb minerals faster. This leads to brighter foliage and more blooms. A well‑drained pot is the foundation of root health.
Preventing Rot
Root rot is a fungal disease that loves wet conditions. It turns roots brown and mushy. Once rot starts it spreads fast. Proper drainage stops the fungus before it gains a foothold.
Fungal spores need standing water to germinate. By letting excess water escape you cut off their life cycle. This simple step saves many plants each season.
Signs of Poor Drainage
Look for yellowing leaves, wilting despite wet soil, and a sour smell from the pot. These clues tell you the mix holds too much water. Act quickly to adjust the medium.
Other signals include slow growth and leaf drop. If you see any of these, check the soil moisture and pot holes right away.
Choosing the Right Soil Mix
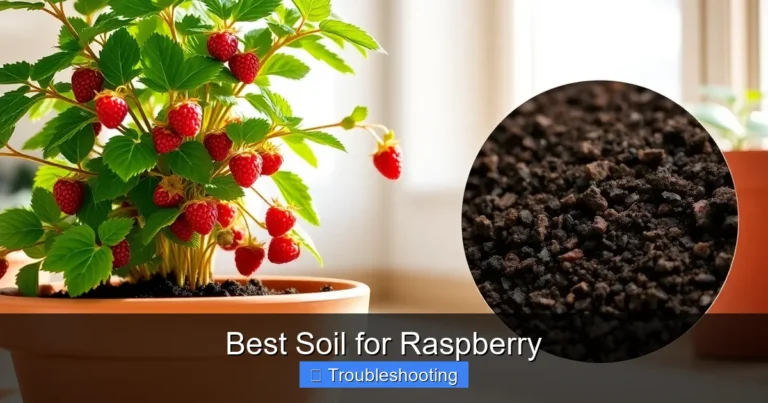
The best mix for oxalis is light, porous, and fast draining. A good recipe uses equal parts peat moss, perlite, and coarse sand. This blend follows core oxalis soil drainage tips and creates a balanced environment.
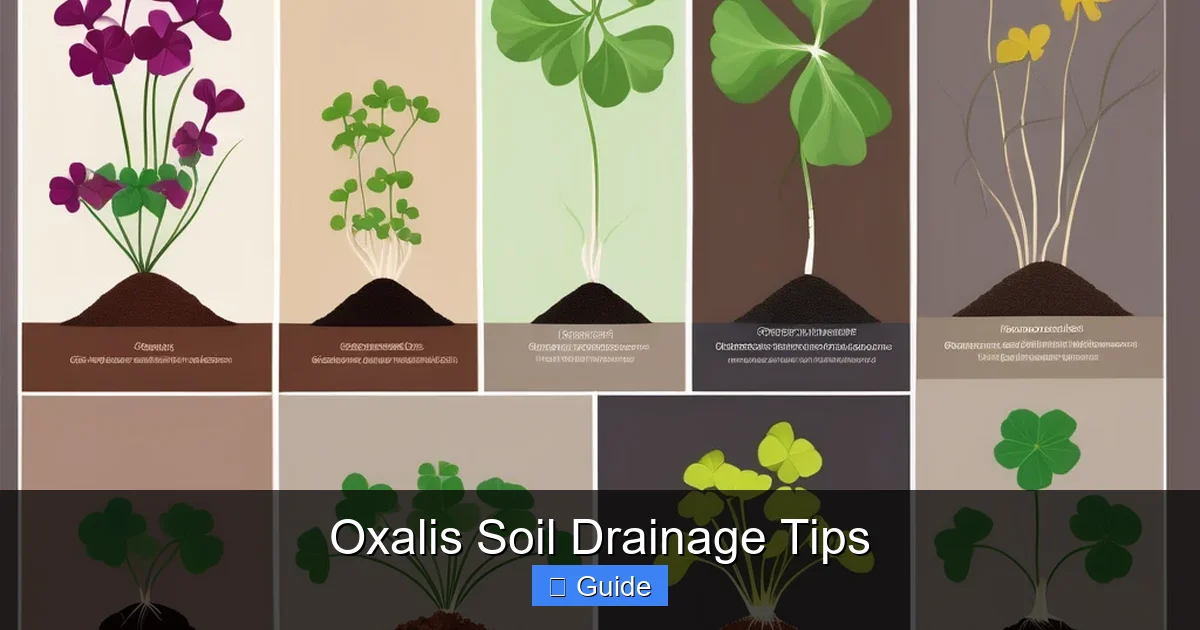
Visual guide about Oxalis Soil Drainage Tips
Image source: cafeplanta.com
Components of a Good Mix
Peat moss holds moisture but stays airy. Perlite adds white volcanic glass that creates tiny air channels. Coarse sand adds weight and improves flow. Together they give roots room to breathe.
You can also substitute coconut coir for peat if you prefer a renewable option. The key is to keep the texture loose and crumbly.
Adding Perlite or Sand
If your mix feels heavy add more perlite. A 30 percent perlite ratio works well for most homes. Sand can be used if perlite is unavailable. Just make sure the sand is washed and not fine.
Fine sand compacts and defeats the purpose of drainage. Coarse horticultural sand is the safe choice.
Testing Your Mix
Grab a handful and squeeze. It should crumble easily and not form a tight ball. Water should run through in a few seconds. This simple test confirms the mix follows oxalis soil drainage tips.
Repeat the test after each repotting to ensure consistency. A consistent mix means predictable watering results.
Pot Selection and Preparation
The container you choose plays a big role in drainage. A pot that is too large holds excess water. A pot without holes traps moisture. Follow these oxalis soil drainage tips for pot success.
Pot Size
Pick a pot that is only one size larger than the root ball. Extra space means more soil that stays wet. A snug fit encourages the plant to use water efficiently.
When the plant outgrows the pot, move up one size only. This prevents a soggy bottom zone.
Drainage Holes
Every pot must have at least one hole at the bottom. Multiple holes are even better. If a decorative pot lacks holes drill them yourself or use a liner pot with holes inside.
Cover the holes with a small piece of mesh to keep soil from washing out. This keeps the drainage path clear.
Using a Saucer
A saucer catches runoff but should not hold water for long. Empty the saucer after each watering. Standing water in the saucer can wick back into the soil and defeat drainage.
If you forget to empty it, the soil stays wet longer than intended. A quick pour‑out solves the problem.
Watering Practices That Support Drainage
Even the best soil fails if you water incorrectly. Smart watering habits are a core part of oxalis soil drainage tips. They keep the root zone moist but never soggy.
Water Deeply but Infrequently
Apply water until it flows out of the drainage holes. Then wait until the top inch of soil feels dry. This cycle mimics natural rain and dry periods.
Deep watering encourages roots to grow downward. Shallow watering keeps roots near the surface where they dry out fast.
Check Soil Moisture
Use your finger or a moisture meter. Insert it two inches deep. If it feels damp hold off on watering. Consistent checking prevents accidental overwatering.
A moisture meter gives a numeric reading. Aim for a reading in the low‑mid range before the next soak.
Adjust for Season
Oxalis grows fast in spring and summer. It needs more water then. In fall and winter growth slows. Cut back watering frequency during the cool months.
Indoor heating can dry the air, so watch the soil even in winter. Adjust as needed but never let the pot sit in water.
Improving Drainage in Existing Pots
You can fix drainage without repotting completely. Simple tweaks follow proven oxalis soil drainage tips and revive struggling plants.
Adding a Drainage Layer
Place a one inch layer of gravel or broken pottery at the bottom of the pot. This creates a space for excess water to collect away from roots. Do not use fine sand as it can compact.
The layer also prevents the soil from clogging the holes. It is a low‑effort upgrade with high impact.
Repotting with Fresh Mix
If the plant is root bound or the soil is broken down, repot. Gently remove old soil, trim any rotten roots, and place the plant in fresh airy mix. This gives a clean start.
Repotting also lets you inspect the root system for pests. Healthy roots are white and firm.
Using a Soil Amendment
Mix in a handful of coarse perlite or pumice into the top few inches of soil. This opens up channels without disturbing the root ball. Repeat every few months for lasting effect.
Amendments also improve aeration over time. They break down slowly, keeping the mix loose.
Common Mistakes and How to Avoid Them
Even experienced growers slip up. Knowing the pitfalls helps you stick to oxalis soil drainage tips and keep plants thriving.
Overwatering
Overwatering is the number one killer. It often happens from a schedule rather than checking soil. Switch to a check‑then‑water routine.
Set a reminder to test the soil, not to water on a calendar date.
Using Heavy Garden Soil
Garden soil compacts in pots and holds water. Always use a container mix designed for indoor plants. Avoid cheap topsoil or compost alone.
Heavy soil also brings weed seeds and pathogens. A sterile potting mix is safer.
Ignoring Pot Size
A pot that is too big creates a wet zone at the bottom. Roots cannot reach that area. Choose a pot that matches the current root mass.
When in doubt, go smaller. You can always step up later.
Conclusion
Good drainage is the foundation of a happy oxalis. By following these oxalis soil drainage tips you give your plant the air and moisture balance it craves. Start with a light mix, a proper pot, and a smart watering habit. Check the soil often and adjust as seasons change. Small steps lead to big results. Your shamrock will reward you with vibrant leaves and cheerful blooms for years to come.
Frequently Asked Questions
Why does oxalis need fast drainage?
Oxalis roots need oxygen. Fast drainage keeps air pockets open and prevents root rot.
Can I use regular potting soil for oxalis?
Regular potting soil is often too dense. Amend it with perlite or sand for better flow.
How deep should the drainage layer be?
A one inch layer of gravel or pottery shards is sufficient.
Is it okay to let water sit in the saucer?
No, standing water can wick back into the soil. Empty the saucer after each watering.
When should I repot my oxalis?
Repot every year or when roots circle the pot. Fresh mix restores drainage.
What fertilizer works with good drainage?
Use a balanced liquid fertilizer at half strength during active growth. Good drainage prevents salt buildup.