How to Repot String of Bananas
Repotting string of bananas is easy when you know the right steps. Use well-draining succulent soil, choose a pot with drainage holes, and handle the delicate stems gently. Your plant will thrive with proper aftercare and bright indirect light.
If you have a string of bananas plant, you know how fun it is to watch those little banana-shaped leaves trail down a shelf or hang from a basket. This quirky succulent, also called Curio radicans or Senecio radicans, grows fast and looks amazing. But like all plants, it eventually outgrows its home. Knowing how to repot string of bananas the right way keeps it healthy and happy for years.
I have repotted this plant many times. Each time I learn something new. The process is simple but the details matter. The stems are fragile. The roots are shallow. The leaves pop off if you look at them wrong. Do not worry though. With a little patience and the right steps, you can do this without losing a single strand. Let me walk you through everything you need to know.
Key Takeaways
- Timing matters: Repot in spring or early summer when the plant is actively growing for best results.
- Soil is critical: Use a fast-draining succulent or cactus mix to prevent root rot and fungal issues.
- Pot size counts: Choose a container only 1 to 2 inches larger than the current pot to avoid excess moisture.
- Handle with care: The banana-shaped leaves and thin stems break easily so work slowly and support the plant.
- Water wisely after: Wait 5 to 7 days before watering to let damaged roots heal and prevent rot.
- Light helps recovery: Place in bright indirect light after repotting to encourage new growth without stress.
- Watch for signs: Repot when roots circle the pot, soil dries too fast, or growth slows down significantly.
Quick Answers to Common Questions
When is the best time to repot string of bananas?
Spring or early summer when the plant is actively growing. Avoid winter dormancy and flowering periods.
What soil mix should I use for string of bananas?
Use a fast-draining succulent or cactus mix. Add perlite, pumice, or coarse sand for extra drainage.
How long should I wait to water after repotting?
Wait 5 to 7 days before watering to allow root wounds to callous and prevent rot.
Can I propagate broken stems during repotting?
Yes, let cut ends callous 24 hours then root in soil or water. Fallen leaves can also propagate on moist soil.
What size pot should I choose?
Select a pot only 1 to 2 inches larger than the current one to prevent excess moisture retention.
📑 Table of Contents
When to Repot Your String of Bananas
Timing is the first big decision. You do not want to repot at the wrong time. The plant needs energy to recover. Spring is the gold standard. Early summer works too. The plant is waking up and ready to grow. It will bounce back fast.
Signs Your Plant Needs a New Pot
How do you know it is time? Look for these clues. Roots poking out of drainage holes is a dead giveaway. The soil dries out in a day or two. Water runs straight through without soaking in. The plant looks top-heavy or tips over. Growth has slowed down even in good light. You see more roots than soil when you gently lift the plant.
If you see any of these, it is time. Do not wait until the plant is suffering. A cramped pot leads to stunted growth and stress. Stress invites pests and disease.
Times to Avoid Repotting
Do not repot in winter. The plant is dormant. It will not grow new roots. Cold temperatures plus root disturbance equals trouble. Avoid repotting when the plant is flowering. It is putting energy into blooms. Wait until flowers fade. Never repot a sick plant. Fix the problem first. Repotting adds stress.
Gathering Your Supplies
Preparation makes the job smooth. Have everything ready before you start. You do not want to hunt for soil with a plant sitting bare-root on your table.
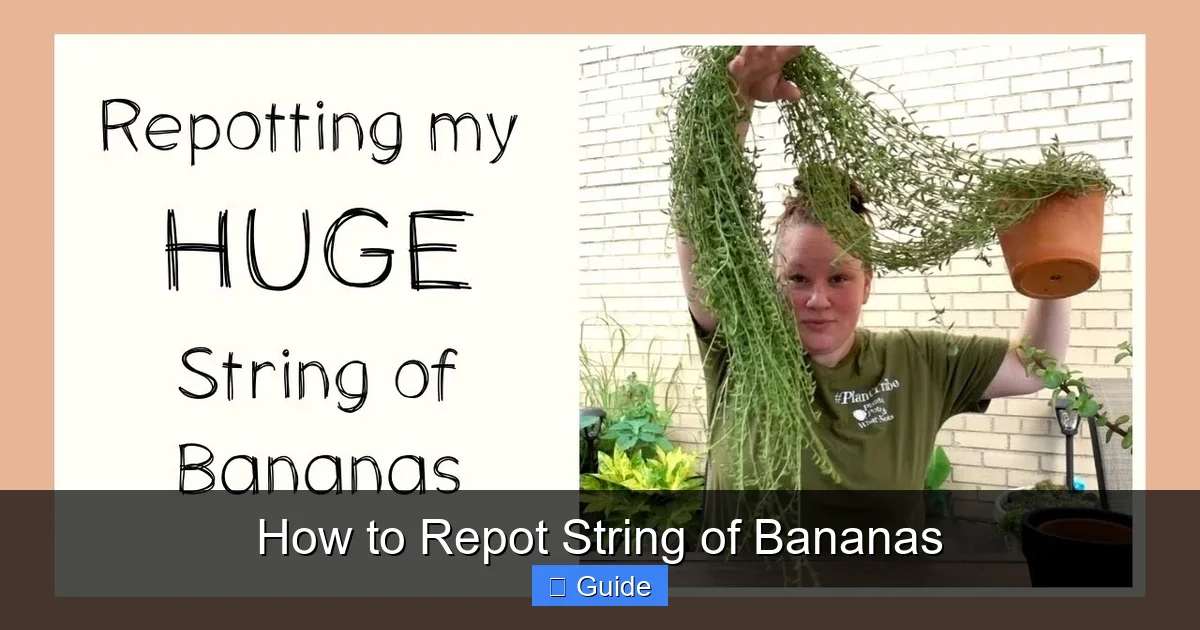
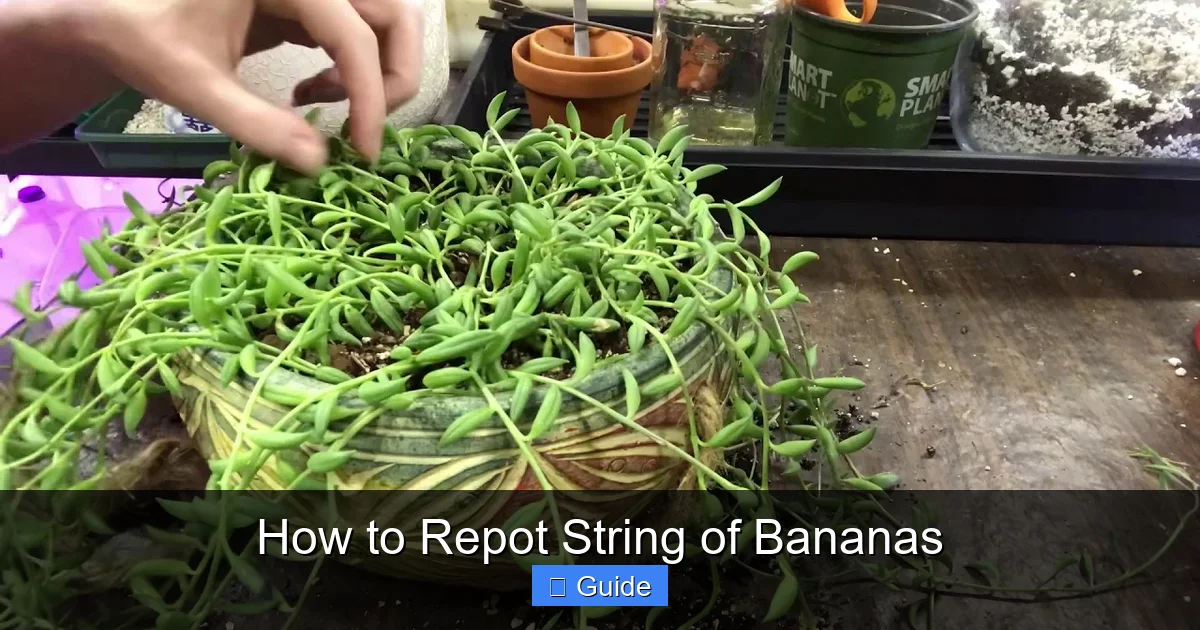
Visual guide about How to Repot String of Bananas
Image source: i.ytimg.com
The Right Pot
Choose a pot 1 to 2 inches wider than the current one. No bigger. A huge pot holds too much soil. That soil stays wet too long. Root rot follows fast. Terra cotta is my favorite. It breathes. Moisture evaporates through the walls. Plastic works too if you are careful with water. Just make sure it has drainage holes. At least one. More is better.
Soil Mix for Success
This plant hates wet feet. Regular potting soil holds too much water. You need a gritty, fast-draining mix. Buy a succulent or cactus mix. Or make your own. Mix two parts potting soil, one part perlite, one part coarse sand or pumice. Add a handful of worm castings for gentle nutrition. The mix should feel loose. When you squeeze it, it falls apart.
Tools You Will Need
- Clean scissors or pruning shears
- Gloves (optional but the sap can irritate skin)
- Small trowel or large spoon
- Chopstick or pencil for settling soil
- Newspaper or tarp for cleanup
- Watering can with narrow spout
Step-by-Step Repotting Process
Now the fun part. Take your time. Rushing breaks stems. Work on a stable surface. Good light helps you see what you are doing.
Step 1: Water the Plant Lightly
Water the plant one day before repotting. Moist soil holds the root ball together. Dry soil crumbles and damages roots. Wet soil makes a mess. Just a light drink. The soil should be damp, not soggy.
Step 2: Prepare the New Pot
Put a piece of mesh or a coffee filter over the drainage hole. This keeps soil in but lets water out. Add an inch of fresh soil mix. Pat it down gently. You want a base for the root ball to sit on.
Step 3: Remove the Plant
Turn the pot on its side. Tap the sides firmly. Slide the plant out. If it sticks, run a knife around the inside edge. Never pull on the stems. They will snap. Hold the base of the plant near the soil line. Wiggle it free.
Step 4: Inspect and Clean Roots
Gently shake off loose soil. Do not wash the roots. Use your fingers to tease apart the bottom roots. Trim any black, mushy, or dead roots. Healthy roots are white or light tan. Firm. If you see pests like mealybugs, treat now with insecticidal soap.
Step 5: Position in New Pot
Set the plant in the center. The soil line should sit about half an inch below the rim. This leaves room for watering. Adjust the soil underneath until the height is right. Spread the roots outward gently. They grow shallow and wide.
Step 6: Fill with Soil
Add soil around the sides. Use your fingers or a spoon. Tap the pot on the table to settle soil. Do not pack it down hard. The roots need air pockets. Fill to the original soil line. The crown (where stems meet roots) should not be buried.
Step 7: Top Dress (Optional)
Add a thin layer of small pebbles or decorative gravel. This looks nice. It keeps the perlite from floating when you water. It helps prevent fungus gnats. Keep it away from the crown.
Aftercare: The First Two Weeks
What you do after repotting matters as much as the repotting itself. The plant is in shock. Roots may have tiny tears. They need time to heal.
Do Not Water Right Away
This is the number one mistake. Wait 5 to 7 days before the first water. Let the root wounds callous over. Watering too soon causes rot. I know it feels wrong. Trust me. The plant has stored water in its leaves. It will be fine.
Light Requirements
Place the plant in bright indirect light. No direct sun for the first week. The leaves can burn. A north or east window is perfect. Or a few feet back from a south window. After a week, you can move it to its normal spot.
Hold Off on Fertilizer
Do not fertilize for at least a month. Fresh soil has nutrients. The roots are not ready to absorb more. Fertilizer on damaged roots causes burn. Wait until you see new growth.
Watch for Stress Signs
Some leaf drop is normal. A few yellow leaves. Maybe a stem shrivels. Do not panic. If lots of leaves turn mushy or black, check for rot. Gently pull the plant up. Inspect roots. Cut away any bad parts. Repot in fresh dry soil if needed.
Common Problems and Solutions
Even with care, things can go wrong. Here are the issues I see most often and how to fix them.
Broken Stems and Lost Leaves
It happens. The stems are brittle. If a stem breaks, you have two choices. Let it callous for a day then stick it back in the soil to root. Or propagate it in water. The leaves that fall off? Let them dry a day. Lay them on moist soil. They often grow new plants.
Root Rot After Repotting
Usually from watering too soon or soil that holds water. Signs: black mushy stems, foul smell, leaves falling off at a touch. Unpot immediately. Cut all rot away. Let the plant dry 24 hours. Repot in fresh dry gritty mix. Wait a week to water.
Plant Looks Wrinkled
Underwatered or roots not working yet. If you waited a week and it is wrinkled, give a good drink. Bottom water by setting the pot in a tray of water for 20 minutes. The soil wicks up moisture. Do not pour water on the crown.
Fungus Gnats
They love moist organic soil. The top dressing helps. Let the top inch dry completely between waterings. Use yellow sticky traps. A layer of sand on top stops them from laying eggs.
Propagating While You Repot
Repotting is the perfect time to make more plants. You are already handling the stems. Why not start a few babies?
Stem Cuttings in Soil
Take 4 to 6 inch cuttings. Remove the bottom leaves. Let the cut end callous 24 hours. Stick in moist succulent soil. Keep barely damp. Bright indirect light. Roots in 2 to 3 weeks. You will have a full pot in a few months.
Stem Cuttings in Water
Same cuttings. Put in a jar of water. Change water weekly. Watch roots grow. When roots are an inch long, pot in soil. This method lets you see progress. Kids love it.
Leaf Propagation
Single leaves work but take longer. Pluck a leaf cleanly. Let it callous. Lay on moist soil. Mist occasionally. Tiny roots appear. Then a baby plant. It takes months but is rewarding.
Long-Term Care for a Thriving Plant
Repotting gives you a fresh start. Good habits keep the plant looking great until the next time.
Watering Routine
Water deeply but infrequently. Soak the soil until water drains out. Then wait until the soil is completely dry. Check with a chopstick. If it comes out clean, water. If damp, wait. In winter, water even less. Maybe once a month.
Feeding Schedule
Fertilize monthly in spring and summer. Use a balanced liquid fertilizer at half strength. Or a succulent-specific formula. Stop in fall and winter. The plant rests.
Light for Maximum Growth
Bright indirect light is best. Some morning sun is okay. Afternoon sun burns the leaves. Too little light makes the plant leggy. The bananas get far apart. The stems stretch. Rotate the pot weekly for even growth.
Pruning and Maintenance
Trim long stems to keep the plant full. Cut just above a leaf node. The plant will branch there. Remove dead or shriveled leaves. They attract pests. Check for mealybugs monthly. They hide where leaves meet stems.
When to Repot Again
Every 2 to 3 years usually. Fast growers may need it yearly. Slow growers go longer. Watch for the signs we talked about. Spring is always the best window.
Special Situations
Every plant parent faces unique challenges. Here are a few extra scenarios.
Repotting a Hanging Basket
Lay the basket on its side on a table. Support the trails with your arms or a helper. Work slowly. The weight of the soil pulls on stems. Consider a lighter soil mix with more pumice. Or repot into a lighter plastic pot that fits inside the decorative basket.
Reviving a Neglected Plant
If the plant is bone dry and crispy, soak the pot in water for 30 minutes before repotting. If it is mushy and rotting, cut away all bad parts. Keep only healthy stems. Root them as cuttings. Sometimes starting over is kinder.
Repotting a Massive Specimen
For a huge plant, you may need two people. One holds the plant. One handles the pot and soil. Do not try to lift a heavy terra cotta pot full of wet soil alone. Use a pot with handles or a plant caddy.
Conclusion
Learning how to repot string of bananas is a skill that pays off every time you do it. Your plant gets fresh nutrients. Room to grow. Better drainage. You get a healthier, fuller, more beautiful trailing succulent. The key points are simple. Right time. Right soil. Right pot. Gentle hands. Patience with water.
Do not be afraid of this process. Plants are resilient. They want to live. Even if you break a few stems, they become new plants. Every repotting teaches you more about your green friend. Soon you will be the one giving advice. Now grab your supplies and give your string of bananas the upgrade it deserves.
Frequently Asked Questions
How often should I repot my string of bananas?
Repot every 2 to 3 years or when roots circle the pot, soil dries too quickly, or growth slows. Fast-growing plants may need yearly repotting.
Can I use regular potting soil for string of bananas?
Regular potting soil retains too much moisture. Always amend with perlite, pumice, or coarse sand at a 1:1 ratio, or use a dedicated succulent mix.
Why are the leaves on my string of bananas shriveling after repotting?
Shriveling usually means the roots are not absorbing water yet. Wait a week after repotting before watering, then water deeply. The plant will plump up as roots establish.
Should I fertilize immediately after repotting?
No, wait at least 4 weeks before fertilizing. Fresh soil contains nutrients, and damaged roots are sensitive to fertilizer salts which can cause burn.
Can I repot string of bananas in a pot without drainage holes?
It is not recommended. Without drainage, water pools at the bottom causing root rot. If using a decorative pot without holes, keep the plant in a nursery pot with drainage inside it.
What should I do if stems break off during repotting?
Broken stems are perfect for propagation. Let the cut end callous for 24 hours, then place in moist succulent soil or water. They will root in 2 to 3 weeks and grow into new plants.