Complete Guide to Perlite for Juniper
Perlite for juniper creates the ideal growing environment by improving drainage and aeration. This volcanic glass prevents root rot while maintaining moisture balance. Proper ratios ensure your juniper thrives in containers or ground plantings.
Growing juniper plants can feel tricky at first. These beautiful evergreens need specific soil conditions to thrive. Many gardeners struggle with root rot and poor growth. The secret weapon? Perlite for juniper. This lightweight volcanic rock transforms ordinary soil into the perfect juniper medium. I have seen struggling plants bounce back within weeks after adding perlite to their mix.
Today I want to share everything I know about using perlite for juniper. We will cover why it works, how to mix it, and common mistakes to avoid. Whether you grow juniper in pots, as bonsai, or in your landscape, this guide will help. Your juniper deserves the best start possible. Let us dig into the details together.
Key Takeaways
- Perfect Drainage: Perlite for juniper prevents waterlogged roots by creating air pockets in soil
- Ideal Ratios: Mix 1 part perlite to 2 parts soil for containers, 1:3 for ground planting
- Root Rot Prevention: Enhanced aeration stops fungal diseases that kill juniper plants
- Versatile Application: Works for bonsai, container gardens, and landscape plantings
- Long-Lasting: Perlite does not decompose, providing years of soil structure benefits
- pH Neutral: Does not alter soil acidity, safe for all juniper varieties
- Cost Effective: Small amounts dramatically improve soil quality for healthy growth
Quick Answers to Common Questions
What is the best perlite to soil ratio for juniper in pots?
Use one part perlite to two parts potting soil for container juniper. This thirty-three percent perlite ratio provides excellent drainage while retaining adequate moisture for daily watering needs.
Can I use perlite for juniper bonsai?
Yes, perlite for juniper bonsai works excellently. Use equal parts perlite, akadama, and pumice for professional results. The high perlite content ensures the instant drainage that shallow bonsai pots require.
Does perlite for juniper need to be replaced annually?
No, perlite does not decompose or compact. You can reuse it for many years. Simply rinse clean during repotting. Replace only if heavily contaminated with salts or disease.
Will perlite for juniper change my soil pH?
Perlite is pH neutral (7.0) and does not alter soil acidity. Juniper prefers slightly acidic soil (6.0-6.5). The soil component in your mix determines the final pH, not the perlite.
Can I put perlite only at the bottom of the pot for drainage?
Never layer perlite at the pot bottom. This creates a perched water table that traps moisture above the perlite layer. Always mix perlite for juniper uniformly throughout the entire soil volume.
📑 Table of Contents
What Is Perlite and Why Juniper Needs It
Understanding Perlite Basics
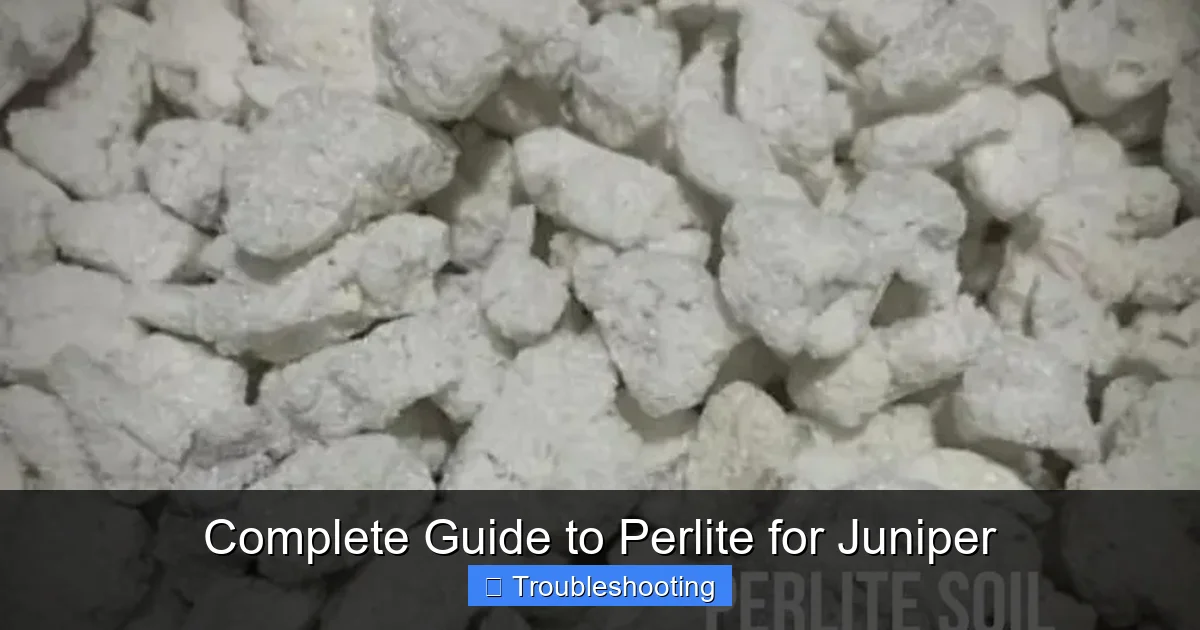
Perlite starts as volcanic glass. Miners heat it to extreme temperatures. The water trapped inside turns to steam. The glass expands like popcorn. The result is a white, lightweight material full of tiny air pockets. These pockets hold air and water in perfect balance. Perlite for juniper works because it mimics the rocky, well-drained soils these plants love in nature.
You can find perlite at any garden center. It comes in different grades. Fine perlite works for seed starting. Medium grade suits most container mixes. Coarse perlite works best for large planters and landscape beds. All grades share the same core benefits. They improve drainage. They increase aeration. They never break down or compact over time.
Juniper Root Requirements
Juniper roots need oxygen as much as they need water. In nature, junipers grow on rocky slopes and sandy soils. Water drains quickly there. Air reaches the roots easily. Heavy garden soil suffocates juniper roots. Clay holds too much water. Peat-based mixes stay soggy too long. Both lead to root rot, the number one killer of juniper plants.
Signs of poor drainage appear fast. Needles turn brown from the inside out. Branches become brittle. The plant stops growing. Eventually the whole plant dies. Perlite for juniper solves this by creating permanent air channels. Roots breathe. Water drains. The plant thrives.
The Perfect Match
Perlite for juniper creates a partnership that lasts for years. Unlike organic matter, perlite never decomposes. It does not compact. It does not turn to mush. The air pockets stay open season after season. Your juniper gets consistent drainage for its entire life in that pot or planting hole.
This makes perlite for juniper a one-time investment with ongoing returns. You mix it once. It works for years. When you repot, you can reuse the perlite. Just rinse it clean and mix fresh soil around it. This sustainability appeals to budget-conscious gardeners and environmental stewards alike.
Benefits of Using Perlite for Juniper
Improved Drainage
The primary benefit of perlite for juniper is superior drainage. Each tiny particle creates spaces between soil particles. Water flows through these channels instead of pooling around roots. Excess moisture escapes the pot bottom quickly. This mimics the fast-draining mountain soils where juniper evolved.
Visual guide about Complete Guide to Perlite for Juniper
Image source: gardentabs.com
Good drainage prevents the anaerobic conditions that breed root rot fungi. Phytophthora and Pythium thrive in wet, oxygen-poor soil. They attack juniper roots aggressively. Once established, these diseases are nearly impossible to cure. Prevention through perlite for juniper is your best defense. A well-drained mix keeps roots healthy and disease-free.
Enhanced Aeration
Roots respire just like leaves. They take in oxygen and release carbon dioxide. Compacted soil blocks this gas exchange. Perlite for juniper maintains air-filled porosity even when wet. The irregular particle shapes create stable pore spaces. These spaces hold air when water drains through.
Oxygen-rich root zones promote vigorous growth. Nutrient uptake improves. Root hairs proliferate. The plant develops a robust root system that supports lush top growth. You will notice faster establishment after planting. Transplant shock reduces significantly. Your juniper puts energy into new growth instead of fighting for air.
Root Rot Prevention
Root rot destroys more juniper than pests, cold, or drought combined. The disease starts silently underground. By the time foliage symptoms appear, damage is often fatal. Perlite for juniper acts as insurance against this silent killer. The improved drainage and aeration create an environment where rot fungi cannot thrive.
Even if you overwater occasionally, perlite for juniper provides a safety margin. The excess water drains away before roots suffocate. This forgiveness is invaluable for busy gardeners. It also helps during rainy seasons when you cannot control soil moisture. Your juniper survives conditions that would kill plants in plain soil.
Temperature Regulation
Perlite for juniper insulates roots against temperature extremes. The air pockets buffer rapid temperature changes. In summer, soil stays cooler. In winter, roots stay warmer. This reduces stress during heat waves and cold snaps. Container plants especially benefit since their roots lack the ground’s natural insulation.
Stable root temperatures mean consistent growth. The plant does not shut down during brief extremes. Nutrient uptake continues smoothly. Water absorption remains steady. This stability translates to healthier foliage and stronger branches year-round.
Nutrient Retention Balance
Perlite for juniper holds nutrients without locking them up. The particle surfaces have slight cation exchange capacity. They grab fertilizer ions temporarily. Roots access these nutrients as needed. Meanwhile, excess salts leach away with drainage water. This prevents fertilizer burn, a common issue in container culture.
The balance matters for juniper. These plants prefer lean soil. Too much fertility causes weak, leggy growth. Perlite for juniper helps maintain that lean but adequate nutrient level. You fertilize less often. The plant grows stronger, not just faster.
How to Mix Perlite for Juniper
Ideal Ratios for Different Situations
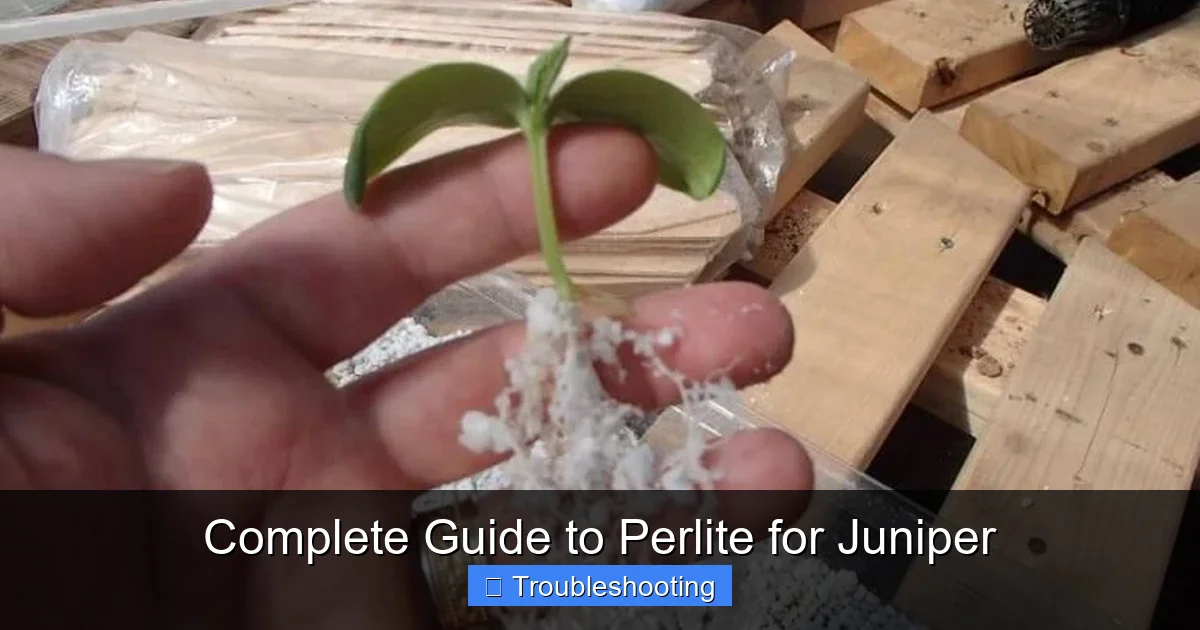
The right perlite for juniper ratio depends on your growing method. For containers, use one part perlite to two parts quality potting soil. This thirty-three percent perlite mix provides excellent drainage while retaining enough moisture for daily watering. Adjust slightly based on your climate. Humid areas need more perlite. Arid regions need less.
Visual guide about Complete Guide to Perlite for Juniper
Image source: everythingbackyard.net
For in-ground planting, mix one part perlite to three parts native soil. This twenty-five percent ratio improves drainage without creating a bathtub effect. The perlite for juniper blends into the planting hole and surrounding soil. Roots transition smoothly from amended to native soil.
Bonsai juniper requires the highest perlite content. Use equal parts perlite, akadama, and pumice. Or try one part perlite to one part bonsai soil mix. The fifty percent perlite for juniper ensures the rapid drainage these tiny pots demand. Water should flow through in seconds, not minutes.
Step-by-Step Mixing Guide
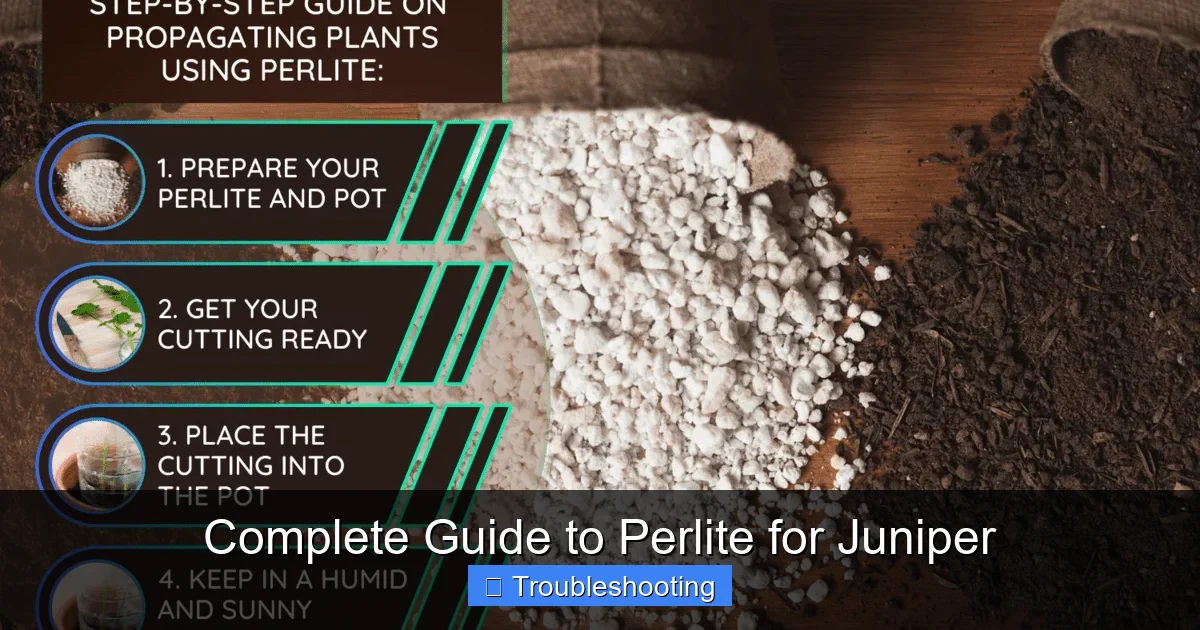
Start with clean materials. Use a wheelbarrow or large tub for mixing. Measure your components by volume, not weight. A five-gallon bucket works well as a measuring tool. Add the soil first. Then add perlite for juniper on top. This prevents the lightweight perlite from blowing away during mixing.
Mix thoroughly with a shovel or hoe. Turn the mixture over repeatedly. Break up any soil clumps. Distribute perlite evenly throughout. The final mix should look uniformly speckled white. No pockets of pure soil or pure perlite should remain. Consistency ensures even drainage throughout the root zone.
Moisten the mix slightly before potting. Dry perlite for juniper repels water initially. A light misting helps it integrate with soil. The mix should feel damp but not wet. It should crumble easily when squeezed. This moisture level makes potting easier and reduces transplant shock.
Common Mistakes to Avoid
Do not use fine perlite for juniper in large containers. It compacts over time, reducing drainage. Choose medium or coarse grades instead. The larger particles maintain structure longer. They resist crushing under soil weight and root pressure.
Never layer perlite at the pot bottom. This creates a perched water table. Water pools above the perlite layer instead of draining. Roots rot in this saturated zone. Always mix perlite for juniper uniformly throughout the soil. Uniform distribution is the only way to get consistent benefits.
Avoid using perlite for juniper in self-watering pots. The wicking action keeps soil constantly moist. Perlite cannot improve drainage if water constantly rises from below. These systems work better with straight potting mix. Save your perlite for traditional containers with drainage holes.
Perlite for Juniper in Containers vs Ground
Container Growing Considerations
Containers demand the most from perlite for juniper. Limited soil volume means faster drying. But it also means faster waterlogging if drainage fails. The perlite ratio must balance these opposing needs. Monitor your containers daily during hot weather. The improved drainage from perlite for juniper means more frequent watering.
Choose containers with ample drainage holes. One hole is not enough for juniper. Drill extra holes if needed. Cover holes with mesh screen, not gravel. Gravel creates the same perched water table problem as layered perlite. The mesh keeps soil in while letting water out freely.
Elevate containers on pot feet or bricks. This ensures drainage holes never sit in standing water. Air circulation beneath the pot helps excess moisture evaporate. Perlite for juniper works best when the entire system promotes drainage. Every element must work together.
In-Ground Planting Adjustments
Ground planting with perlite for juniper requires a different approach. Dig the planting hole twice as wide as the root ball. Mix perlite into the backfill soil only. Do not amend the hole bottom. This encourages roots to spread outward into native soil. A perlite-rich planting hole in heavy clay can become a sump that collects water.
Test your native drainage first. Fill the hole with water. It should drain within an hour. If it takes longer, perlite for juniper alone may not solve the problem. Consider raised beds or mounding instead. Build up rather than dig down in poorly drained areas.
Mulch after planting with coarse bark or gravel. Keep mulch away from the trunk. Mulch conserves moisture and moderates temperature. It also breaks down slowly, adding organic matter over time. Perlite for juniper provides the mineral structure. Mulch provides the organic component. Together they create ideal conditions.
Bonsai Applications
Bonsai juniper represents the ultimate test for perlite for juniper. Tiny pots. Minimal soil. Zero margin for error. The mix must drain instantly yet hold enough water for daily needs. Professional bonsai growers use specific blends. A classic mix combines equal parts akadama, pumice, and perlite for juniper.
Sift all components to remove fines. Dust particles clog drainage. Use only particles between one-eighth and one-quarter inch. This uniformity ensures consistent water movement. The perlite for juniper in this mix provides the lightest component. It balances the heavier stone materials.
Water bonsai juniper by immersion. Submerge the pot until bubbles stop rising. This saturates the perlite for juniper completely. Then let drain thoroughly. The rapid drainage prevents root rot in these shallow pots. Daily watering during growth season is normal. The perlite makes this frequent watering safe.
Troubleshooting Common Issues
Overwatering Signs
Even with perlite for juniper, overwatering happens. Watch for yellowing needles starting at branch tips. The foliage may feel soft or mushy. Soil stays wet days after watering. A sour smell indicates anaerobic conditions. Fungus gnats often appear in consistently wet soil.
If you see these signs, stop watering immediately. Move the plant to a sheltered, airy spot. Remove any saucer holding water. Consider repotting into fresh perlite for juniper mix if roots show rot. Cut away black, mushy roots with sterile tools. Dust cuts with cinnamon as a natural fungicide.
Underwatering Signs
Perlite for juniper drains so well that underwatering becomes a risk. Needles turn gray-green then brown. They feel dry and crispy. Branch tips die back. Soil pulls away from pot sides. Water runs straight through without wetting the root ball.
Rehydrate by submerging the pot in water for thirty minutes. The perlite for juniper will absorb moisture slowly. After soaking, let drain completely. Increase watering frequency. Check soil daily by inserting a finger two inches deep. Water when dry at that depth. Adjust for your climate and season.
Perlite Floating Issues
Lightweight perlite for juniper can float to the surface after watering. This leaves the lower root zone without drainage benefits. Prevent this by moistening the mix before potting. Top-dress with a half-inch of coarse sand or fine gravel. This weight keeps perlite in place while allowing water penetration.
If perlite has already floated, gently push it back down with a chopstick. Add the top dressing afterward. Do not compact the soil. Roots need those air spaces. The top dressing solves floating without compromising aeration.
pH Considerations
Perlite for juniper is pH neutral, around 7.0. Juniper prefers slightly acidic soil, 6.0 to 6.5. In most mixes, the soil component determines pH. But in high-perlite bonsai mixes, the neutral perlite can raise overall pH. Test your mix annually with a reliable meter.
If pH drifts too high, add elemental sulfur to lower it. Or use acidic fertilizer formulated for evergreens. Pine bark fines in the mix also help maintain acidity. Monitor foliage color. Yellowing between green veins (interveinal chlorosis) signals high pH locking out iron. Correct promptly for best health.
Long-Term Care and Maintenance
Repotting with Perlite
Container juniper needs repotting every two to three years. Roots eventually fill the pot. Soil breaks down. Drainage slows. Spring is the ideal time, just before new growth starts. Gently remove the plant. Shake off loose old soil. Trim circling roots. Replant in fresh perlite for juniper mix.
You can reuse the old perlite. Rinse it in a sieve until water runs clean. Inspect for salt buildup – white crusty deposits. If heavily contaminated, discard and use fresh. The cost of new perlite for juniper is minimal compared to plant health. Fresh perlite ensures peak performance for the next cycle.
Refreshing Soil Mix
Between repottings, the top inch of soil degrades fastest. Sun, water, and fertilizer break it down. Annually, scrape away the top inch. Replace with fresh perlite for juniper mix. This simple top-dressing rejuvenates drainage without disturbing roots. It also removes accumulated salts from fertilizer.
Add slow-release fertilizer when top-dressing. The fresh mix provides new nutrient exchange sites. Perlite for juniper holds these nutrients available. Your plant gets a steady supply through the growing season. This maintenance takes minutes but adds years to container life.
Seasonal Adjustments
Water needs change with seasons. Perlite for juniper responds to these changes. Summer heat demands daily watering for containers. The fast drainage prevents rot despite frequency. Winter brings reduced needs. Check soil before watering. Cold, wet soil kills juniper faster than dry cold.
In rainy climates, move containers under cover during wet spells. Perlite for juniper handles rain well, but weeks of saturation overwhelm any mix. Elevate pots for maximum airflow. In dry climates, consider a water-retentive mulch layer. The perlite still drains excess, but the mulch slows evaporation.
Fertilize lightly during active growth. Stop in late summer to harden growth before winter. Perlite for juniper does not hold fertilizer through dormant season. Excess salts accumulate and damage roots. A flush of plain water in fall clears residual fertilizer. The plant enters winter clean and strong.
Conclusion
Perlite for juniper transforms growing success from guesswork to science. This humble volcanic rock solves the drainage dilemma that kills so many beautiful junipers. Whether you tend a single bonsai or a landscape full of specimens, the principles remain the same. Good drainage equals healthy roots. Healthy roots equal thriving plants.
Start with the right ratio for your situation. Mix thoroughly. Plant carefully. Water wisely. Observe regularly. Adjust seasonally. These simple steps, powered by perlite for juniper, will reward you with vigorous, beautiful plants for years to come. Your juniper collection deserves this foundation. Give it the gift of perfect drainage and watch the results unfold.
Remember, every expert gardener started as a beginner. You now have knowledge that took many of us years to learn. Apply it confidently. Share it generously. And enjoy the deep satisfaction of growing juniper the right way – with perlite for juniper as your trusted partner in cultivation success.
Frequently Asked Questions
How much perlite should I add to my juniper soil mix?
For containers, mix one part perlite to two parts potting soil. For in-ground planting, use one part perlite to three parts native soil. Bonsai mixes use equal parts perlite, akadama, and pumice for maximum drainage.
Is perlite safe for all juniper varieties?
Yes, perlite for juniper is safe for all varieties including creeping, upright, and bonsai types. It is chemically inert, pH neutral, and contains no nutrients or chemicals that could harm any juniper species.
Can I use vermiculite instead of perlite for juniper?
No, vermiculite retains too much moisture for juniper. It holds water like a sponge, creating the wet conditions that cause root rot. Perlite for juniper provides drainage while vermiculite provides water retention – opposite functions.
Why is my juniper turning brown after adding perlite?
Browning after adding perlite usually indicates underwatering, not the perlite itself. The improved drainage means soil dries faster. Increase watering frequency and check soil moisture daily until you learn the new schedule.
Should I wet perlite before mixing with soil for juniper?
Yes, lightly moisten perlite for juniper before mixing. Dry perlite repels water and creates dust. A quick misting helps it integrate with soil and prevents it from floating to the surface after the first watering.
Can I reuse perlite from a juniper that had root rot?
You can reuse perlite after sterilizing it. Bake at two hundred degrees Fahrenheit for thirty minutes or soak in ten percent bleach solution for twenty minutes. Rinse thoroughly. Discard if you prefer absolute certainty – perlite is inexpensive.