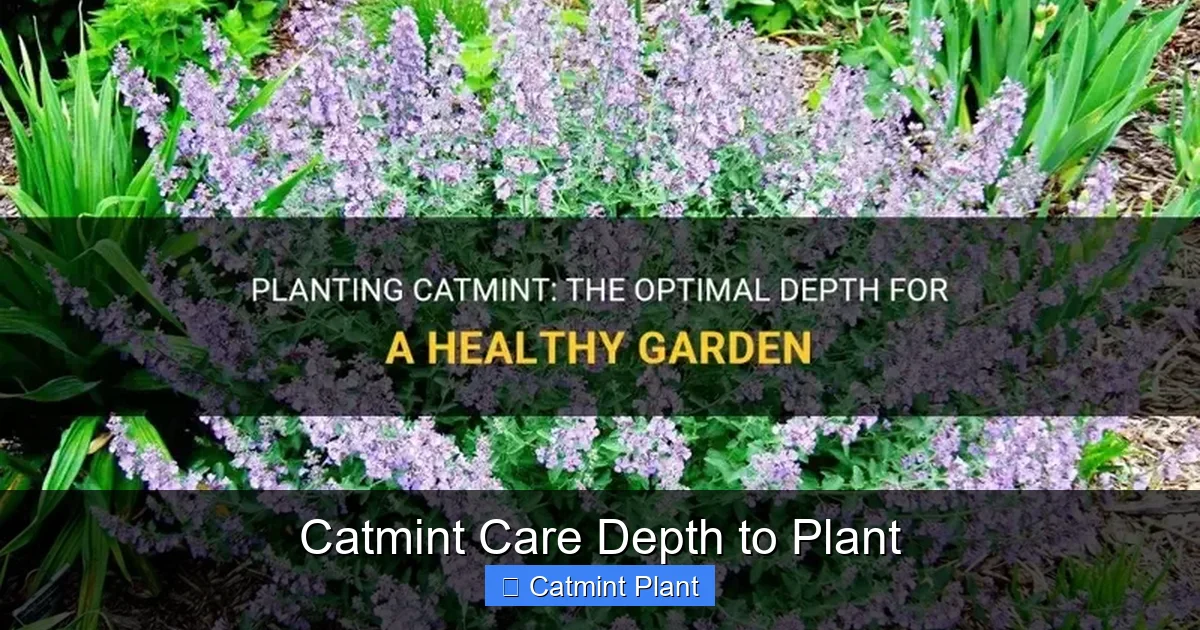
Catmint Care Depth to Plant
Catmint thrives when planted at the right depth. Plant catmint so the crown sits level with the soil surface for best results. Proper depth ensures strong roots and abundant blooms.
Key Takeaways
- Plant at Crown Level: The crown of the catmint plant should sit exactly at soil level, not buried deep or exposed high.
- Loose Soil Is Key: Prepare a planting hole twice as wide as the root ball but only as deep as the container.
- Water Well After Planting: Settle the soil around roots with a thorough soak to eliminate air pockets.
- Space for Airflow: Space plants 18 to 24 inches apart to prevent fungal issues and encourage bushy growth.
- Mulch Lightly: Apply a thin layer of mulch keeping it away from the crown to avoid rot.
- Adjust for Containers: In pots, maintain the same crown level but ensure drainage holes are clear.
- Check Depth Seasonally: Soil settling or erosion can change depth; top up if crown becomes exposed.
Quick Answers to Common Questions
How deep should I plant catmint?
Plant catmint so the crown sits level with the soil surface. The hole should be as deep as the root ball and twice as wide.
Can I plant catmint deeper for stability?
No. Planting deeper buries the crown and leads to rot. Keep the crown at soil level for proper air exchange.
What happens if I plant catmint too high?
Exposed roots dry out quickly and the plant may become unstable. Add soil to bring the crown to grade.
Does catmint care depth to plant change in containers?
The rule stays the same. Crown at mix surface. Ensure the pot has drainage and use a well draining potting mix.
How often should I check planting depth?
Check each spring. Soil settling or erosion can expose or bury the crown over time.
📑 Table of Contents
- Getting Started With Catmint
- Understanding Catmint Basics
- Why Planting Depth Matters
- Determining The Ideal Catmint Care Depth To Plant
- Step By Step Planting Guide
- Ongoing Care After Planting
- Common Mistakes To Avoid
- Catmint In Containers
- Troubleshooting Depth Related Issues
- Companion Planting And Design Tips
- Seasonal Care Calendar
- Conclusion
Getting Started With Catmint
Catmint is a favorite among gardeners for good reason. It offers aromatic foliage, long lasting blooms, and a carefree nature that fits any sunny spot. But even easy plants have preferences. One of the most overlooked details is how deep you put them in the ground. The catmint care depth to plant can make the difference between a plant that merely survives and one that truly thrives. Let us walk through everything you need to know to get it right from day one.
You might think planting depth is a minor detail. It is not. Roots need oxygen as much as they need water. Bury the crown too deep and you invite rot. Leave it too high and roots dry out fast. The sweet spot is simple: the crown, where stems meet roots, should sit level with the surrounding soil. That is the golden rule for catmint care depth to plant. We will explore why this matters and how to nail it every time.
Understanding Catmint Basics
What Is Catmint?
Catmint, or Nepeta, is a hardy perennial herb in the mint family. It is not the same as catnip, though cats love both. Catmint forms neat mounds of gray green leaves topped with spikes of lavender blue flowers from late spring to fall. It attracts bees, butterflies, and hummingbirds while resisting deer and rabbits. It thrives in USDA zones 3 to 8 and asks for little beyond sun and decent drainage.
Growth Habit And Root Structure
Catmint grows from a central crown. Stems radiate outward, creating a mounded shape. The root system is fibrous and relatively shallow. It spreads horizontally more than vertically. This means the plant is well adapted to capturing surface moisture but vulnerable to deep burial. Knowing this helps you understand why the catmint care depth to plant focuses on the crown.
Why Planting Depth Matters
Oxygen For Roots
Roots breathe. They take up oxygen from air pockets in the soil. When you plant too deep, you compress those pockets. The crown sits in a zone that stays wet longer. Fungal pathogens love that environment. Crown rot is a real risk for catmint if the base stays soggy. Proper depth keeps the crown high and dry while roots access moisture below.
Stability And Anchorage
A plant set at the right depth anchors itself quickly. New roots grow outward into the surrounding soil. If the root ball sits too high, the plant can rock in the wind. That movement breaks tender new roots. If it sits too low, the stems may rot at the base. The correct catmint care depth to plant gives immediate stability without suffocation.
Long Term Vigor
Depth affects how the plant ages. Over years, soil settles and organic matter decomposes. A plant started at the right level will maintain its crown at soil level longer. One planted too deep will sink further, increasing rot risk. One planted too high will expose roots as soil washes away. Starting right saves work later.
Determining The Ideal Catmint Care Depth To Plant
The Crown Level Rule
Look at your catmint in its nursery pot. Find where the stems emerge from the soil. That is the crown. When you transplant, that exact line should match the garden soil line. Not an inch below. Not half an inch above. Level. This is the core of catmint care depth to plant.
Measuring The Hole
Dig a hole twice as wide as the pot. Depth should equal the pot height. Place the pot in the hole to check. The soil surface in the pot should align with the garden bed. Adjust by adding or removing soil at the bottom. Do not guess. Take the extra minute to measure.
Adjusting For Soil Type
In heavy clay, you might plant slightly high, maybe a quarter inch above grade, to improve drainage. Mound soil gently around the root ball. In sandy soil, plant exactly at grade. The crown should never be buried. Mulch will cover the area but keep it off the crown itself.
Step By Step Planting Guide
Prepare The Site
Choose a spot with at least six hours of direct sun. Catmint tolerates light shade but blooms best in full sun. Loosen soil to a depth of twelve inches. Mix in compost if your soil is poor. Good drainage is non negotiable. If water pools after rain, build a raised bed or choose a different spot.
Remove The Plant From Its Pot
Water the pot an hour before planting. This reduces transplant shock. Gently squeeze the pot sides to loosen the root ball. Tip it out into your hand. If roots circle the bottom, tease them apart with your fingers. This encourages outward growth.
Position And Backfill
Set the plant in the hole. Check the crown level again. Rotate the plant so its best side faces the viewer. Backfill with the native soil you removed. Do not amend the backfill heavily. You want roots to explore beyond the planting hole. Firm soil gently with your hands. Do not stomp.
Water Thoroughly
Give a slow, deep soak. This settles soil around roots and removes air pockets. Water until the soil is moist to the bottom of the root zone. A hose on a trickle for ten minutes works well. Check the crown after watering. Soil may settle. If the crown sinks, gently lift the plant and add soil underneath.
Mulch And Label
Apply one to two inches of organic mulch like shredded bark or straw. Keep mulch two inches away from the crown. This prevents moisture buildup on stems. Label the plant with variety and planting date. It helps with future care.
Ongoing Care After Planting
Watering Schedule
New plants need consistent moisture for the first four to six weeks. Water deeply twice a week if no rain. Once established, catmint is drought tolerant. Water only during prolonged dry spells. Overwatering is more dangerous than underwatering.
Fertilizing Lightly
Catmint does not need rich soil. Too much nitrogen produces floppy growth and fewer flowers. A handful of compost around the base in early spring is plenty. Avoid high nitrogen fertilizers.
Deadheading For Rebloom
Shear plants back by half after the first flush of flowers fades. This encourages a second bloom and keeps the mound tidy. Use clean shears. Cut just above a leaf node.
Dividing Every Few Years
Clumps can become woody in the center after three to four years. Dig up the whole plant in early spring. Divide into sections with healthy roots and shoots. Replant at the correct catmint care depth to plant. Discard the woody center.
Common Mistakes To Avoid
Planting Too Deep
This is the number one error. Gardeners often think deeper is better for stability. It is not. Buried crowns rot. Always keep the crown visible at soil level.
Over Amending The Planting Hole
Filling the hole with rich compost creates a “bathtub effect.” Roots stay in the nice soil and never venture into native clay. Use native soil for backfill. Amend the whole bed if needed, not just the hole.
Mulch Volcanoes
Piling mulch against the stems holds moisture and invites pests and disease. Keep a clear ring around the crown. Two inches of space is enough.
Ignoring Spacing
Crowded plants compete for light and air. Powdery mildew loves humid, stagnant conditions. Space plants 18 to 24 inches apart. Good airflow keeps foliage dry and healthy.
Planting In Wet Soil
Working wet soil destroys structure. It compacts into hard clods that roots cannot penetrate. Wait until soil crumbles in your hand. A simple squeeze test tells you when it is ready.
Catmint In Containers
Choosing The Right Pot
Catmint does well in pots. Choose a container at least twelve inches wide and deep. Ensure drainage holes. Terra cotta breathes well but dries fast. Plastic retains moisture longer. Either works if you monitor water.
Potting Mix And Depth
Use a high quality potting mix with perlite or pumice for drainage. Do not use garden soil. Plant at the same crown level rule. The crown sits at the mix surface. Leave an inch of space below the rim for watering.
Winter Care For Potted Catmint
In cold zones, pots freeze solid. This kills roots. Move pots to an unheated garage or bury them in the ground for winter. Alternatively, treat as an annual and replace each spring.
Troubleshooting Depth Related Issues
Signs Of Planting Too Deep
Yellowing lower leaves, stunted growth, and a lack of flowers often indicate a buried crown. The plant may wilt despite wet soil because roots are suffocating. Gently dig around the base. If the crown is below grade, lift the plant and replant higher.
Signs Of Planting Too High
Exposed roots, rapid drying, and instability in wind suggest the root ball sits above grade. The plant may lean. Add soil around the base to cover roots up to the crown. Water well to settle.
Soil Settlement Over Time
After heavy rains or a season of watering, soil can settle. Check crown level each spring. Top dress with a thin layer of compost if the crown becomes exposed. Do not bury it.
Companion Planting And Design Tips
Best Neighbors
Catmint pairs beautifully with roses, salvia, yarrow, and ornamental grasses. Its soft mounds contrast with spiky flowers. It hides the bare legs of rose bushes. Plant in drifts of three or five for impact.
Using Catmint As Edging
Low growing varieties like ‘Walker’s Low’ make excellent border edges. Plant them 12 inches apart for a continuous line. The catmint care depth to plant remains the same. The effect is a soft, fragrant hedge.
Pollinator Gardens
Include catmint in any pollinator garden. Its long bloom season feeds bees when other flowers are scarce. Plant near vegetable beds to boost pollination of tomatoes and squash.
Seasonal Care Calendar
Spring
Cut back dead stems to the ground as new growth appears. Apply compost around the base. Divide overcrowded clumps. Check crown depth and adjust if needed.
Summer
Deadhead after first bloom. Water during drought. Watch for spider mites in hot dry weather. Blast with water to control.
Fall
Leave seed heads for winter interest and bird food. Do not cut back until spring. The foliage protects the crown.
Winter
In very cold zones, add a light mulch of straw after the ground freezes. Remove in early spring. This prevents freeze thaw cycles from heaving the plant.
Conclusion
You now know the secret to strong, floriferous catmint. It starts with the catmint care depth to plant. Keep the crown at soil level. Give it sun, drainage, and a little space. That is it. No fancy tricks. Just a simple rule that pays off in waves of blue flowers and happy pollinators. Next time you hold a pot of catmint, remember: level is perfect. Plant with confidence and enjoy the show for years to come.
Frequently Asked Questions
What is the ideal catmint care depth to plant?
The ideal depth places the plant crown exactly at soil level. Dig a hole as deep as the root ball and twice as wide. This prevents crown rot and ensures good root establishment.
Can catmint tolerate being planted slightly deep?
Catmint does not tolerate deep planting. Even an inch below soil level can cause crown rot due to excess moisture. Always keep the crown visible at the surface.
How do I fix a catmint planted too deep?
Gently dig up the plant in early spring or fall. Replant at the correct level with the crown at soil grade. Water well to settle the soil around the roots.
Should I amend the soil when planting catmint?
Amend the whole planting bed with compost if soil is poor. Do not amend only the planting hole. This encourages roots to stay in the enriched area instead of spreading.
How far apart should I space catmint plants?
Space catmint 18 to 24 inches apart. Proper spacing allows air circulation, reduces disease risk, and gives each plant room to reach its natural mounded shape.
Does catmint need special care after planting?
Water deeply twice a week for the first month. Then reduce to only during dry spells. Mulch lightly keeping mulch away from the crown. Deadhead after first bloom for a second flush.