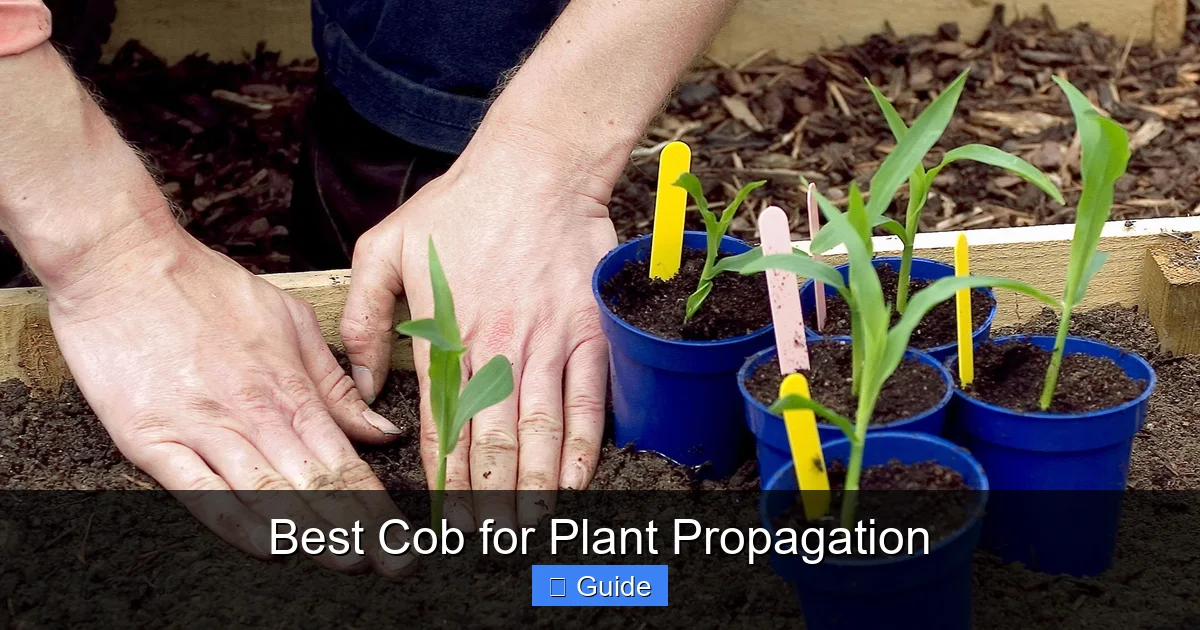
Best Cob for Plant Propagation
Finding the best COB for plant propagation means balancing spectrum, intensity, and heat management. Our guide breaks down top picks for cloning and seed starting so you can grow stronger starts with confidence.
Starting plants from cuttings or seeds feels like magic. You take a snippet, give it the right conditions, and watch a whole new plant emerge. But that magic needs the right light. If you have searched for the best COB for plant propagation, you know the options can overwhelm. This guide walks you through everything you need to know. We will cover spectrum, intensity, heat, and the top models on the market. By the end, you will feel ready to pick a light that gives your young plants the strongest start possible.
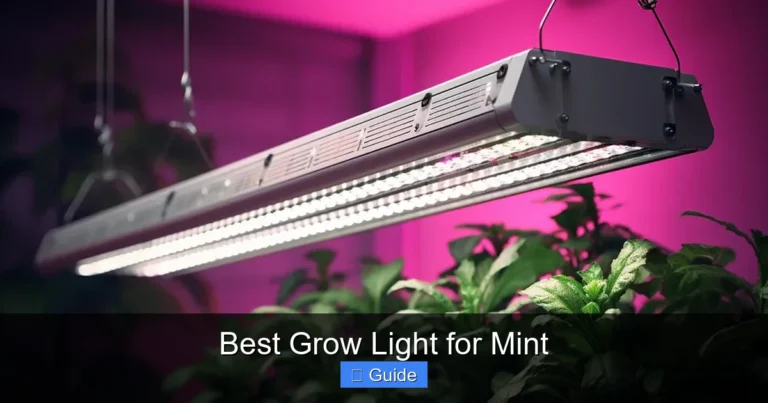
COB stands for chip on board. These LEDs mount many tiny diodes directly onto a single substrate. The result is a powerful, concentrated light source that acts almost like a single bright panel. For propagation, this matters because seedlings and clones need consistent, high-quality light without hot spots. A good COB spreads photons evenly across your tray. It also runs cooler than older high-intensity discharge lamps. That means less risk of drying out delicate cuttings. Let us dive into the details so you can choose with confidence.
Key Takeaways
- COB LEDs deliver intense, uniform light: Chip-on-board technology packs multiple diodes into a single module for better canopy penetration.
- Spectrum matters most for propagation: Look for a mix heavy in blue and red wavelengths to drive root and shoot development.
- Heat management protects delicate cuttings: Passive cooling or quiet fans prevent leaf scorch and drying out.
- Dimmable drivers add flexibility: Lower output for fresh clones, then ramp up as roots establish.
- Coverage area matches your tray size: Measure your propagation space before buying to avoid hotspots or weak edges.
- Quality brands offer better reliability: Established manufacturers use higher-grade chips and safer drivers.
- Budget options exist but check specs closely: Cheaper units may skimp on spectrum accuracy or thermal design.
Quick Answers to Common Questions
What PPFD should I target for fresh cuttings?
Start at 50 to 80 PPFD for unrooted cuttings under a humidity dome. Increase gradually as roots develop.
Can I use a bloom spectrum COB for propagation?
No. Bloom spectra lack blue light, causing stretchy, weak clones. Choose a veg or full-cycle spectrum with strong blue output.
Do I need a dimmer on my propagation light?
Yes. A dimmer lets you adjust intensity without moving the fixture. This prevents disturbance and allows precise control for each growth stage.
How high should I hang a 100-watt COB above a propagation tray?
Begin at 24 to 30 inches for fresh cuttings. Lower to 12 to 18 inches once roots are established and the dome is removed.
Are quantum boards as good as COBs for propagation?
Yes. High-quality quantum boards like the Spider Farmer SF1000 provide similar intensity with better spread and often lower cost.
📑 Table of Contents
Why COB Technology Shines For Propagation
High Photon Density In A Small Footprint
Propagation trays sit on shelves or benches. Space is tight. COB modules pack a lot of light output into a compact housing. You get high photosynthetic photon flux density (PPFD) without hanging a massive fixture. This is perfect for a 2-foot by 4-foot shelf or a small tent. The dense array also means fewer gaps in coverage. Your clones at the edge get the same intensity as those in the center.
Superior Spectrum Control
Manufacturers can blend different diode bins on one COB. This lets them tailor the spectrum precisely. For propagation, you want a strong blue peak around 450 nanometers. Blue light promotes compact, sturdy growth and root initiation. You also need red around 660 nanometers for photosynthesis and stem elongation. Many top COBs add a touch of far red and white to round out the spectrum. This blend mimics spring sunlight, signaling young plants to grow fast and strong.
Lower Heat At Canopy Level
Heat rises. Traditional HPS or MH bulbs radiate intense infrared heat downward. That can cook tender leaves and spike vapor pressure deficit. COB LEDs convert more electricity into usable light and less into waste heat. Most quality units use large aluminum heatsinks. Some add quiet fans. The result is a cooler canopy. Your cuttings stay hydrated. Humidity domes work better. You spend less time misting and more time watching roots appear.
Long Lifespan And Consistent Output
Cheap LEDs often shift color or dim after a few thousand hours. Reputable COB brands like Cree, Citizen, or Samsung rate their chips for 50,000 hours or more. That is years of daily propagation cycles. Consistent output means your light recipe stays the same from batch to batch. You get repeatable results. That reliability saves money over time because you replace fixtures less often.
Key Specifications To Compare
PPFD And Coverage Maps
Photosynthetic photon flux density measures how many photons hit a square meter each second. For propagation, aim for 100 to 300 micromoles per square meter per second at canopy level. Seedlings need the lower end. Rooted clones transitioning to veg can handle more. Always check the manufacturer coverage map at your hanging height. A light rated for 4 by 4 feet at 18 inches might only give 200 PPFD at the corners. If you run a 2 by 4 tray, center the light and lower it to 12 inches for even coverage.
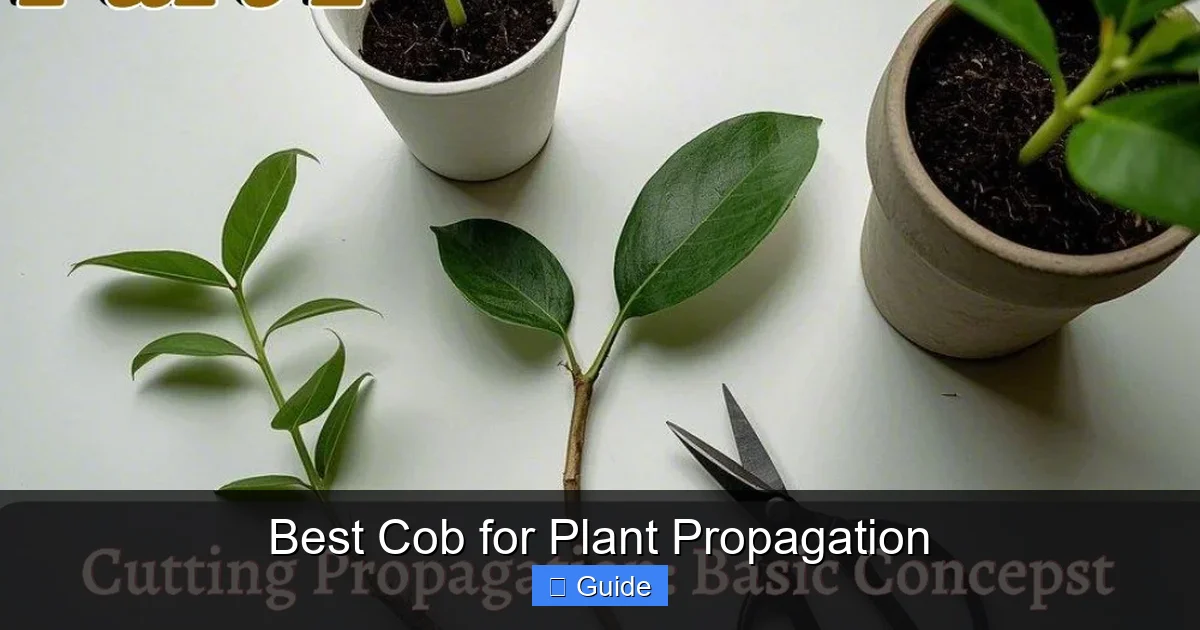
Visual guide about Best Cob for Plant Propagation
Image source: gardenchains.com
Spectral Power Distribution
Ask for the spectral chart. Look for a blue-to-red ratio around 1:2 to 1:3. Too much blue alone can stunt growth. Too much red without blue leads to stretchy, weak stems. Some COBs list a color rendering index (CRI) above 90. High CRI means you see true leaf color. That helps you spot nutrient issues or pests early. It also indicates a broad, continuous spectrum, which plants prefer.
Driver Quality And Dimming
The driver converts AC power to the DC current the COB needs. A good driver runs cool, flicker-free, and offers 0-10V or PWM dimming. Dimming is huge for propagation. Fresh cuttings under a dome need very low light, maybe 50 PPFD. As roots show, you raise the dome and increase intensity. A dimmable driver lets you do this without raising the fixture. Mean Well, Inventronics, and Philips drivers are trusted names. Avoid no-name drivers that buzz or fail early.
Thermal Design And Noise
Passive heatsinks are silent but large. Active cooling uses fans. Fans can fail or get loud. If you propagate in a living space, noise matters. Look for units with oversized heatsinks or high-quality ball-bearing fans rated for 50,000 hours. Some fixtures use a hybrid design: a moderate heatsink with a low-RPM fan that only spins above a temperature threshold. That gives you silence most of the time and safety during heat waves.
Warranty And Support
A three-year warranty is standard for quality grow lights. Five years is better. Check if the warranty covers the COB array, driver, and fan separately. Some brands only cover the housing. Read reviews for customer service responsiveness. A company that answers emails fast and ships replacements quickly is worth a small price premium.
Top COB Picks For Plant Propagation
HLG 100 V2 Rspec
The Horticulture Lighting Group 100 V2 Rspec is a favorite among serious propagators. It uses a single Samsung LM301H COB with added deep red 660 nm diodes. The spectrum leans slightly red-heavy, which speeds rooting. PPFD at 12 inches covers a 2 by 2 foot area evenly at 250 micromoles. The Mean Well driver dims down to 10 percent. Passive cooling keeps it silent. Price sits around $150. It is a plug-and-play solution that just works.
Chilled Tech Growcraft X3 Mini
This fixture packs three Citizen CLU048 COBs into a 12 by 12 inch housing. Each COB runs at a modest 35 watts for high efficiency. The combined spectrum is a beautiful broad white with strong blue and red peaks. Coverage at 12 inches is a solid 3 by 3 feet at 300 PPFD center. The driver is a top-tier Inventronics unit with 0-10V dimming. Heatsink is massive. Zero fan noise. At $350, it is an investment, but the build quality feels like a tank.
Timber LED 100W COB Kit
For DIYers, Timber offers a kit with a Cree CXB3590 COB, Mean Well driver, and heatsink. You assemble it in 20 minutes. The Cree chip delivers 97 CRI white light with a custom horticulture bin. Spectrum is 4000K, rich in blue. PPFD at 14 inches hits 280 over a 2.5 by 2.5 foot square. Kit cost is about $130. You get premium components at a lower price because you provide the labor. Great if you want to learn and save.
Spider Farmer SF1000
Not a traditional single COB, but a quantum board using Samsung LM301B diodes in a dense array. It mimics COB intensity with better spread. The SF1000 draws 100 watts, covers 2 by 2 feet for veg and 3 by 3 feet for seedlings. Spectrum is 3000K white plus 660 nm red and 760 nm far red. Dimmer knob on the driver. Passive cooling. Price around $110. It is the best value if you want broad coverage on a budget.
Viparspectra P1000
Another quantum board style light. Uses Samsung LM301H and Osram 660 nm. 100 watts, similar coverage to the Spider Farmer. Includes a Mean Well XLG driver with dimming. Heatsink is thinner but adequate for 100 watts. Fanless. Often on sale for under $100. Good entry point. Check that the seller honors the 3-year warranty. Some third-party resellers do not.
Custom COB Build With Bridgelux Vero 29
Advanced growers sometimes build arrays of four Bridgelux Vero 29 Gen 7 COBs. Each runs 50 watts. Total 200 watts over a 3 by 3 foot canopy. Spectrum options include 3500K, 4000K, or 5000K with 90 CRI. You pick the driver and heatsink. This route gives maximum control. Cost runs $400 to $500 for parts. Only choose this if you enjoy electronics and want a tailored fixture.
Setting Up Your Propagation Lighting
Hanging Height And Adjustment
Start high. For fresh cuttings under a dome, hang the light 24 to 30 inches above the tray. This keeps PPFD low, around 50 to 80. Low light reduces transpiration while roots form. After 7 to 10 days, check for root nubs. Lower the light 3 inches every few days. Target 150 PPFD once roots are half an inch long. At 12 inches, most 100-watt COBs hit 200 to 300 PPFD. Use a cheap quantum sensor or a phone app with a cosine diffuser to verify. Adjust until readings match your target.
Photoperiod For Clones And Seedlings
Clones root fastest under 18 hours on, 6 hours off. Some growers use 20/4. Avoid 24 hours. Plants need a dark period for respiration and hormone balance. Seedlings also prefer 18/6. Once true leaves appear and roots fill the plug, you can shift to 16/8 to harden them before transplant. Consistency matters. Use a digital timer. Power outages reset cheap timers, so pick one with battery backup.
Managing Heat And Humidity
Even cool LEDs add some heat. In a closed dome, temperature can climb. Place a small clip fan blowing across the dome vents. This exchanges air and prevents fungal issues. Keep ambient room temperature 72 to 78 Fahrenheit. If your COB has a fan, ensure intake is not blocked. Dust heatsinks monthly. A clogged heatsink raises LED junction temperature, shortening lifespan and shifting spectrum.
Supplemental Side Lighting
COBs shine downward. Vertical stems on taller clones may shade lower leaves. Add a low-wattage LED strip or T5 fluorescent on the sides. A 2-foot 20-watt 6500K T5 works well. Run it on the same timer. Side light keeps lower nodes green and prevents stretch. This is especially helpful for mother plants kept under propagation lights long-term.
Cleaning And Maintenance
Dust and water spots block light. Wipe the lens or glass with a microfiber cloth and isopropyl alcohol monthly. Check wire connections at the driver. Vibration from fans can loosen terminal screws. Tighten gently. Inspect the heatsink fins for dust buildup. Use canned air or a soft brush. A clean fixture runs cooler and delivers more photons to your plants.
Common Mistakes To Avoid
Buying Based On Wattage Alone
A 200-watt COB from a no-name brand may use low-efficacy chips. It could draw 200 watts but only deliver 100 micromoles per joule. A quality 100-watt COB at 2.7 micromoles per joule outperforms it. Always look for efficacy (PPF per watt) and PPFD maps. Wattage tells you electricity use, not plant-usable light.
Ignoring Spectrum For Your Crop
Tomatoes and peppers love blue-heavy light for stocky growth. Lettuce and herbs tolerate more red. Cannabis clones root best with a balanced 1:2 blue-to-red ratio. If you grow mixed crops, choose a broad white COB around 3500K to 4000K with added 660 nm. That covers most bases. Do not use bloom-only spectra (heavy red, low blue) for propagation. You will get leggy, weak starts.
Running Lights Too Close Too Soon
Enthusiasm leads to scorched tips. High PPFD on unrooted cuttings spikes transpiration. The cutting cannot uptake water fast enough. Leaves curl, yellow, and die. Always start high and dim. Watch for signs of light stress: upward cupping, bleaching, or purple stems (if not genetic). Back off immediately if you see them.
Skipping The Dimmer
Non-dimmable fixtures force you to adjust height constantly. Raising a heavy light on a shelf is a hassle. You might knock over trays. A dimmer lets you keep the fixture fixed and dial intensity. It also extends LED life by running cooler at lower drive currents. Spend the extra $20 for a dimmable driver. You will thank yourself every cycle.
Overlooking Electrical Safety
Propagation areas are wet. Water splashes, domes drip, humidifiers mist. Use GFCI outlets. Keep drivers and connections off the floor. Mount drivers on the wall or shelf side. Use drip loops on cords so water runs away from plugs. Never daisy-chain power strips. A short circuit in a humid tent is a fire risk. Treat electricity with respect.
Budget-Friendly Alternatives
T5 High-Output Fluorescent
A 4-foot, 4-lamp T5 HO fixture costs $80 to $100. It covers a 2 by 4 foot shelf evenly. Spectrum options include 6500K for veg and 3000K for bloom. For propagation, 6500K works great. PPFD at 6 inches is 150 to 200. Heat is higher than LED but manageable with a small fan. Bulbs need replacement every 12 to 18 months. Good if you want low upfront cost and don’t mind bulb changes.
LED Shop Lights
4-foot 4000K LED shop lights from hardware stores run $20 to $30 each. Hang two side by side over a 2 by 4 tray. They draw 40 watts each. PPFD at 12 inches is around 100. Spectrum is broad white, decent CRI. No dimming. No horticulture certification. But for a few trays of tomatoes or flowers, they work fine. Just keep expectations realistic. They lack deep red and far red.
Ceramic Metal Halide 315W
CMH 315 watt fixtures cost $150 to $200. They produce beautiful broad spectrum light with UV. PPFD is high. Heat is significant. You need ventilation. For a dedicated propagation room, CMH can work. But for a small tent or shelf, the heat and bulk make them less practical than COB LED. They also lack dimming.
Used Commercial Fixtures
Check local classifieds or grower forums. Commercial facilities upgrade often. You might find a 600-watt COB array for $200. Verify the driver works and the COBs are not degraded. Ask for a light meter reading. Buying used carries risk but can stretch a tight budget. Meet in person, test before paying.
Matching Light To Your Propagation Style
Cloning In Aeroponics Or EZ-Clone
Aeroponic cloners mist roots constantly. Humidity stays near 100 percent. Light intensity should stay low, 50 to 100 PPFD, for the first week. A dimmable 100-watt COB at 24 inches works perfectly. As roots appear, increase to 150. The key is consistency. Aeroponics fails fast if light stresses the cutting. Stick to a proven schedule and do not peek too often.
Soil Or Coco Plugs Under Humidity Dome
This is the most common method. Dome on for days 1 to 7. Light at 80 PPFD. Day 7, crack dome vents. Raise light to 120 PPFD. Day 10, remove dome for an hour. Light at 150. Day 14, dome off. Light at 200. Transplant when roots hit bottom of plug. A single 100-watt COB handles a standard 1020 tray with 50 plugs.
Seed Starting For Vegetables
Seeds need less light than clones initially. 50 PPFD is fine until cotyledons open. Then ramp to 150. Vegetable seedlings grow fast. You may need to raise the light every 2 days. A 2 by 4 foot coverage area lets you start two 1020 trays side by side. Use a light with at least 200 watts total if covering both trays at 12 inches. Or run two 100-watt units.
Microgreens And Baby Greens
Microgreens are grown dense and harvested young. They want high PPFD, 250 to 300, from day 3 onward. Short stature means you can hang the light close, 8 to 10 inches. A 100-watt COB covers a 2 by 2 foot tray at this intensity. Run 16/8 photoperiod. Harvest at 10 to 14 days. Rotate trays daily for even growth if light is not perfectly uniform.
Mother Plant Maintenance
Keeping a mother plant under propagation light long-term requires a different approach. Lower intensity, 150 PPFD, but longer photoperiod 18/6. Spectrum with more blue keeps internodes tight. A 3500K COB with added blue works well. You want the mother to stay compact and produce many cut sites. Prune regularly. Replace mother every 6 to 12 months for vigor.
Advanced Tips For Better Results
Use A Quantum Meter
Phone apps are okay for relative checks. A real quantum meter like the Apogee MQ-500 gives absolute PPFD. It costs $300 but pays for itself in better yields. Measure at multiple points. Map your canopy. Adjust hanging height until the coefficient of variation is under 15 percent. Even light means even growth. No more tall clones shading short ones.
Add Far Red For Faster Rooting
Recent research shows 730 nm far red enhances root initiation in some species. It triggers shade avoidance, pushing energy into root exploration. Some COBs include a few far red diodes. Or add a small 730 nm LED strip. Run it 15 minutes at lights on and 15 minutes at lights off. Do not overdo it. Too much far red causes stretch.
Pulse Lighting For Energy Savings
Pulsing LEDs at high frequency (kHz) can maintain photosynthesis while reducing average power. Some advanced drivers support this. It is experimental for propagation. If you tinker, try 50 percent duty cycle at 1 kHz. Monitor growth closely. Not recommended for beginners. Standard continuous light is proven and safe.
CO2 Enrichment In Sealed Propagation
If you run a sealed chamber with CO2 at 800 to 1000 ppm, you can push PPFD higher, 300 to 400. Plants use the extra light because carbon is not limiting. This speeds rooting by 20 to 30 percent. Requires CO2 controller, tank, and sealed room. Overkill for most home growers. But if you already have CO2 for veg, extend it to propagation.
Sanitize Between Cycles
Pathogens love warm, humid propagation areas. Wipe trays, domes, and lights with 10 percent bleach or hydrogen peroxide between runs. Clean the COB lens. A dirty lens drops PPFD 10 to 15 percent. A clean environment prevents damping off and saves heartbreak. Make it a ritual. Clean gear, clean starts.
Conclusion
Choosing the best COB for plant propagation comes down to your space, budget, and crops. A quality 100-watt COB with a dimmable Mean Well driver, passive cooling, and a spectrum rich in blue and red will serve almost any home propagator. The HLG 100 V2 Rspec and Chilled Tech Growcraft X3 Mini represent the top of the ready-to-run market. The Timber kit rewards DIYers with premium parts at a lower cost. Quantum boards like the Spider Farmer SF1000 offer incredible value with broader coverage.
Remember the fundamentals. Start low and slow with intensity. Use a timer. Keep the environment clean. Measure your light if you can. Adjust based on plant response, not just charts. Your cuttings and seedlings will tell you what they need. Watch for stretch, color, and root speed. With the right COB and a little attention, you will grow starts that transplant shock-free and explode into vigorous growth. Happy propagating.
Frequently Asked Questions
What is the best COB for plant propagation on a budget?
The Spider Farmer SF1000 or Viparspectra P1000 offer excellent value around $100. They use Samsung diodes, dimmable Mean Well drivers, and cover a 2×2 foot veg area well.
How many watts do I need for a standard 1020 propagation tray?
A single 100-watt COB or quantum board adequately covers a standard 10×20 inch tray at proper hanging heights for all propagation stages.
Should I run my propagation lights 24 hours a day?
No. Plants need a dark period for respiration. Run 18 hours on, 6 hours off for clones and seedlings. Avoid 24-hour light cycles.
Can COB lights burn my cuttings?
Yes, if placed too close or run too intense too soon. Always start high (24+ inches) and dimmed low (50-80 PPFD), then gradually increase as roots form.
What spectrum is best for rooting clones?
A balanced spectrum with a blue-to-red ratio around 1:2 to 1:3 works best. Look for 3500K-4000K white light with added 660nm deep red diodes.
How long do COB grow lights last for propagation use?
Quality COBs from brands like Cree, Samsung, or Citizen rated for 50,000+ hours will last 5-10 years of daily propagation cycles with proper thermal management.