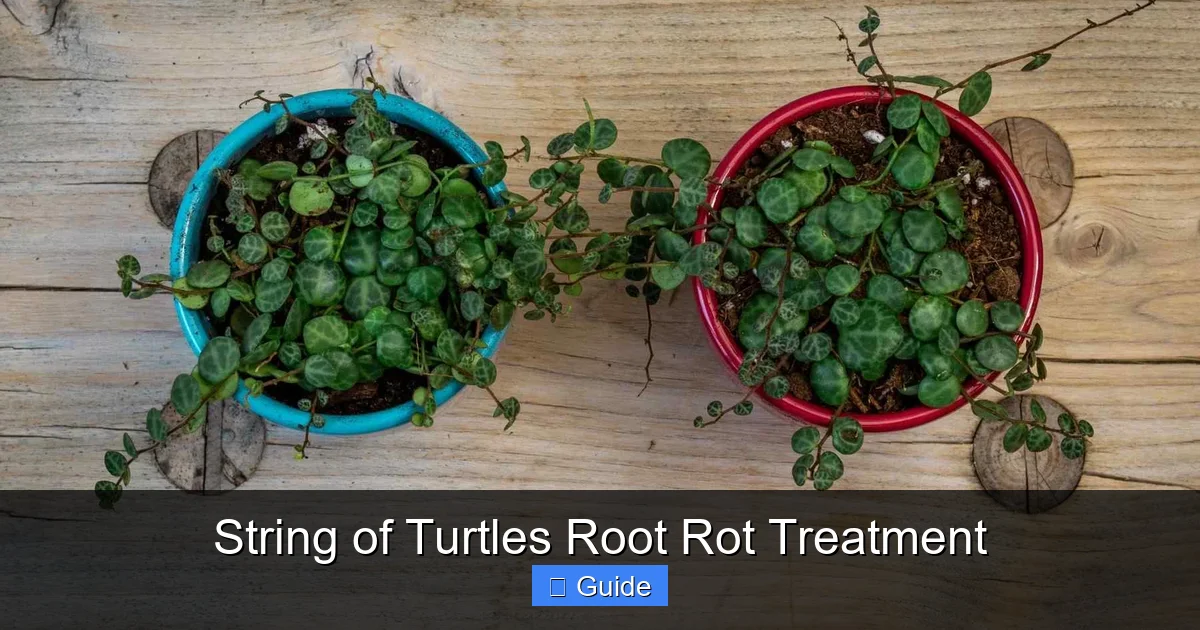
String of Turtles Root Rot Treatment
String of turtles root rot is a common but treatable fungal disease caused by overwatering and poor drainage. Early detection of yellowing leaves, mushy stems, and foul-smelling soil allows for successful intervention through root pruning, repotting in fresh well-draining mix, and adjusted watering habits.
You bought a gorgeous string of turtles. Those tiny turtle-shell leaves trailing over the pot edge made your heart happy. Then one day you notice something wrong. The leaves look yellow. The stems feel mushy. A weird smell drifts from the soil. Your stomach drops. Is your plant dying?
Take a deep breath. Root rot happens to the best of us. Even experienced plant parents lose plants to this sneaky fungal disease. The good news? String of turtles root rot treatment works surprisingly well when you catch it early. This guide walks you through every step from diagnosis to recovery to prevention. Your plant can bounce back stronger than before.
Key Takeaways
- Overwatering is the primary cause: String of turtles stores water in its leaves and stems, making it highly susceptible to root rot when soil stays wet too long.
- Early signs include yellowing leaves and mushy stems: Catch these symptoms quickly to save your plant before the rot spreads to the entire root system.
- Root pruning is essential for treatment: Remove all black, brown, or mushy roots with sterilized scissors, keeping only firm white or tan healthy roots.
- Use a well-draining soil mix: Combine cactus soil with perlite, pumice, or orchid bark to create the fast-draining environment this semi-succulent needs.
- Water only when soil is completely dry: Check moisture with a chopstick or moisture meter rather than following a fixed schedule.
- Choose pots with drainage holes: Terracotta pots are ideal as they wick away excess moisture and allow roots to breathe.
- Propagation provides a backup plan: If root rot is too advanced, healthy stem cuttings can be rooted in water or soil to start fresh plants.
Quick Answers to Common Questions
How do I know if my string of turtles has root rot?
Look for yellowing leaves, mushy stems, foul soil smell, and black/brown mushy roots when you unpot the plant. Healthy roots are firm and white or tan.
Can string of turtles recover from severe root rot?
Yes, if at least 25% of roots remain healthy and the crown isn’t rotted. Prune all damaged roots, treat with hydrogen peroxide, and repot in fresh well-draining mix.
How often should I water string of turtles after root rot treatment?
Wait 3-5 days after repotting before first water. Then water only when soil is completely dry – typically every 10-14 days in summer, monthly in winter.
What soil mix prevents root rot in string of turtles?
Use 2 parts cactus soil, 1 part perlite, and 1 part orchid bark or pumice. This fast-draining mix mimics the plant’s natural epiphytic growing conditions.
Should I fertilize string of turtles during root rot recovery?
No. Wait 6-8 weeks until new growth appears consistently. Then fertilize at quarter strength monthly during growing season only.
📑 Table of Contents
- Understanding String of Turtles and Why Root Rot Happens
- Spotting Root Rot Symptoms Early
- Step-by-Step String of Turtles Root Rot Treatment
- Post-Treatment Care and Recovery
- Prevention: Building a Root Rot-Proof Routine
- Propagation: Your Insurance Policy
- Common Mistakes That Cause Recurrence
- Advanced Tips for Thriving String of Turtles
- Conclusion: Your String of Turtles Can Thrive
Understanding String of Turtles and Why Root Rot Happens
Meet Peperomia Prostrata
String of turtles (Peperomia prostrata) belongs to the Piperaceae family. Native to Brazilian rainforests, this semi-succulent grows as an epiphyte on tree trunks and fallen logs. Its natural habitat gives us huge clues about its care needs.
In the wild, these plants experience frequent rain but excellent drainage. Water runs right past their roots. Air circulates freely. They never sit in soggy conditions. Their thick, fleshy leaves store water like tiny reservoirs. This adaptation helps them survive dry spells between rains.
The Root Rot Perfect Storm
Root rot develops when three factors combine: excess moisture, poor airflow, and fungal pathogens. The fungi (Pythium, Phytophthora, Rhizoctonia, and Fusarium species) exist naturally in soil. They stay harmless until conditions favor their explosive growth.
Overwatering creates those conditions. Saturated soil pushes out oxygen. Roots suffocate and die. Dead tissue becomes food for fungi. The infection spreads rapidly through the root system and up into stems. Within days, a healthy plant can collapse.
Why String of Turtles Is Especially Vulnerable
Several traits make this plant a root rot magnet. First, those water-storing leaves mean the plant needs less frequent watering than thin-leaved tropicals. Second, the delicate root system is shallow and fine. It cannot tolerate sitting in water. Third, the trailing growth habit often leads to dense mats of foliage that trap moisture against the soil surface.
Many plant parents treat string of turtles like a typical tropical houseplant. They water on a schedule. They use moisture-retentive potting soil. They choose decorative pots without drainage. Each mistake compounds the others. Before long, the perfect storm hits.
Spotting Root Rot Symptoms Early
Above-Ground Warning Signs
Your plant communicates distress through its leaves and stems. Learn to read these signals.
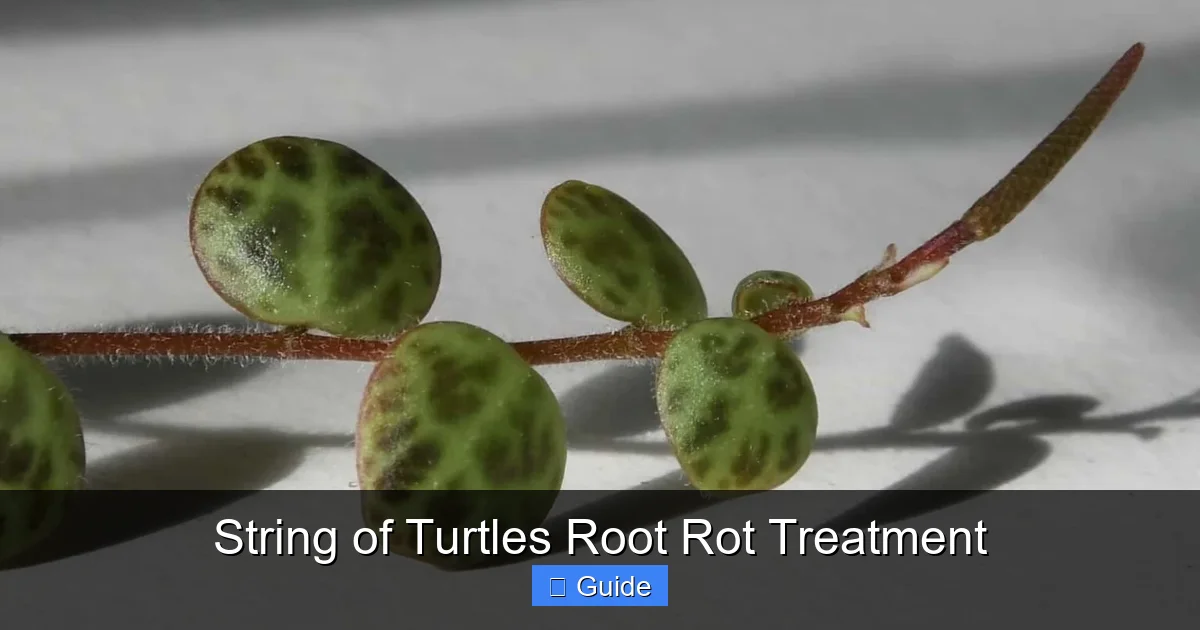
Visual guide about String of Turtles Root Rot Treatment
Image source: planetnatural.com
Yellowing leaves usually appear first. The lower, older leaves turn pale yellow then brown. They may feel soft or translucent. This differs from natural aging where leaves crisp up and drop cleanly. Rot-related yellowing spreads upward quickly.
Mushy stems signal advanced infection. Gently squeeze a stem between your fingers. Healthy stems feel firm and slightly pliable. Rotting stems feel squishy, like an overripe grape. They may appear darkened or translucent.
Leaf drop increases dramatically. The plant sheds leaves to conserve energy. You might find a trail of fallen leaves around the pot. Stems become bare and leggy.
Stunted growth or sudden decline during growing season indicates root problems. The plant cannot uptake water or nutrients with damaged roots.
The Smell Test
Trust your nose. Healthy soil smells earthy and fresh. Rotting soil emits a distinct sour, swampy, or musty odor. Some describe it as smelling like old gym socks or rotting potatoes. If you catch this smell during watering, investigate immediately.
Confirming With Root Inspection
Visual confirmation requires removing the plant from its pot. Water lightly first to help the root ball slide out intact. Turn the pot sideways and gently coax the plant out. Never yank by the stems.
Examine the roots closely. Healthy roots appear white, cream, or light tan. They feel firm and springy. Root tips may show fine white hairs.
Rotted roots look brown, black, or gray. They feel mushy and slimy. The outer cortex sloughs off easily, leaving only the central vascular strand (which looks like a thin wire). A gentle tug separates rotten roots from the stem.
Check the stem base where it meets soil. Dark, soft tissue here means the rot has traveled upward. This is crown rot and requires more aggressive treatment.
Step-by-Step String of Turtles Root Rot Treatment
Gather Your Supplies
Before starting, assemble everything you need. Preparation prevents scrambling mid-process with a vulnerable plant.
- Clean workspace (table covered with newspaper or trash bag)
- Sterilized sharp scissors or pruning shears
- Rubbing alcohol (70% isopropyl) or 10% bleach solution for sterilizing
- Fresh well-draining potting mix (recipe below)
- Clean pot with drainage holes (terracotta preferred)
- Small paintbrush or soft brush for cleaning roots
- Hydrogen peroxide 3% (optional but helpful)
- Cinnamon powder (natural fungicide)
- Gloves (optional)
Remove and Assess
Take the plant from its pot. Shake off as much old soil as possible. Use the brush to gently remove soil clinging to roots. Work slowly to avoid breaking healthy roots.
Rinse roots under lukewarm running water. This removes remaining soil and lets you see every root clearly. Pat gently with paper towels.
Now assess the damage. Categorize roots: healthy (firm, white/tan), questionable (slightly discolored but firm), and rotted (mushy, dark, slimy). If over 75% of roots are rotted, recovery is unlikely but still worth attempting.
Prune Ruthlessly
This step feels scary but is absolutely necessary. Sterilize your scissors with alcohol between each cut. Cut away every single rotted root. Cut back to healthy tissue. Make clean cuts at a slight angle.
If stems show rot, prune those too. Cut back to firm, healthy tissue. Remove any yellow or mushy leaves. You may lose significant foliage. That’s okay. The plant will regrow once roots recover.
Dip each cut end in cinnamon powder. Cinnamon acts as a natural fungicide and seals the wound. Alternatively, use commercial fungicide powder following package directions.
Hydrogen Peroxide Treatment (Optional but Recommended)
Mix one part 3% hydrogen peroxide with two parts water. Submerge the remaining root system for 5-10 minutes. This kills lingering fungal spores and adds oxygen to the root zone. The solution will bubble – that’s normal.
After soaking, let roots air dry on clean paper towels for 1-2 hours. This callusing period helps prevent immediate re-infection when repotted.
Prepare the Perfect Potting Mix
Standard potting soil retains too much moisture. Create a custom blend:
- 2 parts cactus/succulent soil
- 1 part perlite
- 1 part orchid bark or pumice
- Optional: handful of horticultural charcoal
This mix drains rapidly while holding just enough moisture. The chunky components create air pockets roots love. Charcoal absorbs impurities and prevents fungal growth.
Choose the Right Pot
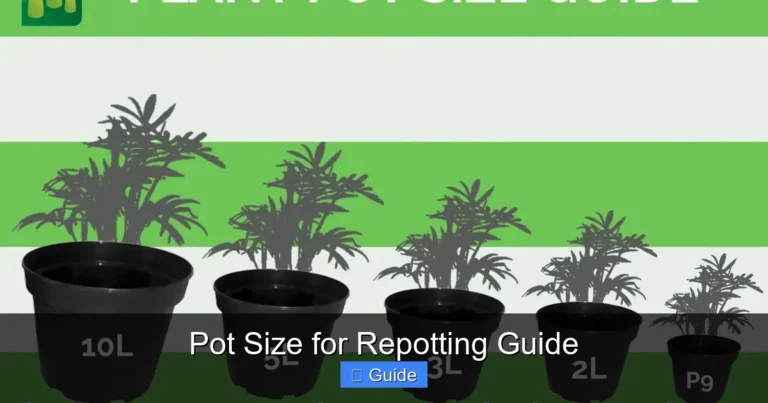
Terracotta pots are gold standard for string of turtles. The porous clay wicks moisture away from roots and allows gas exchange. Choose a pot only 1-2 inches larger than the remaining root mass. Oversized pots hold excess wet soil.
Ensure multiple drainage holes. If using a decorative cachepot, keep the plant in a nursery pot inside it. Never let the plant sit in standing water.
Repot With Care
Place a coffee filter or mesh screen over drainage holes to prevent soil loss. Add a layer of fresh mix. Position the plant so the stem base sits at the same level as before. Backfill with mix, tapping the pot gently to settle soil without compacting.
Do not water immediately. Wait 3-5 days. This lets cut roots callus and prevents fungal re-entry. Place the plant in bright indirect light with good air circulation.
Post-Treatment Care and Recovery
The Critical First Two Weeks
Your plant is in intensive care. Monitor closely but resist the urge to fuss.
Water sparingly. When you do water, moisten only the top inch of soil. Use a spray bottle or turkey baster for precision. The goal: encourage roots to seek moisture downward without staying wet.
Provide bright indirect light. Direct sun stresses the recovering plant. A north or east window works well. Or place a few feet back from a south/west window.
Maintain temperatures 65-75°F (18-24°C). Avoid cold drafts and heating vents. Moderate humidity (40-50%) helps but isn’t critical.
Watch for new growth. Tiny leaves emerging from stem nodes signal recovery. This typically appears within 2-4 weeks if treatment succeeded.
Gradual Return to Normal Care
Once you see consistent new growth for 2-3 weeks, slowly normalize care.
Increase watering frequency gradually. Always check soil moisture first. The “chopstick test” works perfectly: insert a wooden chopstick deep into soil. If it comes out clean and dry, water. If soil clings, wait.
Resume fertilizing at quarter strength after 6-8 weeks. Use a balanced liquid fertilizer (10-10-10 or similar) monthly during growing season. Stop in fall/winter.
Repot annually in spring using fresh mix. This refreshes nutrients and prevents soil compaction.
Troubleshooting Recovery Issues
Sometimes plants struggle despite proper treatment. Here’s what to watch for:
Continued leaf yellowing after 2 weeks: Check for remaining rot. You may need to unpot and re-inspect. Also verify your new mix drains fast enough.
No new growth after 4 weeks: The plant may lack energy reserves. Try a rooting hormone on stem nodes. Or propagate healthy cuttings as backup.
New growth appears but looks deformed: Could indicate pest damage (mealybugs love stressed plants) or nutrient deficiency. Inspect closely with a magnifying glass.
Stems shrivel despite moist soil: Roots still aren’t functioning. Increase humidity with a clear plastic bag tent (vent daily) to reduce transpiration demand.
Prevention: Building a Root Rot-Proof Routine
Master the Watering Rhythm
Forget calendar watering. Your plant doesn’t care that it’s Tuesday. Water only when the soil is completely dry.
Check multiple ways: chopstick test, pot weight (light = dry), moisture meter (reads 1-2 on dry scale), or finger test (dry to second knuckle). In most homes, this means watering every 10-14 days in summer, every 3-4 weeks in winter.
Water thoroughly when you do water. Run water through until it drains freely. This flushes salts and ensures even moisture. Empty the saucer immediately.
Optimize Your Environment
Air circulation prevents surface moisture buildup. A small fan on low, running a few hours daily, works wonders. Space plants so leaves don’t touch.
Light drives photosynthesis which drives water uptake. Bright indirect light helps the plant use soil moisture efficiently. Too little light = slow drying = rot risk.
Temperature consistency matters. Avoid placing plants near single-pane windows in winter. Cold roots absorb water poorly, leading to wet soil.
Seasonal Adjustments
String of turtles slows growth in winter. Reduce watering frequency dramatically. Many plants need water only monthly December through February.
Spring brings active growth. Increase watering gradually as you see new leaves. Summer may require weekly checks during heat waves.
Fall signals slowing down. Taper watering as growth decreases.
Regular Root Check-Ups
Once a year, gently unpot and inspect roots during spring repotting. Healthy roots mean your care routine works. Early rot signs mean adjustments needed.
Look for firm white roots filling the pot. Some older roots naturally turn woody and brown – that’s fine. Mushy, smelly roots are never fine.
Propagation: Your Insurance Policy
When to Propagate Instead of Treat
Sometimes root rot wins. If the crown is mushy, stems are collapsing, or over 90% of roots are gone, propagation gives better odds.
Also propagate as backup while treating the mother plant. Two chances beat one.
Stem Cutting Method
Select healthy stems 3-4 inches long with several leaf nodes. Cut just below a node using sterilized scissors. Remove bottom 1-2 leaves to expose nodes.
Let cuttings callus 24 hours on dry paper towel. This prevents rot at the cut end.
Root in water or soil. Water rooting lets you monitor progress. Place cuttings in a small jar with nodes submerged, leaves above water. Change water every 3 days. Roots appear in 2-4 weeks.
Soil rooting: Plant callused cuttings in moist (not wet) propagation mix (50% perlite, 50% peat moss or coco coir). Keep in high humidity (plastic bag tent) with bright indirect light. Mist daily. Roots form in 3-5 weeks.
Leaf Propagation (Lower Success Rate)
String of turtles can propagate from single leaves but success is lower. Choose plump, healthy leaves with petiole (leaf stem) attached. Let callus 24 hours. Lay on moist propagation mix. Keep humid. Tiny plantlets may emerge from the leaf base in 6-8 weeks.
Caring for New Propagations
Once roots reach 1-2 inches, pot up in the same well-draining mix as mature plants. Treat as adult plants but with slightly more frequent moisture checks until established.
Common Mistakes That Cause Recurrence
Reusing Old Soil
Never reuse soil from a rotted plant. Fungal spores survive for years. Always use fresh, sterile mix. The few dollars saved isn’t worth losing another plant.
Skipping Sterilization
Unsterilized tools spread pathogens between plants. Wipe blades with alcohol between every cut. Clean pots with 10% bleach solution before reuse.
Watering on Schedule
The number one killer. Check soil every time. Your plant’s needs change with weather, light, humidity, and season. A fixed schedule ignores all of this.
Decorative Pots Without Drainage
That cute ceramic pot with no hole? It’s a death trap. Use it as a cachepot only. Keep the plant in a draining nursery pot inside.
Misting the Foliage
String of turtles doesn’t need misting. Wet leaves invite fungal leaf spot. Water the soil, not the plant.
Ignoring Seasonal Changes
Watering summer amounts in winter guarantees rot. Adjust for your plant’s actual growth rate.
Advanced Tips for Thriving String of Turtles
Bottom Watering Technique
Place the pot in a tray of water for 10-15 minutes. Soil wicks moisture up from below. Top stays dry. This encourages deep root growth and prevents crown rot. Remove pot and let drain fully.
Mounting for Epiphytic Growth
Mimic nature by mounting on cork bark or wood. Wrap roots in sphagnum moss, secure with fishing line. Mist moss daily. This eliminates soil rot risk entirely. Stunning display piece too.
Companion Planting
Plant with other succulents or peperomias sharing similar needs. Creates a mini-ecosystem with shared humidity and care routine.
Using Terra Cotta Stakes
Unglazed terra cotta stakes (plant nannies) inserted in soil wick excess moisture. Refill the stake reservoir weekly. Great for vacation watering.
Conclusion: Your String of Turtles Can Thrive
Root rot feels devastating when you discover it. Those mushy stems and yellow leaves look like a death sentence. But string of turtles is remarkably resilient when given a fighting chance.
The treatment process – unpot, inspect, prune, treat, repot, wait – works. I’ve seen plants with only two healthy roots bounce back into lush cascades within a season. The key is acting fast and not cutting corners.
Prevention becomes simple once you understand the plant’s true nature. This isn’t a thirsty tropical. It’s a semi-succulent epiphyte that wants to dry out between drinks. Give it chunky soil, a breathing pot, and water only when bone dry. Your reward: endless trails of those adorable turtle-shell leaves.
Remember: every plant parent loses plants to root rot. It’s not failure. It’s tuition in the school of plant care. Your string of turtles taught you a lesson. Now you both grow stronger.
Got a success story or question about your string of turtles root rot treatment journey? Share in the comments. We learn best from each other.
Frequently Asked Questions
Can I save a string of turtles with no roots left?
If all roots are gone but stems are firm, you can propagate stem cuttings in water or moist perlite. The mother plant cannot regrow without any roots, but cuttings root readily in 2-4 weeks.
Does cinnamon really help treat root rot?
Yes, cinnamon contains cinnamaldehyde which has antifungal properties. Dusting cut root ends with cinnamon powder helps prevent fungal re-entry while wounds callus over.
How long does string of turtles root rot treatment take to work?
Visible recovery signs (new growth) typically appear within 2-4 weeks after treatment. Full recovery to pre-rot fullness takes 2-3 months with proper care.
Can I use regular potting soil for string of turtles?
Regular potting soil retains too much moisture and compacts over time. Always amend with 50% perlite, pumice, or orchid bark to create the drainage this semi-succulent requires.
Why did my string of turtles get root rot in a terracotta pot?
Terracotta helps but doesn’t guarantee prevention. Overwatering, wrong soil mix, no drainage holes, or a pot too large can still cause rot even in terracotta.
Is hydrogen peroxide safe for string of turtles roots?
Yes, a 1:2 ratio of 3% hydrogen peroxide to water is safe for a 5-10 minute root soak. It kills pathogens and adds oxygen. Always dilute – never use full strength on roots.