Dividing Wild Ginger Plants
Dividing wild ginger plants is best done in early spring or fall when the plant is dormant. This simple propagation method creates new plants while rejuvenating the parent clump for better growth and flowering.
If you have a patch of wild ginger that has grown thick and lush over the years, you might notice the center starting to die out. That is a clear sign it is time to divide. Dividing wild ginger plants is one of the most rewarding garden tasks you can do. It costs nothing. It gives you free plants. And it keeps your existing patch healthy and vigorous.
I remember the first time I divided my own wild ginger patch. I was nervous about damaging the roots. But the process turned out to be surprisingly simple. The plants bounced back faster than I expected. Within a single season, the new divisions had filled in beautifully. If you have been putting off this task, let me walk you through everything you need to know. You will feel confident tackling it by the end of this guide.
Key Takeaways
- Best timing: Divide in early spring before new growth or early fall after flowering ends
- Tools needed: Sharp spade, garden fork, clean knife, and gloves for protection
- Division size: Each section needs 3-5 healthy rhizomes with roots and at least one growing bud
- Planting depth: Set divisions at the same depth they were growing originally
- Water thoroughly: Keep soil consistently moist for the first 4-6 weeks after replanting
- Shade requirement: Wild ginger thrives in full to partial shade with rich, moist soil
- Patience pays: New divisions may take a full season to establish and spread
Quick Answers to Common Questions
When is the absolute best time to divide wild ginger?
Early spring, just as the soil thaws but before leaves fully emerge, is the absolute best time. The plant is dormant, energy reserves are high, and cool weather reduces transplant shock.
How many rhizome segments should each division have?
Each division needs 3 to 5 healthy rhizome segments with roots attached and at least one plump growing bud per segment for reliable establishment.
Can I divide wild ginger in summer if I keep it watered?
No, summer division is not recommended even with extra water. The plant is actively transpiring and cannot replace lost moisture fast enough with damaged roots. High failure rates result.
How deep should I plant the divisions?
Plant divisions at the same depth they were growing originally. The rhizome should sit just below the soil surface, barely covered. Planting too deep prevents buds from emerging.
How long until divided wild ginger fills in as a groundcover?
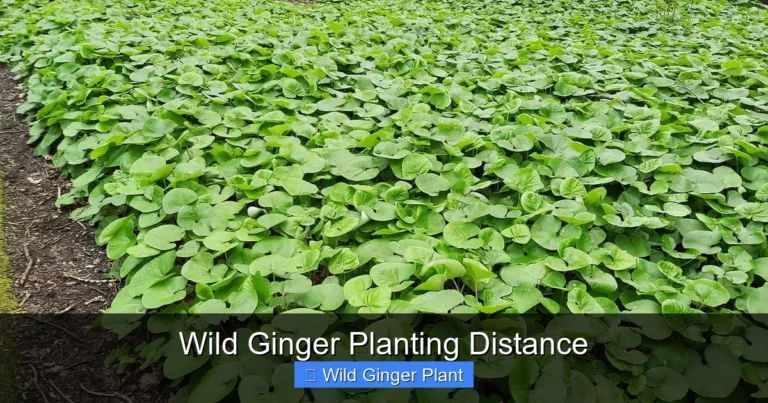
Divisions planted 12 inches apart typically knit together into a solid groundcover within 2 to 3 growing seasons under optimal shade and moisture conditions.
📑 Table of Contents
- Understanding Wild Ginger Growth Habits
- When to Divide Wild Ginger Plants
- Tools and Materials You Will Need
- Step-by-Step Division Process
- Aftercare for Newly Divided Plants
- Common Problems and Solutions
- Propagating Wild Ginger From Seed vs Division
- Using Wild Ginger Divisions in Your Landscape
- Long-Term Care for Established Patches
- Special Considerations for Different Wild Ginger Species
- Troubleshooting Poor Establishment
- Creating a Wild Ginger Nursery Bed
- Wild Ginger Division Calendar by Region
- Sharing and Swapping Divisions
- Conclusion
Understanding Wild Ginger Growth Habits
Before you dig, it helps to understand how this plant grows. Wild ginger (Asarum canadense) is a native woodland perennial. It spreads by underground rhizomes. These thick, fleshy stems grow horizontally just below the soil surface. Each rhizome segment can produce new roots and shoots.
Rhizome Structure and Spread
The rhizomes form a dense mat over time. New growth appears at the tips. Older sections in the center eventually become woody and less productive. This is why the middle of an old clump often looks bare. The plant is essentially moving outward, leaving the center behind.
Each rhizome has nodes spaced along its length. These nodes are where roots and shoots emerge. When you divide, you are essentially cutting the rhizome into sections. Each section needs at least one viable node with a bud. That bud will become the new plant’s growing point.
Seasonal Growth Cycle
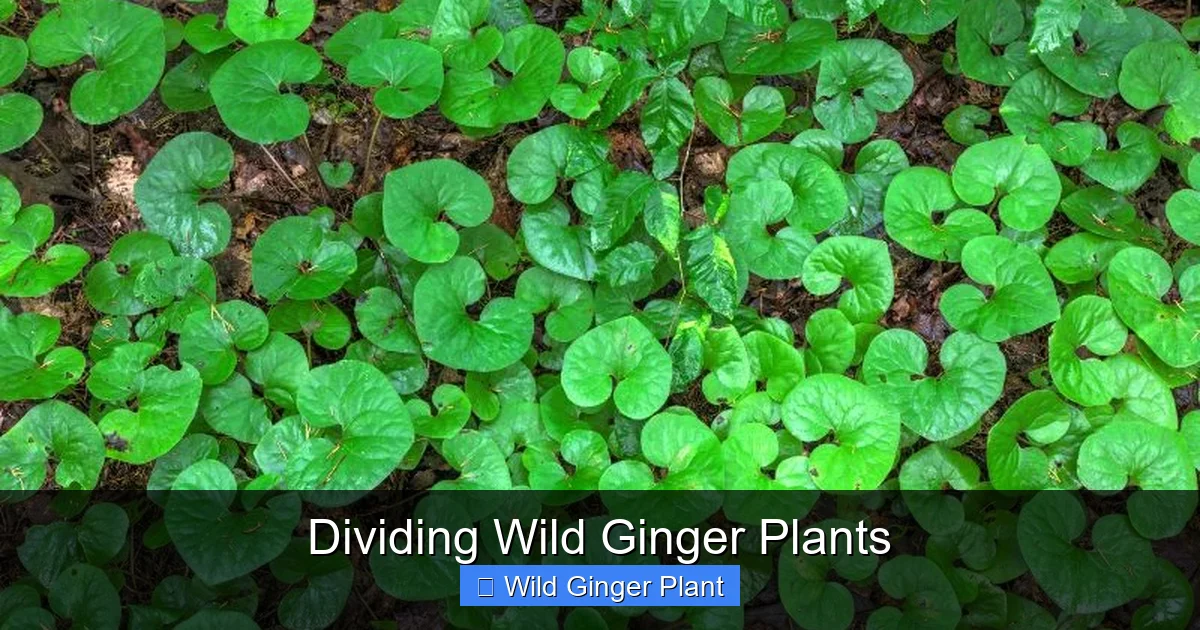
Wild ginger emerges early in spring. The distinctive heart-shaped leaves unfurl from the ground. Flowers appear soon after, though they are often hidden beneath the foliage. The plant grows actively through spring and early summer. By mid-summer, growth slows. The plant stores energy in its rhizomes for next year.
In fall, the leaves may persist or die back depending on your climate. The rhizomes remain alive underground all winter. This cycle matters because it tells you when the plant is least stressed by division. You want to work with its natural rhythm, not against it.
When to Divide Wild Ginger Plants
Timing is the single most important factor for success. Divide at the wrong time and you risk losing the divisions. Divide at the right time and the plants barely notice the disturbance.
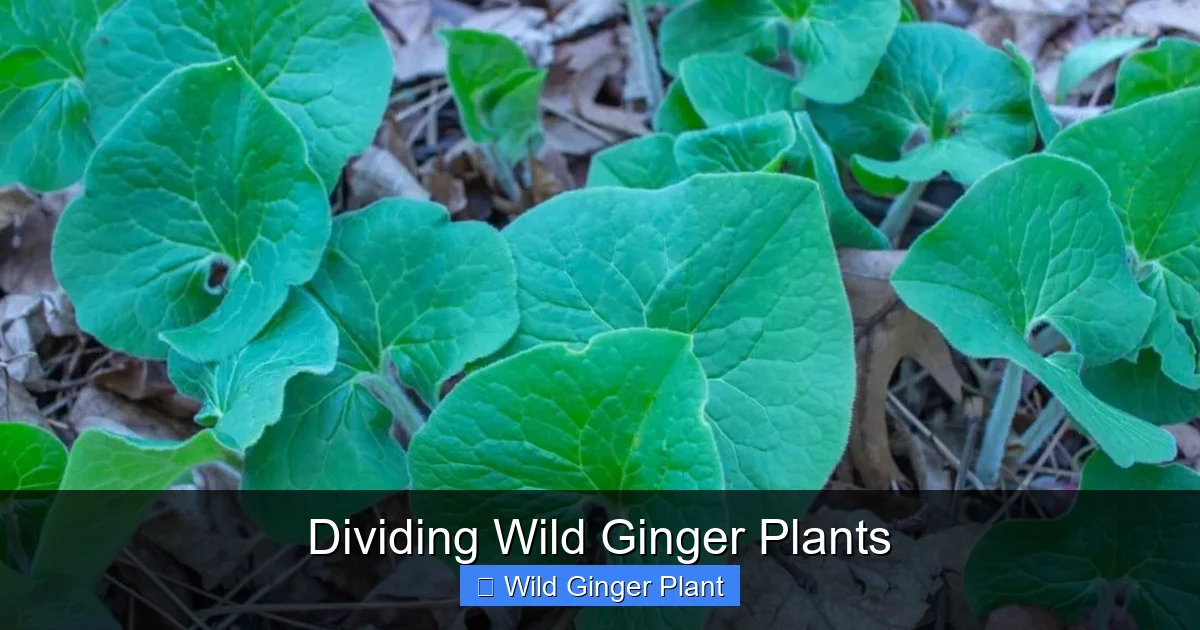
Visual guide about Dividing Wild Ginger Plants
Image source: epicgardening.com
Early Spring Division
Early spring is the gold standard for dividing wild ginger plants. Aim for the window just as the soil thaws but before new leaves fully emerge. In most regions, this is March through April. The plant is still dormant. Energy reserves are high in the rhizomes. Cool temperatures and spring rains reduce transplant shock.
You will see the growing tips swelling at the rhizome ends. These are the buds that will become this year’s leaves. They are easy to spot. This makes it simple to ensure each division has a viable growing point. Spring divisions have the whole growing season to establish before winter.
Early Fall Division
Early fall is the second-best option. Wait until after flowering finishes but while the soil is still warm. September works well in most areas. The plant has finished its active growth for the year. It is shifting energy into root storage. Warm soil encourages quick root regeneration before the ground freezes.
Fall divisions need at least 6 weeks before hard frost to establish roots. Mulch them well for winter protection. They will emerge strong next spring. Avoid dividing in late fall. The divisions won’t have time to root before freezing temperatures arrive.
Times to Avoid
Never divide in summer. The plant is actively growing and transpiring. Hot weather increases water loss through the leaves. Damaged roots cannot keep up. The divisions will wilt and likely die. Winter division is also a mistake. Frozen soil makes digging difficult. The plant cannot heal cuts or grow new roots in cold ground.
Tools and Materials You Will Need
Gather everything before you start. Having the right tools makes the job easier and prevents damage to the plants. You do not need anything fancy. Most gardeners already own these basics.
Essential Digging Tools
A sharp spade is your primary tool. Use it to cut a circle around the clump and lever it out. A garden fork is also valuable. It loosens soil around roots with less damage than a spade. If your soil is heavy clay, a mattock or pickaxe helps break it up. Keep a tarp or wheelbarrow nearby to hold the lifted clump.
Cutting and Cleaning Tools
You need a clean, sharp knife for dividing the rhizomes. A hori-hori knife works beautifully. A sturdy garden knife or old serrated bread knife also works. Disinfect the blade with rubbing alcohol or a 10% bleach solution before you start. This prevents spreading disease between plants.
Have a bucket of water ready. You will rinse soil off the rhizomes to see what you are doing. A soft brush helps remove stubborn clay. Garden gloves protect your hands. Wild ginger rhizomes can be surprisingly tough to pull apart.
Replanting Supplies
Prepare the new planting sites before you divide. Have compost or leaf mold ready to amend the soil. You will need mulch for after planting. Shredded leaves, pine needles, or bark mulch all work well. A watering can or hose with a gentle spray nozzle is essential for watering in the new divisions.
Step-by-Step Division Process
Now for the main event. Follow these steps in order. Take your time. Rushing leads to mistakes.
Step 1: Water the Plant Thoroughly
Water the clump deeply the day before you plan to divide. Moist soil holds together better. It reduces root breakage during digging. The plant will also be fully hydrated, which helps it recover faster. If it has rained recently, you can skip this step.
Step 2: Prepare the New Planting Sites
Do not dig up the parent plant until the new holes are ready. Choose shady spots with rich, moist soil. Dig holes twice as wide as the division’s root ball. Mix compost into the removed soil. This gives the new roots a welcoming environment. Space planting holes 12 to 18 inches apart for a groundcover effect.
Step 3: Lift the Parent Clump
Cut a circle around the clump with your spade. Go 8 to 10 inches deep to get under the rhizome mat. Work the spade underneath and lever the clump up. If it is large, cut it into sections while still in the ground. Lift each section onto your tarp. Try to keep as much soil on the roots as possible.
Step 4: Clean and Inspect the Rhizomes
Gently shake or rinse off excess soil. You need to see the rhizome structure clearly. Look for healthy, firm rhizomes. They should be light tan to brown and feel solid. Discard any that are mushy, black, or smell bad. These are rotted. Also remove any woody, dead sections from the center of the clump.
Step 5: Divide Into Sections
Pull the rhizome mat apart with your hands where it separates naturally. Use your knife to cut through connected sections. Each division should have 3 to 5 rhizome segments. Each segment needs roots and at least one plump growing bud. The bud looks like a small nub or swollen tip. Trim any broken or excessively long roots cleanly.
Step 6: Plant the Divisions Immediately
Do not let the roots dry out. Place each division in its prepared hole. Spread the roots outward and downward. The rhizome should sit just below the soil surface, same depth as before. Backfill with amended soil. Firm gently with your hands to eliminate air pockets. Do not stomp with your feet. That compacts the soil too much.
Step 7: Water and Mulch
Water each division thoroughly. A slow, deep soak settles the soil around the roots. Apply 2 to 3 inches of mulch around but not over the crown. Mulch conserves moisture and suppresses weeds. Keep the mulch pulled back slightly from the growing tips to prevent rot.
Aftercare for Newly Divided Plants
The first 6 weeks are critical. The divisions are rebuilding their root systems. They cannot absorb water efficiently yet. Your job is to keep conditions ideal for root growth.
Watering Schedule
Check soil moisture daily for the first two weeks. The top inch should never dry out completely. Water deeply every 2 to 3 days if no rain falls. After two weeks, reduce to twice weekly. By week 6, weekly watering is usually sufficient. Adjust for your climate and soil type. Sandy soil needs more frequent water. Clay soil holds moisture longer.
Monitoring for Stress
Some leaf wilting in afternoon sun is normal for the first week. The leaves should perk up by morning. If they stay wilted, increase watering. Yellowing leaves can indicate overwatering or poor drainage. Check that the soil is not soggy. New growth emerging from the growing tips is the best sign of success. This usually appears within 2 to 3 weeks in spring.
Fertilizing Guidelines
Do not fertilize at planting time. The fresh compost in the planting hole provides enough nutrients. Fertilizer can burn tender new roots. Wait until the following spring. Then apply a light top-dressing of compost or a balanced organic fertilizer. Wild ginger is not a heavy feeder. Too much nitrogen produces lush leaves but weak rhizomes.
Weed Control
Keep the area around new divisions weed-free. Weeds compete for moisture and nutrients. Hand-pull weeds carefully to avoid disturbing the shallow rhizomes. The mulch layer helps suppress weed seeds. Add more mulch as it breaks down over the season.
Common Problems and Solutions
Even with perfect technique, issues can arise. Here is how to handle the most common ones.
Divisions Fail to Emerge
If spring divisions show no growth by early summer, gently dig around one to check. Firm, plump rhizomes with white roots are alive but slow. Just keep watering. They may emerge next spring. Mushy or hollow rhizomes have rotted. This usually means they were planted too deep or the soil stayed too wet. Improve drainage and try again with new divisions.
Leaf Scorch in Summer
Wild ginger hates direct sun. If your divisions get afternoon sun, the leaves will brown and crisp at the edges. This is not fatal but weakens the plant. Erect a temporary shade cloth if needed. Plan to transplant to a shadier spot in fall. Morning sun is fine. Dappled shade all day is ideal.
Slug and Snail Damage
These pests love the tender new leaves. You will see irregular holes and slime trails. Use organic slug bait with iron phosphate. Beer traps work too. Diatomaceous earth around the plants creates a barrier. Check at night with a flashlight to catch them in action.
Fungal Issues
Poor air circulation and wet leaves encourage fungal spots. Space divisions properly. Water at soil level, not overhead. Remove any badly spotted leaves. A thin layer of compost tea or neem oil can help prevent spread. Good sanitation is the best prevention.
Propagating Wild Ginger From Seed vs Division
Division is not the only way to get more plants. But it is by far the easiest and fastest. Let me compare the two methods so you understand why division wins for most gardeners.
Seed Propagation Challenges
Wild ginger seeds require double dormancy breaking. They need a warm moist period followed by a cold moist period. Then another warm period to germinate. This takes 18 to 24 months. Germination rates are low. Seedlings grow very slowly. They take 3 to 4 years to reach flowering size. Ants disperse the seeds in nature. The seeds have an elaiosome, a fleshy attachment ants eat. This makes collecting seeds tricky.
Why Division Wins
Division gives you mature plants instantly. Each division is a clone of the parent. You know exactly what you are getting. The divisions flower the same year or next. They establish quickly because they already have a root system. You can create dozens of plants from one large clump in a single afternoon. For the home gardener, division is the clear choice.
Using Wild Ginger Divisions in Your Landscape
Now you have a pile of healthy divisions. Where should they go? Wild ginger is one of the best native groundcovers for shade. Here are ideas for putting your new plants to work.
Woodland Garden Groundcover
Plant divisions 12 inches apart in a prepared bed under trees. They will knit together in 2 to 3 years. The dense foliage suppresses weeds beautifully. Pair with other shade natives like foamflower, wild geranium, and ferns. The heart-shaped leaves create a lovely texture contrast with feathery ferns.
Erosion Control on Shady Slopes
The rhizome mat holds soil effectively on gentle slopes. Plant in staggered rows across the slope. Water well until established. The roots bind the soil. The foliage slows rainfall impact. This is a great use for divisions from a large parent patch.
Edging Shady Paths
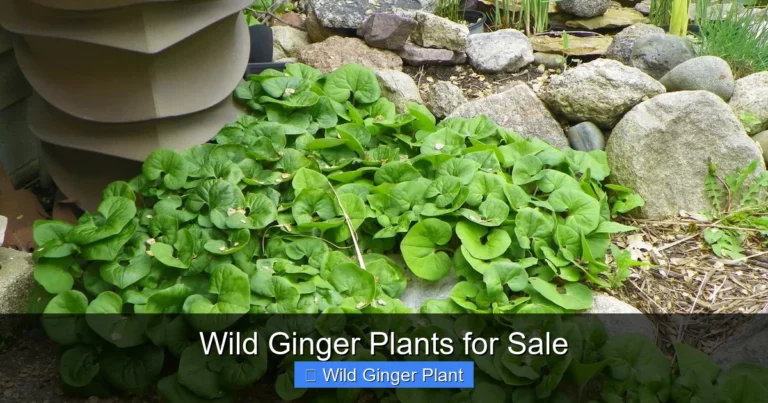
Line a woodland path with single divisions spaced 8 inches apart. They create a soft, green border. The leaves stay low, usually 6 to 8 inches tall. They will not flop onto the path. The hidden flowers are a sweet surprise for observant visitors.
Container Plantings
Wild ginger grows well in wide, shallow pots. Use a rich potting mix with plenty of compost. Keep consistently moist. Place in full shade. Container plants need more frequent watering and winter protection in cold zones. Sink the pot in the ground or move to an unheated garage for winter.
Long-Term Care for Established Patches
Once your divisions are established, they need little care. But a little attention keeps them looking their best for decades.
Annual Mulching
Apply 1 to 2 inches of leaf mold or shredded leaves each fall. This mimics the natural forest floor. It feeds the soil as it breaks down. It protects rhizomes from temperature extremes. It suppresses weeds. Do not use heavy bark mulch. It can prevent the rhizomes from spreading at the surface.
Dividing on a Schedule
Plan to divide every 4 to 5 years. This prevents the center die-out problem. It gives you a steady supply of new plants. It keeps the patch vigorous. Mark your calendar for early spring. The task gets easier each time as you learn the plant’s habits.
Managing Spread
Wild ginger spreads steadily but not aggressively. It will not invade lawns or sunny beds. If it creeps where you don’t want it, simply dig the advancing rhizomes. They are shallow and easy to remove. Install a deep edging if you need a hard boundary. The rhizomes rarely go deeper than 4 inches.
Companion Planting Through the Seasons
Wild ginger shines in spring and summer. In fall, the leaves may yellow. In winter, it disappears in cold climates. Plant spring ephemerals like trillium and bloodroot among the divisions. They bloom before the ginger leaves fully expand. Summer ferns fill the vertical space above the ginger carpet. Fall-blooming shade plants like turtlehead extend the season.
Special Considerations for Different Wild Ginger Species
The advice so far focuses on Asarum canadense, the North American native. Other species have similar needs but some differences worth noting.
European Wild Ginger (Asarum europaeum)
This species has glossier, more leathery leaves. It is evergreen in mild winters. Division timing is the same. It grows slower than the native. Divisions may take longer to fill in. It prefers slightly more alkaline soil. Add a handful of lime to the planting hole if your soil is very acidic.
Asian Species (Asarum splendens, Asarum maximum)
These have showier flowers and striking leaf patterns. They are less cold-hardy. Check your zone before planting. Division works the same way. They benefit from more consistent moisture. Some are prized by collectors and cost more. Division is a great way to multiply a special plant.
Evergreen vs Deciduous Types
Evergreen species keep leaves through winter. Do not cut the leaves back when dividing. They are actively photosynthesizing. Deciduous species lose leaves in fall. You can divide them when fully dormant. Both types follow the same basic division process.
Troubleshooting Poor Establishment
Sometimes divisions struggle despite your best efforts. Here is a diagnostic checklist to identify the problem.
Check Planting Depth
Too deep is the number one killer. The rhizome should be barely covered. If buried more than an inch deep, the buds cannot push through. Carefully dig up and replant shallower. Too shallow exposes rhizomes to drying and freezing. Mulch helps protect slightly shallow plantings.
Evaluate Soil Conditions
Wild ginger needs rich, moisture-retentive soil. Pure sand drains too fast. Heavy clay suffocates roots. Amend both with generous organic matter. The ideal soil feels like a wrung-out sponge. Moist but not soggy. Crumbly, not sticky or gritty.
Assess Light Levels
Full shade is best. Dappled shade works. Morning sun is okay. Afternoon sun causes chronic stress. If the site is too bright, the plant will survive but never thrive. Leaves will be smaller and lighter green. Consider transplanting to a shadier spot in fall.
Review Watering Practices
Inconsistent watering is a common issue. The soil must stay evenly moist. Not wet. Not dry. Mulch heavily. Use soaker hoses or drip irrigation for consistency. Check soil with your finger daily during establishment. The top inch should feel cool and damp.
Creating a Wild Ginger Nursery Bed
If you divide regularly, consider a dedicated nursery bed. This is a prepared area where you grow divisions to a larger size before moving them to permanent spots. It makes the whole process more efficient.
Site Selection and Preparation
Choose a convenient, shady spot near a water source. Prepare the soil deeply with compost. Space divisions 6 inches apart in rows. Label each batch with the date and source. This bed becomes your propagation engine. You always have plants ready for projects or sharing.
Nursery Bed Management
Water and weed faithfully. Apply liquid seaweed or fish emulsion monthly during the growing season. This builds strong rhizomes faster. After one full season, the divisions will be robust. Move them to permanent locations the following spring. Replant the nursery bed with fresh divisions.
Benefits of a Nursery System
You never have to rush planting. The divisions are safe and monitored. You can select the strongest for special spots. You have extras to give away. Friends love receiving native plants. It connects you with other gardeners. And it costs almost nothing once established.
Wild Ginger Division Calendar by Region
Your local climate fine-tunes the timing. Here is a general guide by USDA zone.
Zones 3-4 (Cold Winters)
Spring division only. Wait until soil is workable, usually late April to early May. Fall is too risky. Early frost can kill unestablished divisions. Mulch heavily for winter. Consider a nursery bed for fall divisions to overwinter in a protected spot.
Zones 5-6 (Moderate Winters)
Both spring and fall work well. Spring: April to early May. Fall: September. Spring is slightly safer. Fall divisions need 6 weeks before hard frost. Mulch fall divisions with 4 inches of leaves after ground freezes.
Zones 7-8 (Mild Winters)
Fall is actually better here. Spring heats up fast. Summer drought stresses new divisions. Divide in October to November. The soil stays warm. Roots grow all winter. Spring division works too but requires diligent watering.
Zone 9 (Warm Winters)
Divide in late fall to winter. December to January is ideal. The plant is semi-dormant. Cool temperatures reduce stress. Avoid spring. Heat arrives too quickly. Provide consistent moisture through dry winters.
Sharing and Swapping Divisions
One of the joys of dividing wild ginger plants is sharing the abundance. Native plant societies, garden clubs, and neighbors all appreciate divisions. Here is how to share successfully.
Preparing Divisions for Transport
Dig divisions the morning of the swap. Wrap root balls in damp newspaper. Place in plastic bags with air holes. Keep in a cooler or shaded box. Label clearly with species and date. Include a brief care sheet for new growers.
Ethical Sharing Practices
Only share from your own garden. Never dig from the wild. Wild populations are fragile. Many are protected. Your garden divisions are sustainable. They are also adapted to cultivation. Mention if your original plant came from a nursery or a friend’s garden. Provenance matters to native plant enthusiasts.
Building Community Through Plants
Plant swaps are social events. You learn local growing tips. You discover new species. You make gardening friends. Wild ginger divisions are always popular. They are easy to grow. They support native pollinators. They solve the dry shade problem. Be the person who brings wild ginger. You will be remembered.
Conclusion
Dividing wild ginger plants is a skill that pays dividends for years. You turn one tired clump into a dozen vigorous new plants. You rejuvenate the parent. You fill your shade garden for free. You have plants to share. The process is simple once you understand the rhythm of the plant.
Remember the key points. Time it right. Spring or fall only. Prepare the new homes first. Work gently but confidently. Each division needs roots and a bud. Plant at the same depth. Water religiously for 6 weeks. Mulch well. Then step back and let nature do the rest.
Your first division might feel nerve-wracking. That is normal. But wild ginger is forgiving. It wants to grow. It wants to spread. By dividing, you are simply helping it do what it does best. Next spring, when you see those heart-shaped leaves unfurling in spots where there was bare soil, you will feel a quiet satisfaction. You made that happen. And you can do it again whenever the patch tells you it is ready.
So grab your spade. Wait for the right week. And go make more wild ginger. Your shade garden will thank you. Your fellow gardeners will thank you. And the little native bees that visit those hidden flowers will thank you too.
Frequently Asked Questions
Will dividing wild ginger kill the parent plant?
No, dividing actually rejuvenates the parent plant. Removing the woody center and crowded rhizomes stimulates fresh growth. The remaining sections grow more vigorously with reduced competition for resources.
Can I divide wild ginger that is growing in dry shade?
Yes, but water the parent plant deeply for a week before dividing. The divisions will need consistent moisture to establish. Consider amending the new planting sites heavily with compost to improve water retention.
Do I need to cut back the leaves when dividing in spring?
If leaves have already emerged, leave them intact. They are photosynthesizing and feeding the roots. Only remove leaves that are damaged or diseased. The plant needs all its foliage to recover from division stress.
What is the difference between wild ginger and culinary ginger?
They are completely unrelated plants. Wild ginger (Asarum canadense) is a native woodland perennial with heart-shaped leaves. Culinary ginger (Zingiber officinale) is a tropical plant grown for its edible rhizome. Wild ginger is not edible in large quantities.
Can I divide wild ginger growing in a container?
Yes, container-grown wild ginger benefits from division every 2 to 3 years. Tip the plant out, divide the rhizome mat, and repot sections in fresh potting mix. Water well and keep in full shade until established.
Why are my wild ginger divisions not growing?
Check planting depth first. Rhizomes buried more than an inch deep cannot push buds to the surface. Also verify consistent moisture, adequate shade, and good soil drainage. Some divisions may be dormant and emerge next spring.