How to Choose Best Drip for Parsley for Maximum Yield
Choosing the right drip irrigation system ensures parsley receives steady moisture for high yields. Follow our simple steps to match flow rates, spacing, and timing to your garden size.
Quick Answers to Common Questions
How often should I run the drip for parsley?
Run daily for 20‑30 minutes in the morning; increase to two short cycles in extreme heat.
What emitter flow is best for parsley?
0.5 GPH emitters spaced every six inches work well for most soils.
Can I use drip tape for a small herb bed?
Yes, but inline tubing is easier to manage and less prone to clogging in small spaces.
Do I need a pressure regulator?
Yes, a 20‑30 psi regulator protects emitters and ensures even flow.
How do I winterize my drip system?
Drain all water, blow out lines with compressed air, and store timers indoors.
Introduction
Welcome to our complete guide on how to choose the best drip for parsley. In this article you will learn why parsley needs steady moisture, what types of drip systems work best, how to size emitters, and how to set a schedule that maximizes yield. By the end you will feel confident picking and installing a system that fits your garden size and budget.
Parsley is a leafy herb that grows quickly when the soil stays evenly moist. Too much water leads to root rot, while too little causes bitter leaves and slow growth. A well‑designed drip irrigation system delivers water directly to the root zone, reducing waste and keeping foliage dry. This guide walks you through every decision point so you can select the best drip for parsley for your specific conditions.
Step 1: Understand Parsley Water Needs
Why Consistent Moisture Matters
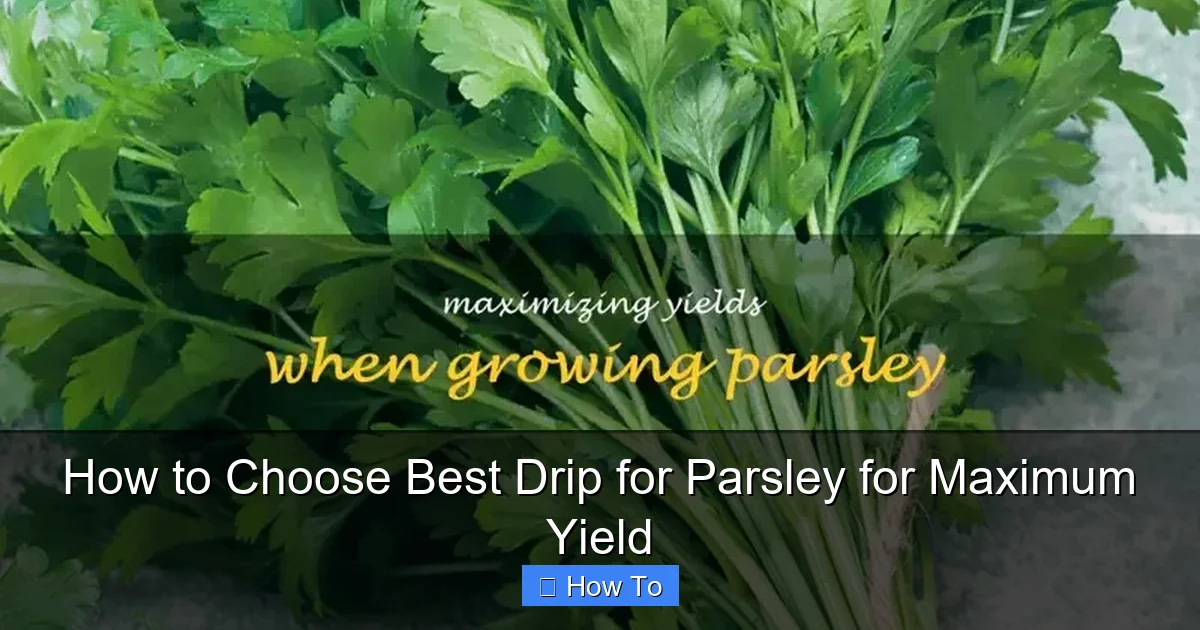
Parsley roots stay close to the surface, so they dry out fast. Consistent moisture keeps the plant producing tender leaves throughout the season. When the soil fluctuates between wet and dry, the herb stresses and may bolt early. A drip system that applies a small amount of water frequently mimics natural rainfall and supports steady growth.
Visual guide about How to Choose Best Drip for Parsley for Maximum Yield
Image source: shuncy.com
Research shows that parsley grown with uniform moisture produces up to 30 percent more foliage than plants subjected to wet‑dry cycles. The key is to keep the top two inches of soil damp but not soggy. This balance encourages strong root development and continuous leaf production.
Signs of Underwatering and Overwatering
Watch for wilted leaves in the morning; that often means the soil is too dry. Yellowing lower leaves can indicate waterlogged roots. If you see mold on the soil surface, cut back on run time. Adjusting the schedule based on these visual cues helps you fine‑tune the best drip for parsley setup.
Another clue is leaf texture. Crisp, bright green leaves signal adequate water. Soft, limp leaves suggest either extreme. Use a simple finger test: press your finger one inch into the soil. If it feels dry, increase run time; if it feels soggy, decrease it.
Step 2: Choose the Best Drip for Parsley System Type
Inline Drip Tubing
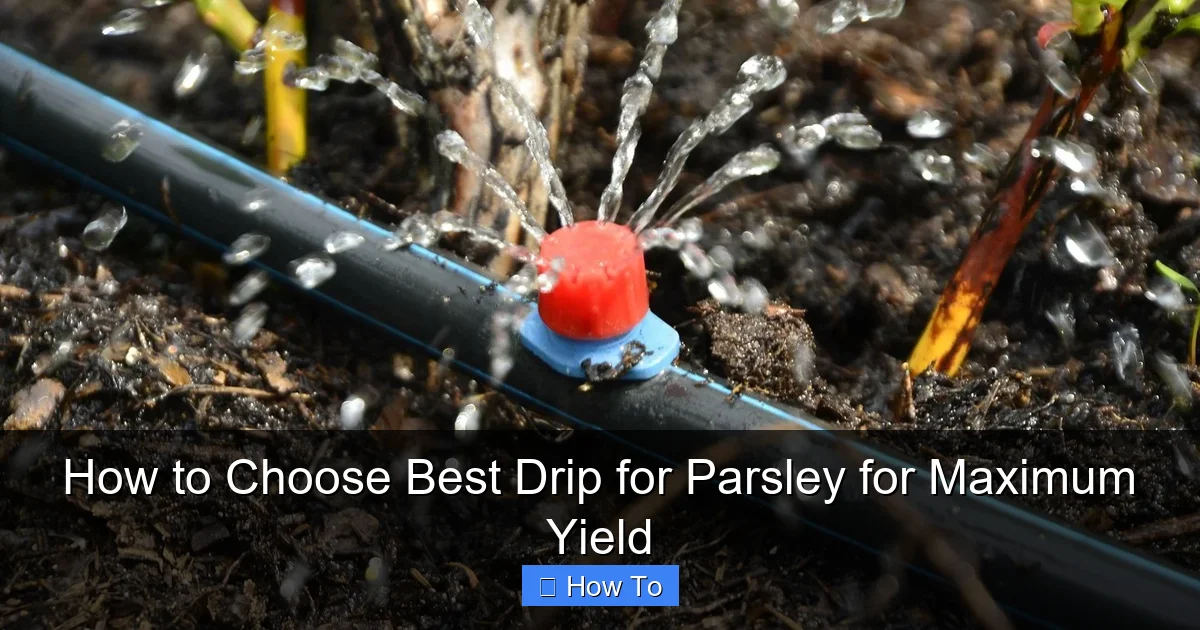
Inline drip tubing has emitters built into the pipe at fixed intervals. It works well for raised beds and long rows. The tubing is durable, easy to lay out, and you can cut it to length. For parsley spaced six inches apart, choose tubing with emitters every six inches to match plant spacing.
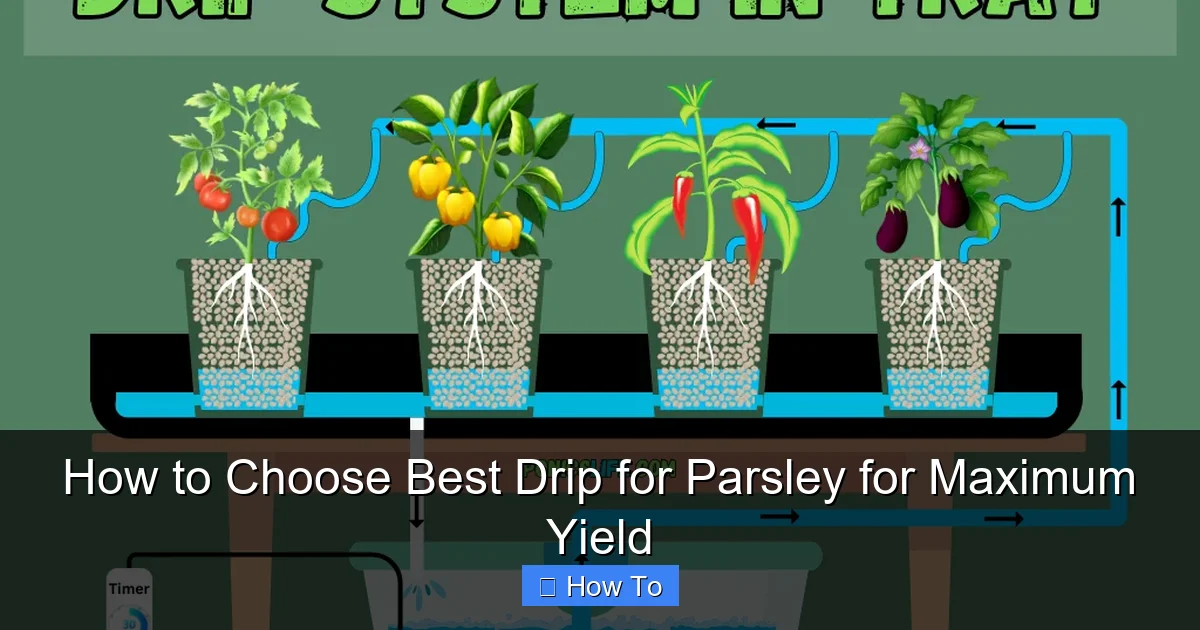
Visual guide about How to Choose Best Drip for Parsley for Maximum Yield
Image source: ponicslife.com
Because the emitters are factory‑installed, you get uniform flow without extra parts. This makes inline tubing a top contender for the best drip for parsley in home gardens and small market plots.
Drip Tape
Drip tape is a thin, flat tube with tiny holes. It is inexpensive and ideal for large field plantings. However, tape can clog more easily if water contains sediment. Use a good filter and flush the tape regularly. For a small herb garden, tape may be overkill, but it still qualifies as a viable best drip for parsley option.
When using tape, lay it on the soil surface and cover lightly with mulch. This protects the tape from UV damage and reduces evaporation. Tape works well for row crops where you need a low‑cost solution.
Micro Sprinklers
Micro sprinklers spray a fine mist over a small radius. They are useful when you want to wet a broader area, such as a mixed herb bed. They use more water than true drip emitters, so they are less efficient for parsley alone. Consider them only if you grow parsley alongside other crops that benefit from overhead moisture.
Micro sprinklers can be mounted on short stakes. They provide a gentle shower that also cools the canopy on hot days. However, they increase leaf wetness, which can promote fungal diseases if not managed.
Comparing System Types for Small vs Large Gardens
For a backyard plot under 200 square feet, inline tubing offers the best balance of cost, ease, and precision. For a half‑acre market garden, drip tape reduces material expense while still delivering the water parsley needs. Micro sprinklers fit niche situations where you want a light mist for multiple species.
Evaluate your layout, budget, and labor before deciding. Sketch your beds on paper, mark plant spacing, and then match the system type to the drawing. This visual step prevents costly re‑work later.
Step 3: Calculate Flow Rate and Spacing
Determine Emitter Flow
Most parsley growers use emitters rated at 0.5 to 1 gallon per hour. A 0.5 GPH emitter runs for about 30 minutes to deliver roughly a quarter inch of water to a six‑inch spacing. Check your soil type; sandy soil needs a higher flow or longer run time, while clay holds water longer.
To calculate total system flow, multiply the number of emitters by the emitter flow rate. For example, 100 emitters at 0.5 GPH equal 50 GPH total. Ensure your water source and pump can supply that volume at the required pressure.
Spacing for Parsley Rows
Space emitters to match plant spacing. If you plant parsley every six inches, place an emitter at each plant. For wider spacing, you can use a 12‑inch emitter interval and let the water spread laterally. Proper spacing ensures each plant receives the same amount of water, which is critical for a uniform best drip for parsley installation.
When using inline tubing, the emitter spacing is fixed. Choose a tubing product that matches your row spacing. If you need custom spacing, consider blank tubing with punch‑in emitters that you can place exactly where you want.
Adjusting Flow for Soil Texture
Sandy soils drain quickly, so increase run time or use a higher flow emitter. Clay soils retain water, so shorten run time to avoid waterlogging. Loam sits in the middle and usually works well with standard 0.5 GPH emitters on a 20‑minute daily cycle.
A simple percolation test helps: dig a 12‑inch hole, fill with water, and time how long it takes to drain. Fast drainage (under 30 minutes) indicates sandy soil; slow drainage (over 2 hours) indicates clay. Adjust your schedule accordingly.
Step 4: Select Quality Components
Filter and Pressure Regulator
A screen filter with a 150‑mesh rating stops sand and debris from clogging emitters. Pair it with a pressure regulator set to 20‑30 psi for most drip tubing. Stable pressure prevents emitter blow‑outs and keeps flow consistent across the whole line.
Install the filter upstream of the regulator. Clean the filter cartridge monthly during the growing season. A clogged filter reduces pressure and leads to uneven watering.
Timer and Controller
An automatic timer lets you set start times, run durations, and days of the week. Smart controllers can adjust based on weather data, saving water during rain. Choose a timer with multiple programs so you can run a short daily cycle for parsley and a separate schedule for other beds.
Battery‑operated timers work well for small systems. For larger setups, a wired controller with a rain sensor adds reliability. Program the timer to start early morning, around 5‑6 AM, when evaporation is lowest.
Backflow Preventer and Check Valve
A backflow preventer protects your potable water supply from contamination. Many municipalities require it for irrigation systems. A check valve on each lateral line stops water from draining out when the system shuts off, keeping emitters primed.
Install the backflow device at the connection to the main water line. Check local codes for the specific type required. The check valve is inexpensive and saves water by preventing line drainage.
Step 5: Install the System
Lay Out the Main Line
Run the main supply line from the water source to the garden edge. Secure it with stakes every three feet to prevent movement. Keep the line slightly sloped toward the end so air can escape during startup.
Use polyethylene tubing for the main line because it handles pressure well and resists UV damage. Bury the line a few inches deep if you want a tidy appearance, but leave access points for future repairs.
Attach Emitters
If you use inline tubing, the emitters are already in place. For drip tape, connect the tape to the main line with barbed fittings. For micro sprinklers, screw the sprinkler heads onto the lateral lines. Double‑check that each emitter aligns with a parsley plant.
When punching in emitters, use a dedicated punch tool to avoid damaging the tubing. Space the emitters according to your planting plan. A misaligned emitter wastes water and leaves a plant dry.
Test and Adjust
Turn on the water and watch each emitter. Look for even flow, no leaks, and proper coverage. If an emitter drips too fast, clean or replace it. If pressure is low at the far end, consider a larger main line or a booster pump. This testing phase locks in the performance of your best drip for parsley system.
Run the system for a full cycle and measure the water depth in a few catch cans placed under emitters. Aim for a quarter inch per cycle. Adjust run time until all cans show the same depth.
Securing Tubing and Preventing Damage
Use landscape staples every 12‑18 inches to hold tubing in place. Avoid sharp bends that kink the line. Cover exposed tubing with mulch to protect from sun and foot traffic. In high‑traffic areas, run tubing inside a protective conduit.
Label each zone with a waterproof tag. This makes future troubleshooting faster, especially if you expand the system later.
Step 6: Schedule Irrigation for Maximum Yield
Frequency and Duration
Start with a daily run of 20‑30 minutes early in the morning. Morning watering reduces evaporation and lets foliage dry before night, lowering disease risk. In hot summer weeks, increase to two short cycles per day, each 15 minutes, to keep the root zone moist without waterlogging.
Monitor soil moisture with a probe or by feel. If the top inch stays damp, you can skip a cycle. Consistency is more important than volume; parsley prefers frequent light drinks.
Seasonal Adjustments
During cooler spring and fall, cut run time by half. In winter, if you grow parsley under cover, run the system only when the soil feels dry an inch below the surface. A smart controller can automate these changes based on temperature and rainfall data.
Keep a simple log of run times and weather. Over a season you’ll see patterns that let you fine‑tune the schedule without guesswork.
Using Soil Moisture Sensors
Soil moisture sensors give real‑time data and can trigger the timer only when needed. Place a sensor at root depth in a representative spot. Set the threshold to start irrigation when volumetric water content drops below 20 percent.
Sensors reduce water use by up to 40 percent compared to fixed schedules. They also prevent overwatering during unexpected rain events.
Advanced Tips for Maximizing Yield
Fertigation Through Drip
Inject a balanced liquid fertilizer into the drip line once every two weeks. Use a fertilizer injector calibrated to deliver 100‑150 ppm nitrogen. This feeds parsley directly at the roots, boosting leaf size and flavor.
Flush the system with clean water after each fertigation event to avoid salt buildup in emitters.
Mulching to Reduce Evaporation
Apply a two‑inch layer of straw, shredded leaves, or black plastic mulch around parsley plants. Mulch cuts evaporation by up to 50 percent and keeps soil temperature stable. It also suppresses weeds that compete for water.
Replenish mulch as it breaks down. Organic mulch adds nutrients back to the soil over time.
Companion Planting Considerations
Plant parsley near tomatoes, peppers, or carrots. These companions share similar water needs and can share the same drip zone. Avoid planting near heavy feeders like corn that demand more water.
Grouping plants with matching irrigation requirements simplifies scheduling and improves overall garden health.
Maintenance Schedule
Weekly Checks
Walk the lines each week. Look for wet spots, dry patches, or damaged tubing. Tighten any loose fittings. Clean the filter screen if flow seems reduced.
Record observations in a notebook. Early detection prevents small issues from becoming crop‑loss events.
Monthly Flushing
Open the end caps and run water at high pressure for one minute to flush sediment. Soak emitters in a vinegar solution if mineral deposits appear. This keeps the best drip for parsley system running at design flow.
Inspect the pressure regulator gauge. If pressure drifts, adjust or replace the regulator.
Seasonal Winterizing
Before frost, drain all water from the system. Use compressed air to blow out remaining moisture. Store timers and controllers indoors. Disconnect and coil tubing to avoid cracking.
In mild climates, you can leave the system in place but run a short cycle every two weeks to keep seals pliable.
Common Mistakes to Avoid
- Overwatering: Running the system too long causes root rot and nutrient leaching.
- Undersizing Emitters: Too little flow leaves plants stressed, especially in sandy soil.
- Skipping Filtration: Unfiltered water clogs emitters fast, leading to uneven watering.
- Ignoring Pressure: High pressure blows emitters; low pressure starves the far end.
- Neglecting Timer Settings: Fixed schedules waste water during rain and under‑water during heat waves.
Cost Considerations
A basic inline tubing kit for a 4‑by‑8‑foot bed costs around $30‑$50. Drip tape for a 100‑foot row runs $15‑$25. Micro sprinkler kits start at $40. Add a filter, regulator, and timer for another $40‑$80. Total investment for a small garden is typically under $150.
Commercial growers benefit from bulk pricing. A half‑acre system with tape, tape‑based layout may cost $1,200‑$2,000 including automation. The return on investment appears within one season through higher yields and water savings.
Environmental Benefits
Drip irrigation uses 30‑50 percent less water than overhead sprinklers. It reduces runoff, keeping fertilizers out of streams. Lower water use also cuts energy consumption for pumping. By choosing the best drip for parsley, you contribute to sustainable gardening practices.
Many municipalities offer rebates for installing drip systems. Check local programs to offset upfront costs.
Conclusion
Choosing the best drip for parsley is a straightforward process when you break it down into clear steps. Understand the herb’s moisture needs, pick a system type that fits your garden layout, size emitters correctly, use quality filters and timers, install carefully, and schedule watering to match the season. With a little planning and regular checks, your parsley will produce abundant, flavorful leaves all season long. Happy gardening!
Remember to revisit your system each year. As your garden evolves, adjust emitter spacing, flow rates, and schedules to keep pace. A well‑maintained drip system is an investment that pays dividends in healthy herbs and conserved resources.