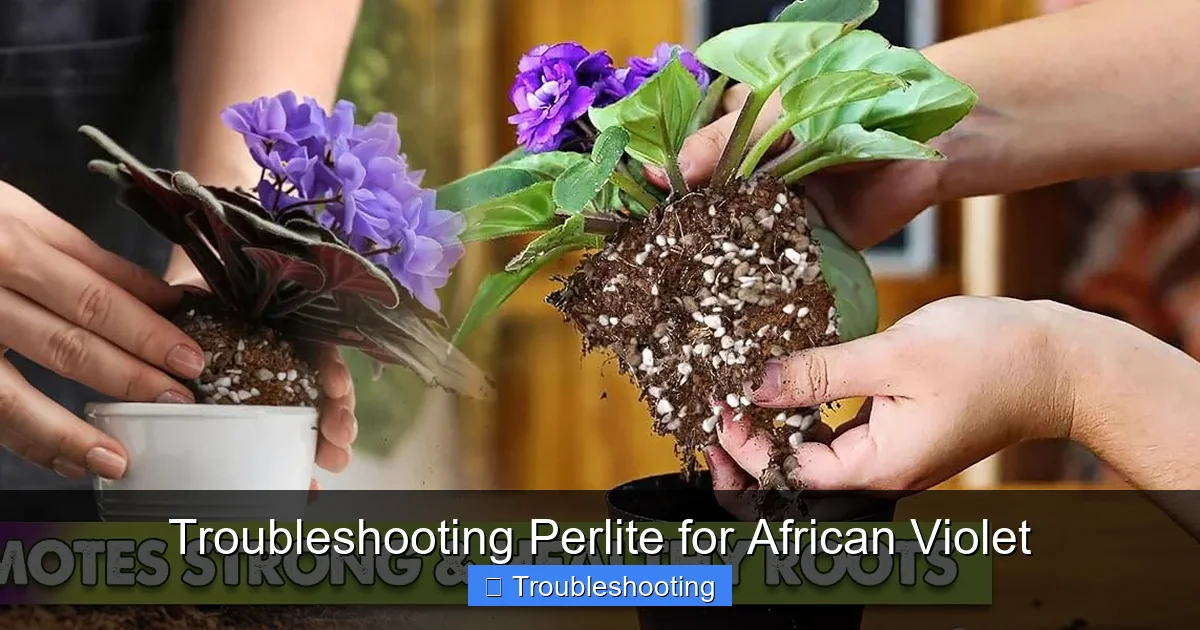
Troubleshooting Perlite for African Violet
Perlite is a key ingredient in African violet soil mixes, but the wrong amount or condition can cause drainage problems, root rot, or stunted growth. This guide walks you through the most common perlite problems, shows how to test your mix, and gives step‑by‑step fixes so your violets stay healthy and bloom beautifully.
Key Takeaways
- Balance is everything: Aim for a 1:1:1 ratio of peat, perlite, and vermiculite for optimal aeration and moisture retention.
- Rinse before use: Washing perlite removes fine dust that can clog pores and raise pH.
- Watch for compaction: Over time perlite can settle; gently fluff the mix each repotting.
- Monitor moisture: Use a moisture meter or finger test; perlite should keep the mix light, not soggy.
- Adjust pH if needed: Perlite is neutral, but dust can make the mix slightly alkaline; add a pinch of sulfur if pH climbs above 6.5.
- Repot annually: Fresh mix prevents buildup of salts and keeps perlite performing well.
- Know when to ask for help: Persistent yellowing, mushy roots, or no blooms after fixes may need a specialist.
Quick Answers to Common Questions
What is the ideal perlite ratio for African violets?
A 1:1:1 mix of peat, perlite, and vermiculite works well for most growers.
Why should I rinse perlite before using it?
Rinsing removes fine dust that can clog pores and raise the pH of the mix.
How can I tell if my mix has too much perlite?
The pot feels very light after watering and the soil dries out within a day.
Can I reuse old perlite from a previous pot?
Yes, if you rinse it thoroughly and mix it with fresh peat and vermiculite.
What pH range do African violets prefer?
They thrive between 6.0 and 6.5; test after any major mix change.
📑 Table of Contents
Why Perlite Matters for African Violets
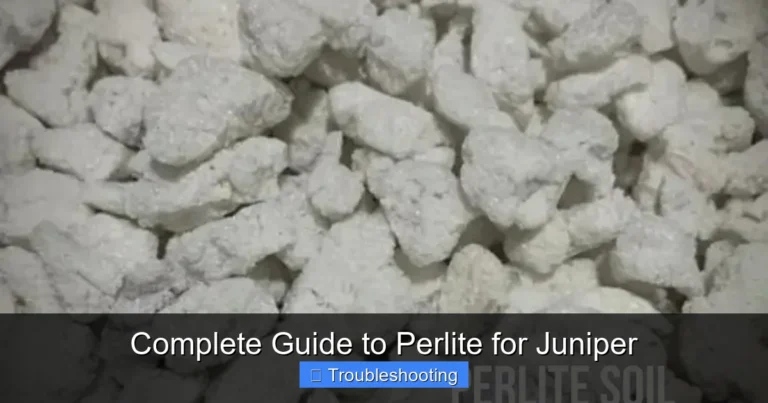
African violets love a light, airy root zone. Perlite provides that air space. It is a volcanic glass that expands when heated, creating tiny white beads. Those beads hold water on their surface but let excess drain away. When the mix is right, roots get oxygen and moisture in equal measure. That balance leads to strong leaves and frequent blooms.
If the perlite portion is off, the plant feels it fast. Too much perlite and the mix dries out too quickly. Too little and water sits around the roots, inviting rot. Dust from cheap perlite can also raise the pH, making nutrients less available. Understanding these basics is the first step in troubleshooting perlite for African violet problems.
Common Perlite Problems
Too Much Perlite
A mix that looks like a bowl of styrofoam beads will drain in seconds. The plant wilts between waterings because the soil cannot hold enough moisture. Leaves may curl inward, and flower buds drop before opening. You will notice the pot feels very light after watering.
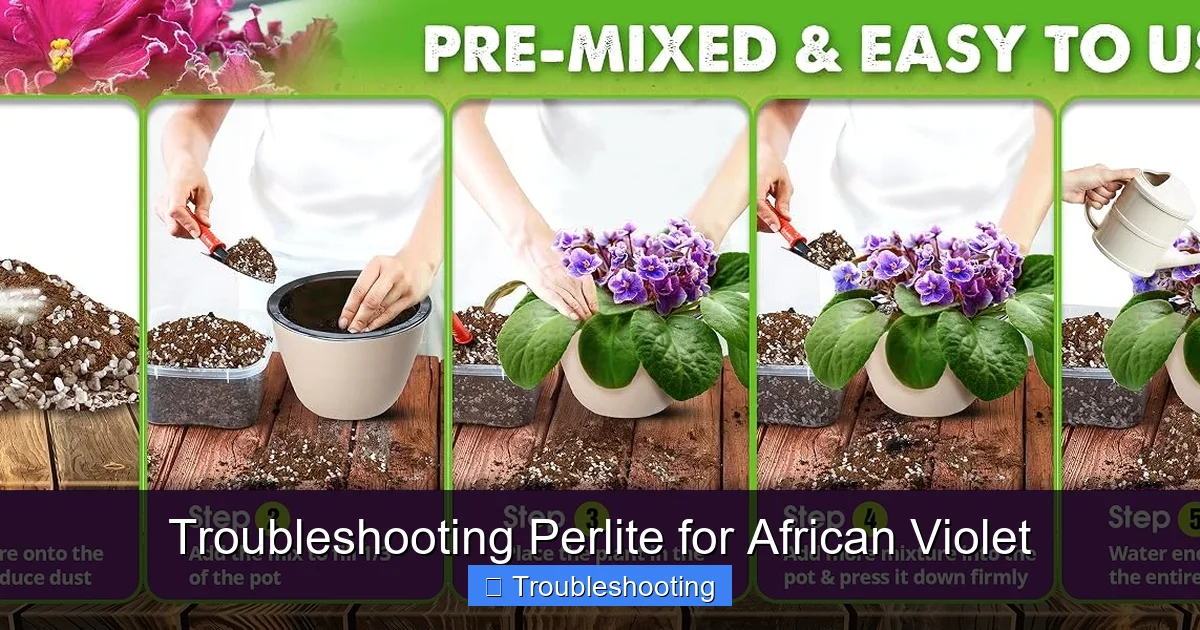
Visual guide about Troubleshooting Perlite for African Violet
Image source: m.media-amazon.com
Too Little Perlite
When perlite is scarce, the mix behaves like a sponge. Water pools at the bottom, and the top stays wet for days. Roots suffocate, turn brown, and emit a sour smell. Yellowing lower leaves are a classic sign. The pot feels heavy and cold to the touch.
Perlite Dust
Cheap or bulk perlite often ships with a fine powder coating. That dust fills the tiny pores between beads, reducing aeration. It can also raise the pH slightly because the dust is more alkaline than the beads themselves. Plants may show nutrient lockout symptoms like pale new growth.
Perlite Compaction
Over months, the beads settle and pack together. The once‑fluffy mix becomes dense. Water runs straight through the center, leaving the outer root ball dry. You might see a hard crust on the surface. Gentle fluffing each repot prevents this.
pH Imbalance
Perlite itself is pH neutral, but dust and mineral residues can shift the mix toward alkaline. African violets prefer a slightly acidic range of 6.0 to 6.5. If the pH climbs, iron and manganese become unavailable, causing interveinal chlorosis on new leaves.
How to Test Your Mix
Visual Inspection
Spread a handful of the mix on a white sheet. Count the white beads versus dark peat. A balanced mix shows roughly equal volumes. If you see a sea of white, you have too much perlite. If the mix looks dark and heavy, perlite is lacking.
Water Drainage Test
Fill a clear cup with the mix, saturate it, then tip it over a sink. Time how long water takes to stop dripping. Ideal drainage finishes in 10 to 15 seconds. Faster means excess perlite; slower means not enough.
Moisture Meter Check
Insert a probe 2 inches deep after watering. Read the meter after 30 minutes. A reading of 3 to 4 (on a 1‑10 scale) indicates good moisture retention. Consistently high readings point to poor drainage.
pH Test
Take a small sample, mix with distilled water 1:1, let settle, then dip a pH strip or meter. Target 6.0‑6.5. If higher, consider adding a pinch of elemental sulfur or using an acidic fertilizer.
Fixing Perlite Issues Step by Step
Adjusting Ratios
Start with a baseline recipe: one part peat moss, one part perlite, one part vermiculite. If your drainage test was too fast, reduce perlite to ¾ part and increase peat to 1¼ parts. If drainage was slow, add an extra ¼ part perlite. Mix thoroughly in a clean container before repotting.
Rinsing Perlite
Place the needed amount of perlite in a fine mesh sieve. Run lukewarm water through it for 30 seconds, stirring gently. The water will turn cloudy at first, then run clear. Spread the rinsed beads on a tray to air‑dry for a few hours. This removes dust and any residual salts.
Adding Organic Matter
If the mix feels too gritty after rinsing, blend in a handful of well‑composted leaf mold or coconut coir. These materials improve water holding without sacrificing aeration. Keep the total organic addition under 10 % of the total volume to avoid compaction.
Monitoring Moisture
After repotting, water until it runs out the drainage holes. Wait 20 minutes, then check the weight of the pot. A light pot means the mix dried too fast; a heavy pot means it’s holding too much. Adjust watering frequency accordingly. A simple rule: water when the top ½ inch feels dry to the touch.
Fluffing and Re‑Aerating
Every time you repot (usually once a year), gently break up the root ball with your fingers. Shake the old mix loose, then combine it with fresh perlite and peat. This restores pore space and prevents the beads from locking together.
Preventive Care and Long‑Term Tips
Use Quality Perlite
Buy horticultural‑grade perlite from reputable garden centers. Avoid construction‑grade perlite, which contains larger particles and more dust. Quality beads are uniform, bright white, and free of foreign debris.
Store Properly
Keep perlite in a sealed container in a dry place. Moisture can cause the beads to clump, making them harder to rinse and mix later.
Rotate Pots
Turn your violet pots a quarter turn each week. This encourages even root growth and prevents one side of the mix from compacting faster than the other.
Fertilize Wisely
Use a balanced, water‑soluble fertilizer at half strength every two weeks. Over‑fertilizing builds salts that can bind to perlite surfaces, reducing its effectiveness.
Track Your Mix
Keep a small notebook. Record the date, ratio used, watering schedule, and any symptoms. Over time you’ll see patterns and can fine‑tune the mix for your specific environment.
When to Seek Expert Help
If you have adjusted the perlite ratio, rinsed the beads, and monitored moisture for several weeks but the plant still shows chronic yellowing, mushy roots, or refuses to bloom, it may be time to consult a local African violet society or a horticultural extension service. They can test for hidden issues like fungal pathogens, nematodes, or nutrient imbalances that perlite alone cannot fix.
Remember, troubleshooting perlite for African violet is a process of observation, small adjustments, and patience. With the right mix and a little care, your violets will reward you with lush foliage and continuous flowers.
Frequently Asked Questions
How often should I repot my African violet to refresh the perlite mix?
Repot once a year, preferably in spring, to replace compacted perlite and renew nutrients.
Is construction‑grade perlite safe for African violets?
No, it contains larger particles and more dust; always use horticultural‑grade perlite.
What happens if perlite dust raises the pH above 6.5?
Nutrients like iron become unavailable, causing yellowing between leaf veins.
Can I add sand instead of perlite for drainage?
Sand compacts over time and reduces aeration; perlite is preferred for its stable structure.
How do I fluff compacted perlite without damaging roots?
Gently loosen the root ball with fingers, shake out old mix, and blend in fresh perlite.
What fertilizer works best with a perlite‑rich mix?
A balanced, water‑soluble fertilizer at half strength applied every two weeks is ideal.