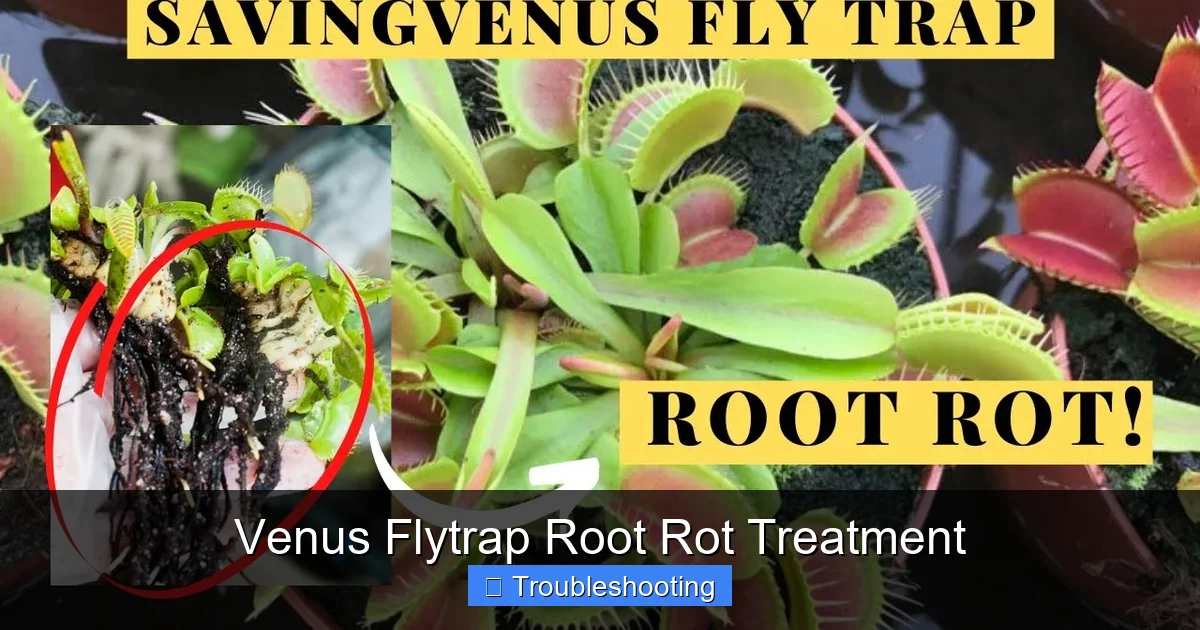
Venus Flytrap Root Rot Treatment
Venus flytrap root rot is a deadly fungal disease caused by overwatering, poor drainage, or contaminated soil. Early detection and immediate action — removing infected roots, repotting in fresh medium, and adjusting care — can save your plant. Prevention through proper watering, well-draining soil, and good airflow is the best long-term strategy.
You walk over to your windowsill, expecting to see those iconic green traps waiting for an unsuspecting fly. Instead, you notice something wrong. The leaves look pale. Some are turning yellow. A few traps are blackening before they even open. You touch the soil — it feels swampy, sour, wrong. Your stomach drops. You have seen this before. Or maybe you haven’t, but you know the name: root rot.
Root rot is the silent killer of venus flytraps. It does not announce itself with fanfare. It creeps in slowly, hidden beneath the soil, destroying the very foundation of your plant. By the time the leaves show symptoms, the damage is often extensive. But here is the good news — if you catch it early and act fast, you can save your flytrap. This guide walks you through everything you need to know about venus flytrap root rot treatment, from spotting the first warning signs to nursing your plant back to health and keeping it safe for years to come.
Key Takeaways
- Root rot is caused by excess moisture: Overwatering, poor drainage, and wrong soil mixes create the perfect environment for fungal pathogens to attack roots.
- Early signs include black, mushy roots and yellowing leaves: Healthy roots are white and firm; infected roots turn brown or black and feel soft or slimy.
- Immediate treatment requires surgery: Remove the plant, wash roots, trim all infected tissue with sterile tools, and treat with fungicide or cinnamon.
- Repot in fresh, sterile medium: Use a 1:1 mix of peat moss and perlite or sand — never regular potting soil, compost, or fertilizer.
- Adjust watering habits after treatment: Use the tray method with distilled water, keep soil damp not soggy, and reduce frequency during dormancy.
- Prevention is easier than cure: Provide bright light, good airflow, proper soil, and pure water to keep roots healthy long-term.
- Dormancy increases rot risk: Reduce watering significantly in winter when growth stops, as the plant cannot use excess moisture.
Quick Answers to Common Questions
Can a venus flytrap recover from root rot?
Yes, if caught early and treated properly. Remove all infected roots, repot in fresh sterile soil, and provide high humidity with reduced watering during recovery. Plants with some healthy roots and a firm rhizome have a good chance.
What does root rot look like on a venus flytrap?
Infected roots are black, brown, mushy, or slimy and pull away easily. Healthy roots are white, firm, and crisp. Above ground, look for yellowing leaves, stunted traps, wilting despite wet soil, and a sour smell from the pot.
Should I use hydrogen peroxide for venus flytrap root rot?
No. Hydrogen peroxide can damage delicate root tissue and kill beneficial microbes. Use cinnamon powder on cut surfaces instead — it is a natural antifungal that is safe for carnivorous plants.
How often should I water a venus flytrap after root rot treatment?
Keep the soil evenly damp but not soggy. Use the tray method: add 1/2 inch of distilled water, let it absorb, wait until the tray is dry for 1-2 days before refilling. Reduce frequency significantly during winter dormancy.
Can I save a venus flytrap with no roots left?
Possibly. If the rhizome is firm and white, place it on moist sphagnum moss in a sealed container with high humidity and bright indirect light. Roots may regenerate in 2-3 months. Success rate is lower but worth attempting.
📑 Table of Contents
Understanding Venus Flytrap Root Rot
What Is Root Rot?
Root rot is a disease caused by fungal pathogens that thrive in wet, oxygen-poor conditions. The most common culprits are Pythium, Phytophthora, and Rhizoctonia species. These organisms are present in almost all environments. They wait for the right conditions — saturated soil, low airflow, stressed plants — then attack.
In a venus flytrap, roots serve a critical but limited role. They anchor the plant and absorb water. They do not absorb nutrients — that is what the traps are for. This means the root system is relatively small and delicate. It has little reserve energy to fight off infection. Once rot takes hold, it spreads fast.
Why Venus Flytraps Are Especially Vulnerable
Venus flytraps evolved in the nutrient-poor, sandy bogs of the Carolinas. Their natural habitat is wet but extremely well-drained. Water moves through the sand quickly. Roots get moisture and oxygen both. In cultivation, we often get this balance wrong.
Many growers use pure peat moss, which holds water like a sponge. Others keep the water tray too full, too often. Some use pots without drainage holes. Some use tap water loaded with minerals that damage roots and invite pathogens. All of these mistakes create the perfect storm for root rot.
Identifying Root Rot: Symptoms and Signs
Above-Ground Warning Signs
The first clues appear in the foliage. Watch for these changes:
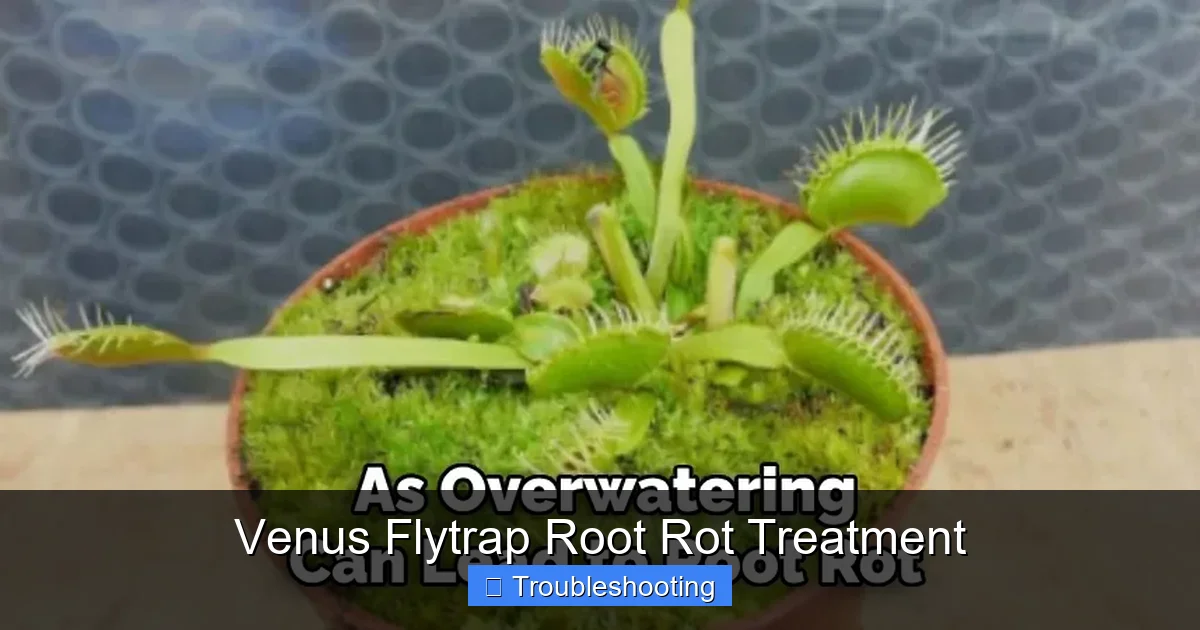
Visual guide about Venus Flytrap Root Rot Treatment
Image source: thegardenfixes.com
- Yellowing leaves: Older leaves naturally die off, but widespread yellowing — especially on new growth — signals trouble.
- Stunted or deformed traps: New traps that are small, misshapen, or fail to open often indicate root stress.
- Blackening from the base: If leaves turn black starting at the rhizome (the white bulb-like stem), rot has likely spread upward.
- Wilting despite wet soil: This is the classic paradox. The soil is soaked, but the plant looks thirsty. Roots cannot transport water because they are dead.
- Foul odor: A sour, swampy, or rotten smell from the pot is a dead giveaway.
Below-Ground Confirmation
You cannot diagnose root rot with certainty without looking at the roots. Gently remove the plant from its pot. Healthy venus flytrap roots are:
- White or pale tan
- Firm and crisp
- Brittle — they snap cleanly
Infected roots are:
- Brown, dark brown, or black
- Soft, mushy, or slimy
- Easily pulled away from the central rhizome
- Often accompanied by a bad smell
If more than 50 percent of the root mass is gone, recovery is difficult but not impossible. If the rhizome itself is black and mushy, the plant is likely beyond saving.
Step-by-Step Venus Flytrap Root Rot Treatment
Step 1: Gather Your Supplies
Before you touch the plant, prepare everything. You will need:
- Clean workspace (wipe with 10 percent bleach solution or rubbing alcohol)
- Sterile scissors or scalpel (flame-sterilize or dip in alcohol)
- Fresh soil mix: 1 part peat moss, 1 part perlite or coarse silica sand
- New or sterilized pot (3-4 inches deep, with drainage holes)
- Distilled water, rainwater, or reverse osmosis water
- Fungicide (optional but recommended): copper-based, neem oil, or cinnamon powder
- Clear plastic bag or humidity dome (for recovery)
- Labels and marker
Do not use tap water. Do not use regular potting soil. Do not reuse old soil. Every shortcut increases the risk of reinfection.
Step 2: Remove the Plant
Turn the pot upside down while supporting the plant at the base. Tap the bottom. If the plant sticks, squeeze the pot sides or run a clean knife around the edge. Do not yank the leaves — they tear easily. The rhizome and roots must come out intact.
Step 3: Wash the Roots
Place the root ball in a bowl of clean, room-temperature distilled water. Gently swish to remove all old soil. Use your fingers to tease away trapped peat. Be patient. This step is critical — any remaining contaminated soil can reintroduce the fungus.
As you wash, you will see the true extent of the damage. Healthy roots stay white. Rotting roots will slough off or turn cloudy in the water.
Step 4: Trim Infected Tissue
This is the surgical step. Using your sterile scissors, cut away every root that is not firm and white. Cut back to healthy tissue. If a root is partially infected, cut above the damaged section. Remove all black, brown, mushy, or hollow roots.
Inspect the rhizome carefully. If you see black spots or soft areas on the rhizome itself, cut those out too. Cut until you see only firm, white tissue. Dust every cut surface with cinnamon powder or apply a drop of copper fungicide. Cinnamon is a natural antifungal and safe for carnivorous plants.
If the plant has multiple growth points (divisions), consider separating them. Pot each division independently. This limits spread and gives you backups if one fails.
Step 5: Prepare the New Pot and Soil
Mix your soil: 1 part sphagnum peat moss (no additives, no fertilizer, no wetting agents) and 1 part perlite or coarse silica sand. Moisten the mix with distilled water until it holds together when squeezed but drips no water.
Fill the pot. Make a hole in the center deep enough for the roots. The rhizome should sit just at or slightly below the soil surface. The crown (where leaves emerge) must stay above ground.
Step 6: Repot the Plant
Place the trimmed plant in the hole. Spread remaining roots downward. Gently firm soil around them. Do not pack tightly — roots need air. Water from the top once with distilled water to settle the soil. Let excess drain completely.
Step 7: Create a Recovery Environment
Place the pot in a clear plastic bag or under a humidity dome. This reduces transpiration stress while roots regenerate. Keep it in bright, indirect light — no direct sun yet. Ideal temperature: 70-75°F (21-24°C).
Open the bag daily for 10-15 minutes for air exchange. Check soil moisture. It should stay evenly damp, never soggy, never dry. Water only when the surface feels barely moist.
Step 8: Monitor and Wait
Recovery takes weeks. You may see no new growth for 3-6 weeks. That is normal. The plant is rebuilding its root system underground. Resist the urge to fertilize, feed insects, or disturb the plant.
Signs of recovery:
- New leaf emergence from the center
- Traps forming (even if small)
- Firm, white roots visible at drainage holes
Once you see sustained new growth, gradually acclimate to lower humidity by opening the bag wider each day over a week.
Special Situations and Advanced Treatment
Treating Root Rot During Dormancy
Winter dormancy (November to February in the Northern Hemisphere) complicates treatment. The plant is not actively growing. Roots heal slowly. If you discover rot in winter:
- Keep the plant cooler (35-50°F / 2-10°C) if possible
- Reduce watering to barely damp
- Do not use a humidity dome — it encourages fungal growth in cold
- Apply cinnamon to cuts but skip fungicide unless necessary
- Wait for spring growth to assess recovery
If the plant has no leaves at all (just a rhizome), it can still survive. Keep it barely moist, cold, and dark. Check monthly for mold.
When the Rhizome Is Partially Rotted
If rot has reached the rhizome but healthy tissue remains, you can attempt a “rhizome rescue.” Cut away all black tissue until only firm white rhizome remains. Dust heavily with cinnamon. Lay the rhizome on moist (not wet) sphagnum moss in a sealed container. Keep in bright indirect light at 70-75°F. Roots may regenerate from the basal plate. This takes 2-3 months. Success rate is lower but worth trying for valuable plants.
Using Fungicides Safely
Venus flytraps are sensitive to chemicals. If you use a commercial fungicide:
- Choose copper-based (like copper sulfate) or biological (like Bacillus subtilis)
- Mix at half the labeled strength
- Apply only to roots and rhizome — avoid leaves and traps
- Rinse with distilled water after 15 minutes if label allows
- Never use systemic fungicides meant for ornamental shrubs
Cinnamon powder is often just as effective and carries zero risk of phytotoxicity.
Preventing Future Root Rot
Master the Watering Technique
The tray method is standard for venus flytraps. Place the pot in a tray. Add distilled water to about 1/2 to 3/4 inch depth. Let the soil wick moisture up. When the tray is dry, wait 1-2 days before refilling. This wet-dry cycle mimics nature and oxygenates the root zone.
Never let the pot sit in deep water constantly. Never water from the top daily. Never use tap water, well water, or bottled spring water. Minerals accumulate, burn roots, and weaken the plant’s defenses.
Choose the Right Soil Every Time
The classic 1:1 peat-perlite mix works for most growers. Some prefer 2:1 peat to sand. Others use pure long-fiber sphagnum moss. Whatever you choose, the mix must:
- Drain freely
- Hold moisture without staying soggy
- Contain zero nutrients, fertilizers, or wetting agents
- Be acidic (pH 3.5-5.0)
Repot annually in early spring. Peat breaks down over time, becoming compacted and anaerobic. Fresh soil resets the clock on root health.
Provide Maximum Light
Venus flytraps need full sun — 6+ hours of direct light daily. Strong light drives photosynthesis, which powers root growth and disease resistance. A plant in low light grows weak, etiolated roots that rot easily. If you grow indoors, use a high-output LED grow light (30-40 watts, 6500K) 6-12 inches above the plant for 14-16 hours daily.
Ensure Air Circulation
Stagnant air encourages fungal spores to settle and germinate. A small fan on low, running a few hours daily, makes a huge difference. Outdoors, natural breeze handles this. In terrariums or humidity domes, vent daily.
Respect Dormancy
Many root rot cases happen in winter because growers keep watering like it’s July. During dormancy:
- Reduce watering frequency drastically
- Keep soil just barely damp
- Provide cool temperatures (35-50°F ideal)
- Do not feed
- Do not fertilize
A dormant flytrap uses almost no water. Wet soil + cold + no growth = rot city.
Common Mistakes That Lead to Root Rot
Using the Wrong Water
Tap water contains dissolved solids — calcium, magnesium, chlorine, chloramine, sodium. Venus flytraps have zero tolerance. These minerals accumulate in the soil, raise pH, burn root tips, and create entry points for pathogens. Always use distilled, rain, or RO water. Test with a TDS meter if unsure — target under 50 ppm.
Planting in Terrariums Without Drainage
Closed terrariums look pretty but are death traps for flytraps. No drainage + high humidity + low airflow = guaranteed rot. If you must use a terrarium, add a false bottom with LECA, use a mesh barrier, and vent the lid daily. Better yet: grow them in open pots.
Overpotting
A small plant in a large pot stays wet too long. The roots cannot reach all the moisture. The excess soil becomes anaerobic. Use a pot just wide enough for the root system with 1 inch of room to grow. 3-4 inch depth is plenty.
Fertilizing the Soil
Never put fertilizer in the soil. Not osmocote, not worm castings, not compost tea. Venus flytraps get nutrients from prey. Soil fertilizer burns roots, kills beneficial microbes, and feeds pathogenic fungi. If you must fertilize, use extremely dilute foliar feed (1/4 strength orchid fertilizer) on leaves only, max once a month in growing season.
Ignoring Early Signs
“It’ll bounce back” is dangerous thinking. A yellowing leaf is a warning. A blackening trap is a scream. Check roots at the first sign of trouble. Early treatment takes 20 minutes. Late treatment takes months — and often fails.
Long-Term Care After Recovery
The First Growing Season
Once your plant shows consistent new growth, treat it like a young plant. It has a reduced root system. It cannot support massive traps or flower stalks. If it sends up a flower stalk in spring, cut it off immediately. Flowering drains energy the plant needs for root regeneration.
Feed sparingly. One small insect per trap per month is plenty. Do not trigger traps manually. Each closure costs energy. Let the plant catch its own food or hand-feed dead insects gently.
Annual Repotting Routine
Make repotting a late-winter ritual (February-March). Fresh soil. Clean pot. Inspect roots. Trim any dead tips. This prevents rot before it starts and gives you a chance to divide mature plants. A healthy clump can yield 3-5 new plants each year.
Seasonal Adjustments
Spring: Increase water and light gradually. Watch for flower stalks. Begin feeding.
Summer: Peak growth. Full sun. Tray method daily in heat. Monitor for pests (aphids, spider mites).
Fall: Reduce feeding. Let traps die back naturally. Prepare for dormancy.
Winter: Minimal water. Cool temps. No light needed if fully dormant (but some light helps). Check monthly.
When to Accept Loss and Start Over
Sometimes, despite perfect treatment, the plant dies. The rhizome turns to mush. Mold takes over. No new growth appears after 8-10 weeks in ideal conditions. It happens. Do not blame yourself. Even expert growers lose plants.
If you have divisions or seeds, move on. If not, buy a new plant from a reputable nursery — not a hardware store cube of death. Apply what you learned. The next one will thrive.
Learning From the Loss
Do a post-mortem. Was the soil old? Was the water tray too full? Did you use tap water once? Was the pot too big? Did dormancy get skipped? Identify the root cause (pun intended) and fix it. Every dead plant teaches you how to keep the next one alive longer.
Conclusion
Venus flytrap root rot treatment is not magic. It is careful observation, decisive action, and patient aftercare. The steps are simple: diagnose, remove, trim, repot, wait. The hard part is catching it early and resisting the urge to over-care during recovery.
Your flytrap wants to live. It evolved to survive fire, flood, and nutrient starvation in the wild. Given the right conditions — pure water, acidic soil, bright light, seasonal rhythm — it will fight back from the brink. I have seen plants with two roots left come back to fill a pot in one season. I have seen rhizomes with no leaves at all sprout new growth in spring.
The key is respect for the plant’s biology. Treat it like a bog native, not a tropical houseplant. Keep the roots oxygenated. Keep the water pure. Keep the light intense. And when trouble strikes, act fast, cut clean, and wait quietly.
Your flytrap is counting on you. Now you know exactly what to do.
Frequently Asked Questions
What causes root rot in venus flytraps?
Root rot is caused by fungal pathogens (Pythium, Phytophthora, Rhizoctonia) that thrive in waterlogged, low-oxygen soil. Overwatering, poor drainage, compacted peat, tap water minerals, and lack of airflow create ideal conditions for these fungi to attack the plant’s delicate roots.
How do I know if my venus flytrap has root rot?
Check for yellowing or blackening leaves, wilting despite wet soil, foul odor from the pot, and stunted new growth. Confirm by gently removing the plant and inspecting roots — healthy roots are white and firm; rotted roots are dark, mushy, and slimy.
What soil mix prevents root rot in venus flytraps?
Use a 1:1 mix of pure sphagnum peat moss (no additives) and perlite or coarse silica sand. This drains well, stays acidic, holds moisture without becoming anaerobic, and contains no nutrients that could burn roots or feed pathogens.
Can I reuse soil after root rot?
No. Old soil harbors fungal spores, accumulated minerals, and broken-down organic matter that stays soggy. Always discard infected soil and sterilize the pot with a 10% bleach solution before repotting in fresh medium.
Is cinnamon effective for treating venus flytrap root rot?
Yes. Cinnamon powder is a natural antifungal that is safe for carnivorous plants. Dust all cut root and rhizome surfaces after trimming infected tissue. It helps prevent reinfection without risk of chemical damage to sensitive tissues.
When should I repot my venus flytrap to prevent root rot?
Repot annually in late winter (February-March) before the growing season starts. Peat moss breaks down over time, becoming compacted and anaerobic. Fresh soil restores drainage, acidity, and root health, preventing rot before it begins.