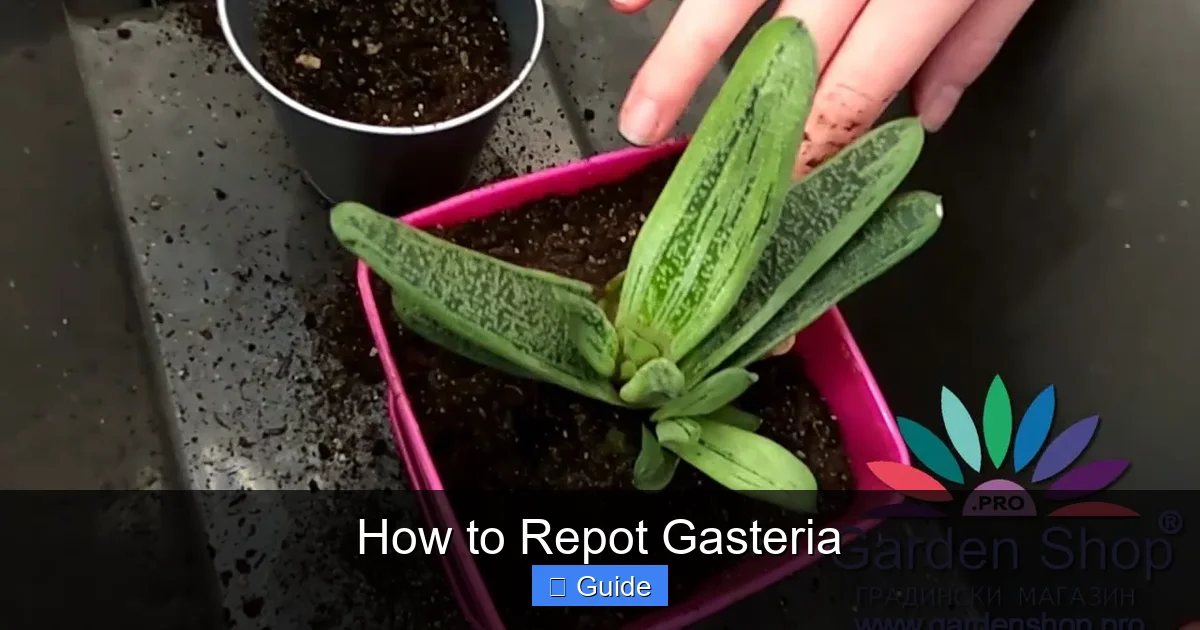
How to Repot Gasteria
Repotting Gasteria is simple when you know the right steps. Use well-draining soil, choose a pot with drainage holes, and repot during the growing season for best results. Follow our guide to keep your succulent happy and healthy for years.
Key Takeaways
- Best time to repot: Spring or early summer when the plant is actively growing.
- Soil mix matters: Use a gritty, well-draining succulent or cactus mix with added perlite or pumice.
- Pot selection: Choose a container with drainage holes that is only slightly larger than the root ball.
- Handle roots gently: Shake off old soil and trim any dead or mushy roots before replanting.
- Wait to water: Let the plant settle for 3 to 5 days before the first watering to prevent rot.
- Light adjustment: Keep newly repotted Gasteria in bright, indirect light for a week before returning to normal conditions.
- Repot every 2 to 3 years: Refresh soil and check root health regularly for long-term vigor.
Quick Answers to Common Questions
How often should I repot my Gasteria?
Repot your Gasteria every 2 to 3 years or when you see roots escaping drainage holes, soil drying too fast, or growth slowing down.
Can I repot Gasteria in winter?
Avoid repotting in winter unless it is an emergency like root rot. The plant is dormant and recovers poorly in cold, low light conditions.
What soil mix is best for Gasteria?
Use a 50/50 mix of cactus soil and mineral grit like perlite, pumice, or coarse sand for fast drainage and healthy roots.
When should I water after repotting?
Wait 3 to 5 days before the first watering to let damaged roots callous over and prevent rot.
Do Gasteria need deep pots?
No, Gasteria has shallow spreading roots. Choose wide, shallow pots over deep ones to match their natural growth habit.
📑 Table of Contents
- Why Repotting Gasteria Matters
- When Is the Best Time to Repot Gasteria
- Choosing the Right Pot for Your Gasteria
- The Perfect Soil Mix for Gasteria
- Step by Step Guide to Repotting Gasteria
- Aftercare: The First Critical Weeks
- Common Repotting Mistakes to Avoid
- Propagating During Repotting
- Long Term Gasteria Care
- Conclusion
Why Repotting Gasteria Matters
Gasteria plants are tough little succulents. They come from South Africa. They grow in rocky spots with very little water. Their thick leaves store moisture. That makes them perfect for busy plant parents. But even tough plants need fresh soil now and then. Old soil breaks down. It holds too much water. Roots can rot. Nutrients run out. Repotting fixes all of that. It gives your plant room to grow. It refreshes the nutrients. It lets you check the roots for problems. A happy Gasteria rewards you with neat rosettes. Some even send up tall flower spikes. Those blooms look like little stomachs. That is where the name comes from. Gaster means stomach in Latin. Repotting is not hard. It just takes a little know how. This guide walks you through every step. You will feel confident by the end.
Many people wait too long to repot. They see the plant looks fine. But under the soil, trouble might be brewing. Roots can circle the pot. They can turn mushy. Salt buildup from fertilizer can burn them. Fresh soil solves these issues. Think of repotting like a spa day for your succulent. It comes out refreshed and ready to grow. The best part? You only need to do it every two or three years. That is a small time investment for a plant that can live decades. Let us dive into the details.
When Is the Best Time to Repot Gasteria
Timing makes a big difference. Gasteria grows most in spring and summer. That is its active season. Repot then. The plant recovers fast. New roots form quickly. Winter is different. The plant rests. Growth slows down. Repotting in winter stresses it. Cold wet soil invites rot. Avoid fall too. The plant is winding down. Early spring is ideal. You catch the start of the growth surge. If you live in a warm climate, you have a longer window. Just watch the plant. New leaf growth means go time. No new growth means wait.
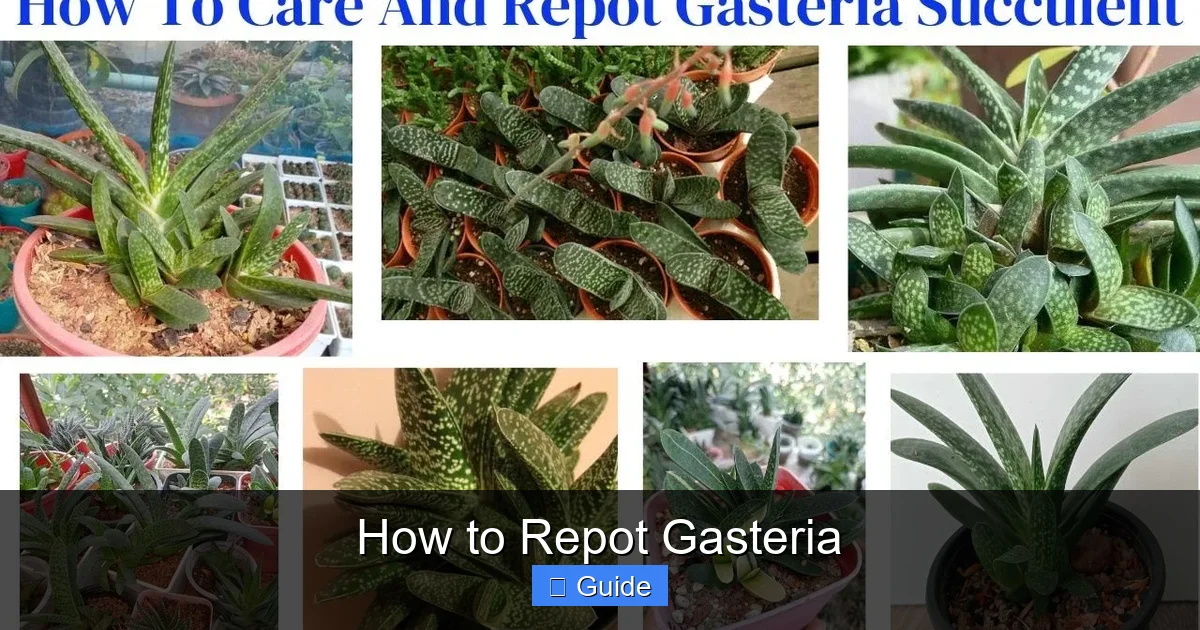
Visual guide about How to Repot Gasteria
Image source: i.ytimg.com
Signs Your Gasteria Needs Repotting
How do you know it is time? Look for these clues. Roots poking out of drainage holes. That is a clear sign. The plant dries out too fast. Water runs straight through. The pot feels light. The plant looks top heavy. It might tip over. Growth has stalled. Leaves look pale or small. You see salt crust on the soil surface. The plant has been in the same pot over three years. Any of these mean repot soon. Do not wait for all of them. One or two is enough.
Exceptions to the Rule
Sometimes you must repot off schedule. Root rot is an emergency. Mushy brown roots mean act now. Pests in the soil like mealybugs or fungus gnats. Repot immediately with fresh mix. The pot cracked or broke. Repot right away. You just bought a new plant. Nursery soil is often peat heavy. That holds too much water. Repot within a week or two. These situations override the calendar. Plant health comes first.
Choosing the Right Pot for Your Gasteria
The pot matters as much as the soil. Gasteria hates wet feet. Drainage holes are non negotiable. No holes means water pools at the bottom. Roots sit in soup. Rot follows fast. Terra cotta is a classic choice. It breathes. Moisture evaporates through the walls. That protects roots. Plastic works too. It is lighter. It holds moisture longer. That can be good or bad. In humid areas, terra cotta wins. In dry homes, plastic is fine. Glazed ceramic looks pretty. But it traps moisture. Use only if you are careful with water.
Size Matters: Not Too Big
Pick a pot just one size up. Gasteria likes to be snug. A huge pot holds too much soil. That soil stays wet too long. The roots cannot drink it all. Rot risk goes way up. Measure the current pot. Go up one inch in diameter. Maybe two inches for a large plant. Depth matters too. Gasteria roots are shallow. They spread wide not deep. A shallow wide pot works best. It mimics their natural rocky crevices. Avoid deep narrow pots. They waste space and hold water at the bottom.
Pot Material Pros and Cons
Let us break it down. Terra cotta: porous, dries fast, heavy, breaks easy, affordable. Plastic: light, durable, holds water, cheap, many colors. Glazed ceramic: pretty, heavy, holds water, pricey, fragile. Concrete: trendy, heavy, porous if unsealed, expensive. Wood: natural look, rots eventually, good drainage. Metal: heats up in sun, can cook roots, stylish. For beginners, terra cotta or plastic are safest. They are easy to find. They work well. Match the pot to your watering habit. If you overwater, use terra cotta. If you underwater, plastic helps.
The Perfect Soil Mix for Gasteria
Soil is the foundation. Get this right and half your work is done. Gasteria needs sharp drainage. Regular potting soil kills them. It holds water like a sponge. You need grit. You need air pockets. Roots need oxygen. A good mix drains in seconds. Water should run out the bottom fast. The surface should dry in a day or two. You can buy cactus succulent mix. But most store mixes still hold too much water. They are peat based. Peat turns hydrophobic when dry. Then it repels water. The fix? Amend it. Add perlite. Add pumice. Add coarse sand. Aim for fifty percent amendments. Half soil half grit. That is the sweet spot.
DIY Gasteria Soil Recipe
Make your own. It is cheaper. You control the quality. Here is a proven recipe. Two parts cactus soil or regular potting soil. One part perlite. One part pumice or coarse sand. One part small gravel or chicken grit. Mix thoroughly. Wet it slightly. It should crumble in your hand. Not clump. Not turn to mud. Test drainage. Pour water through. It should flow like a sieve. Adjust ratios if needed. More grit for humid climates. Less for very dry homes. Write down your mix. Replicate it next time.
What to Avoid in Soil
Stay away from these. Peat moss as the main ingredient. It compacts. It repels water when dry. Fine sand. It clogs pores. It creates concrete. Vermiculite. It holds too much water. Garden soil. It has bugs and weeds. It compacts badly. Compost. Too rich. Burns succulent roots. Fertilizer pellets in the mix. You cannot control the dose. Pure perlite dust. It floats and makes a mess. Rinse perlite first. Or use pumice instead. Pumice is heavier. It stays put. It adds minerals too. Your plant will thank you.
Step by Step Guide to Repotting Gasteria
Now the fun part. Let us repot. Gather your tools first. New pot. Fresh soil mix. Gloves. Trowel or spoon. Scissors or pruners. Rubbing alcohol. Paper towels. Brush. Newspaper or tarp. Watering can. Labels and marker. Clean everything. Dirty tools spread disease. Wipe blades with alcohol. Wash the new pot. Dry it. Set up your workspace. Good light helps. Do this outside or on a covered table. Soil gets messy.
Step 1: Prepare the New Pot
Cover the drainage hole. Use a mesh screen. Or a coffee filter. Or a shard of broken pot. This keeps soil in. Let water out. Add a layer of soil. About an inch deep. Pat it down gently. Do not pack it hard. You want air pockets. Make a small mound in the center. This supports the root crown. The plant should sit at the same level as before. Not deeper. Not higher. Check by placing the plant in. Adjust soil as needed.
Step 2: Remove the Plant
Water the plant two days before. Damp soil releases easier. Bone dry soil crumbles. Wet soil makes a mess. Slightly moist is perfect. Turn the pot sideways. Tap the rim on a hard surface. Slide the plant out. If stuck, run a knife around the edge. Squeeze a plastic pot. Do not pull on the leaves. They snap off. Hold the base. Wiggle gently. It will come free. Set the plant on your workspace.
Step 3: Inspect and Clean Roots
Now look at the roots. Healthy roots are firm. White or light tan. They smell earthy. Bad roots are brown. Mushy. Hollow. They smell rotten. Gently shake off old soil. Use your fingers. A soft brush helps. Do not wash roots. Water damages the tiny root hairs. Trim dead roots. Use clean scissors. Cut back to healthy tissue. Dust cuts with cinnamon. It is a natural fungicide. Remove any pests you see. Mealybugs hide in root crevices. Pick them off. Or dab with alcohol.
Step 4: Position the Plant
Place the plant on the soil mound. Spread roots outward. They should radiate like spokes. Not circle. Not bunch up. The crown sits just above the rim. About half an inch below the pot edge. This leaves room for watering. Check the angle. Straight up. Centered. Step back. Look from all sides. Adjust until it looks right. This is the final position. Take your time.
Step 5: Fill with Soil
Add soil around the roots. Use your spoon or trowel. Work in small handfuls. Tap the pot sides. This settles soil. No air gaps. Air gaps dry out roots. Fill to the base of the leaves. Do not bury the crown. The lowest leaves should sit on the soil surface. Not in it. Press soil gently with fingertips. Firm but not compacted. Roots need to breathe. Leave a half inch lip at the top. This catches water.
Step 6: Top Dress and Clean Up
Add a top dressing. Small gravel. Pebbles. Crushed granite. This looks nice. It keeps soil from splashing on leaves. It deters fungus gnats. It slows evaporation. Brush off any soil on leaves. A soft paintbrush works well. Clean the pot rim. Wipe the outside. Your plant looks professional now. Label the pot. Write the date. Write the variety. Future you will appreciate this.
Aftercare: The First Critical Weeks
You are not done yet. The first weeks decide success. The plant is stressed. Roots are damaged. They need time to heal. Watering too soon causes rot. This is the number one mistake. Wait three to five days. Seven in cool weather. Ten if you trimmed lots of roots. The cut ends must callous over. Callous means dry and sealed. Like a scab. Then water lightly. Just moisten the top inch. Do not soak. Repeat in a week. Gradually return to normal schedule.
Light and Temperature
Bright indirect light only. No direct sun for a week. The plant cannot handle full sun yet. Roots are not pulling water. Leaves burn easy. A shaded patio works. An east window works. A sheer curtain works. Temperature should be mild. Sixty five to eighty degrees. No cold drafts. No heater blasts. Stability helps recovery. After a week, increase light slowly. Add an hour of direct sun every few days. Watch for stress. Red tips mean too much light. Stretching means too little.
No Fertilizer Yet
Hold off on food. Fresh soil has nutrients. The plant cannot use them anyway. Roots are not working fully. Fertilizer burns damaged roots. Wait four to six weeks. Then use half strength succulent fertilizer. Once a month in growing season. None in winter. Less is more with Gasteria. They grow slow. They need little food. Overfeeding makes weak growth. It attracts pests. It ruins the compact shape.
Common Repotting Mistakes to Avoid
Learn from others errors. Do not use a pot without holes. Do not use garden soil. Do not water immediately. Do not bury the crown. Do not pack soil tight. Do not choose a huge pot. Do not repot in winter dormancy. Do not pull the plant by leaves. Do not wash roots with water. Do not fertilize right away. Do not put in direct sun immediately. Do not ignore root rot signs. Do not reuse old soil. Do not skip the top dressing. Do not forget to label. Each mistake can kill your plant. Or set it back months. Slow down. Follow the steps. Your patience pays off.
Troubleshooting After Repotting
Problems happen. Leaves wrinkle. That means thirsty. But do not water yet. Wait the full wait period. Wrinkles come from root damage. Not dry soil. Watering now causes rot. Leaves turn yellow and mushy. That is rot. Unpot immediately. Cut all bad parts. Let dry a week. Repot in fresh dry mix. Plant leans. Roots not anchored. Stake it gently. Use a chopstick. Tie loosely. Leaves fall off. Shock response. Normal if just a few. Many falling means trouble. Check roots again. No new growth after a month. Check light. Check temperature. Be patient. Some plants sulk.
Propagating During Repotting
Repotting is propagation time. Gasteria makes offsets. Little babies at the base. Called pups. They have their own roots. Or they will grow them. Gently separate them. Use a clean knife if needed. Cut between mother and pup. Keep some roots on each. Let cuts callous two days. Pot pups in tiny pots. Same soil mix. Same aftercare. They grow faster alone. No competition. You get free plants. Share with friends. Trade for other succulents. Build your collection. It is one of the joys of succulents.
Leaf Propagation Option
You can also use leaves. Pick a healthy lower leaf. Twist gently. Clean break. No tear. Let callous three days. Lay on dry soil. Do not bury. Mist occasionally. Roots appear in weeks. Then a tiny plant. This takes longer forms. It is slower than pups. But works well. Gasteria leaves root easier than many succulents. Try a few. See what happens. Nature wants to grow.
Long Term Gasteria Care
Repotting is just one part. Daily care keeps it thriving. Water deeply but rarely. Soak the soil. Let it dry completely. Check with a skewer. Dry all the way down? Water. Still damp? Wait. Light: bright indirect. Some direct morning sun. Afternoon shade. Temperature: above fifty degrees. Frost kills them. Fertilize: spring and summer only. Half strength. Monthly. Pests: check weekly. Mealybugs love Gasteria. Look in leaf crevices. Treat early with alcohol. Air flow: prevent fungal spots. Space plants out. Fan helps indoors. Grooming: remove dead leaves. They harbor bugs. They look messy. Pull gently. They come off clean.
Seasonal Adjustments
Spring: repot if needed. Resume fertilizing. Increase water. Summer: peak growth. Watch for sunburn. Water more often. Fall: slow watering. Stop fertilizing. Prepare for winter. Winter: minimal water. Once a month maybe. Bright light. Cool temps okay. No frost. This cycle mimics nature. The plant knows what to do. You just support it. Consistency beats intensity. A little care often. Not a lot rarely.
When to Repot Again
Mark your calendar. Two to three years. Or when signs appear. Spring is best. The plant tells you. Trust the signs. Not the calendar alone. A happy plant in fresh soil grows steady. It flowers. It makes pups. It stays firm and colorful. That is the goal. A thriving Gasteria for decades. They become heirlooms. Passed down. Shared. Each repot renews the bond. You learn the plant. It learns your care. Partnership grows.
Conclusion
Repotting Gasteria is a simple act with big rewards. You give fresh soil. You check root health. You provide room to grow. The plant responds with vigor. New leaves. Bright colors. Maybe flowers. Maybe pups. The steps are clear. Right time. Right pot. Right soil. Gentle handling. Patient aftercare. Avoid the common mistakes. Learn the rhythm. Your confidence grows with each repot. Soon you will do it without thinking. You will help friends. You will teach others. That is how the hobby spreads. One plant at a time. One pot at a time. Your Gasteria thanks you. Silent but real. Happy growing.
Remember the key points. Spring timing. Drainage holes. Gritty mix. Snug pot. Wait to water. Bright indirect light. No fertilizer yet. Label everything. Enjoy the process. It connects you to nature. Even indoors. Even in a small pot. That connection matters. It grounds us. It teaches patience. It rewards observation. Your Gasteria is more than decor. It is a living partner. Treat it well. It returns the favor tenfold.
Frequently Asked Questions
Can I use regular potting soil for Gasteria?
Regular potting soil holds too much moisture and will cause root rot. Always amend it with at least 50 percent perlite, pumice, or coarse sand for proper drainage.
How do I know if my Gasteria has root rot?
Root rot shows as brown, mushy, hollow roots with a foul smell. Healthy roots are firm and white or tan. Unpot the plant to check if leaves turn yellow and mushy.
Should I separate Gasteria pups when repotting?
Yes, repotting is the perfect time to remove offsets. Gently pull or cut them away with some roots attached, let cuts callous for two days, then pot separately.
Why is my Gasteria wrinkling after repotting?
Wrinkled leaves after repotting usually mean the roots are damaged and cannot absorb water yet. Do not water immediately. Wait the full 3 to 5 day rest period.
Can I put my Gasteria in direct sun after repotting?
No, keep it in bright indirect light for 7 to 10 days. Direct sun stresses the plant while roots recover. Gradually reintroduce sun over two weeks.
What size pot should I choose for repotting?
Select a pot only 1 to 2 inches wider than the current one. Gasteria prefers tight quarters. Oversized pots hold excess moisture and lead to rot.