How to Plant Wild Ginger Bare Roots
Wild ginger bare roots thrive in shady, moist woodland conditions with rich organic soil. Plant them in early spring or fall, spacing roots 12-18 inches apart with the crown just below the surface. With proper site preparation and consistent moisture, these native perennials form beautiful ground cover that returns year after year.
Key Takeaways
- Choose the right location: Wild ginger needs full to partial shade and consistently moist, well-draining soil rich in organic matter.
- Timing matters most: Plant bare roots in early spring before growth starts or in fall 4-6 weeks before ground freezes for best establishment.
- Prepare soil thoroughly: Amend planting area with 2-3 inches of compost or leaf mold to create the rich, humusy conditions wild ginger loves.
- Plant at correct depth: Position the crown (where stems meet roots) 1/2 to 1 inch below soil surface, spreading roots horizontally in the planting hole.
- Water consistently: Keep soil evenly moist but not waterlogged during the first growing season to establish strong root systems.
- Mulch for moisture retention: Apply 2-3 inches of shredded leaves or bark mulch to maintain soil moisture and suppress weeds.
- Practice patience: Wild ginger spreads slowly by rhizomes; expect full ground cover in 3-5 years but enjoy foliage interest from year one.
Quick Answers to Common Questions
When is the best time to plant wild ginger bare roots?
Early spring (March-April) or fall (September-October) 4-6 weeks before ground freezes are optimal planting times.
How deep should I plant wild ginger bare roots?
Plant with the crown 1/2 to 1 inch below soil surface, spreading roots horizontally over a soil mound in the planting hole.
What spacing do wild ginger plants need?
Space divisions 12-18 inches apart for ground cover; closer spacing fills faster but costs more.
How often should I water newly planted wild ginger?
Water deeply 2-3 times per week during the first growing season, keeping soil consistently moist but not waterlogged.
How long until wild ginger forms a solid ground cover?
Expect 3-5 years for full coverage at 12-inch spacing, 5-7 years at 18-inch spacing.
📑 Table of Contents
- Why Wild Ginger Deserves a Spot in Your Shade Garden
- Understanding Wild Ginger Before You Plant
- Selecting and Preparing Your Planting Site
- When to Plant Wild Ginger Bare Roots
- Step-by-Step Guide: How to Plant Wild Ginger Bare Roots
- First-Year Care for Strong Establishment
- Long-Term Maintenance and Colony Expansion
- Companion Planting and Design Ideas
- Troubleshooting Common Problems
- Frequently Asked Questions About Wild Ginger
- Conclusion: Your Woodland Garden Awaits
Why Wild Ginger Deserves a Spot in Your Shade Garden
If you have a shady corner that feels impossible to plant, wild ginger might be exactly what you need. This native woodland perennial creates lush, heart-shaped foliage that stays attractive from spring through fall. Unlike its tropical namesake, wild ginger (Asarum canadense) isn’t grown for culinary use. Instead, gardeners treasure it for its ability to form dense, weed-suppressing ground cover in places where grass refuses to grow.
Learning how to plant wild ginger bare roots gives you an affordable way to establish large patches of this valuable native plant. Bare root divisions cost a fraction of potted plants and establish quickly when handled correctly. The key lies in understanding what this woodland native needs and replicating those conditions in your garden. Let’s walk through everything you need to know for success.
Understanding Wild Ginger Before You Plant
What Is Wild Ginger?
Wild ginger is a low-growing perennial native to eastern North American woodlands. It belongs to the birthwort family (Aristolochiaceae) and shares no relation to culinary ginger (Zingiber officinale). The plant earns its common name from the ginger-like fragrance released when roots are crushed. Indigenous peoples and early settlers used the rhizomes as a ginger substitute and for medicinal purposes.
Two main species appear in gardens. Asarum canadense (Canadian wild ginger) grows throughout eastern North America. Asarum caudatum (western wild ginger) hails from Pacific Northwest forests. Both share similar growing requirements and planting methods. European wild ginger (Asarum europaeum) offers glossier, evergreen leaves but grows more slowly.
Growth Habit and Seasonal Interest
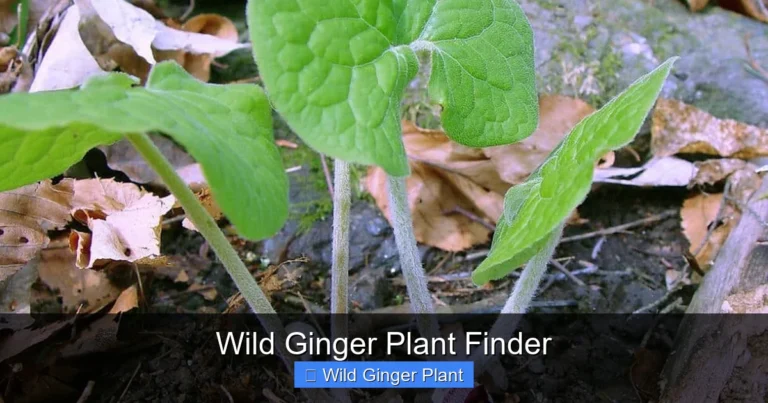
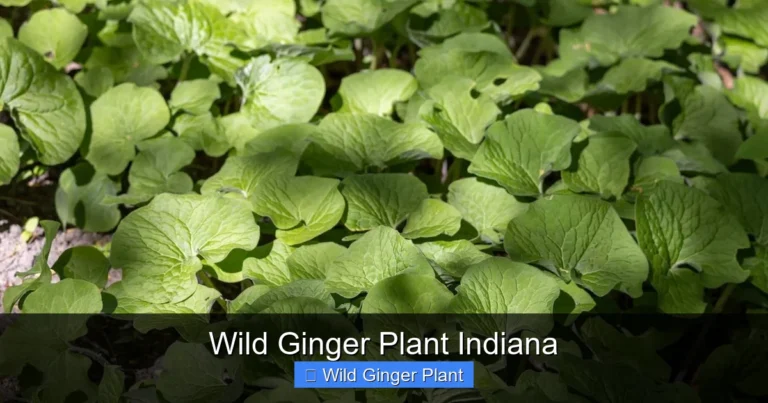
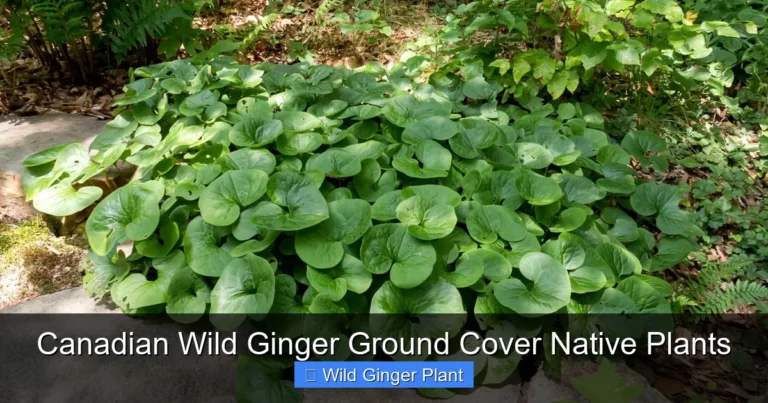
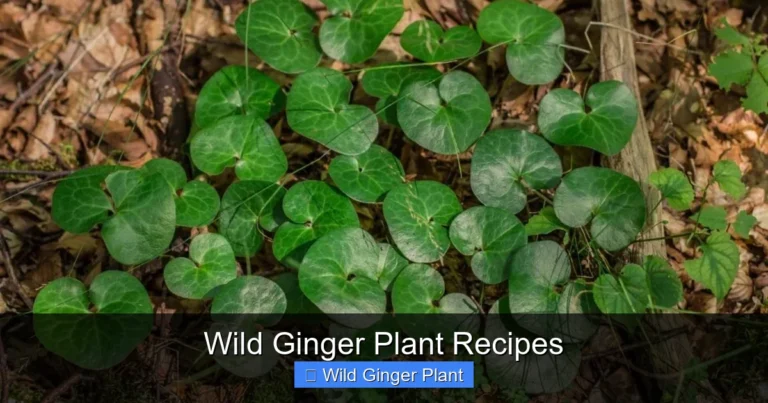
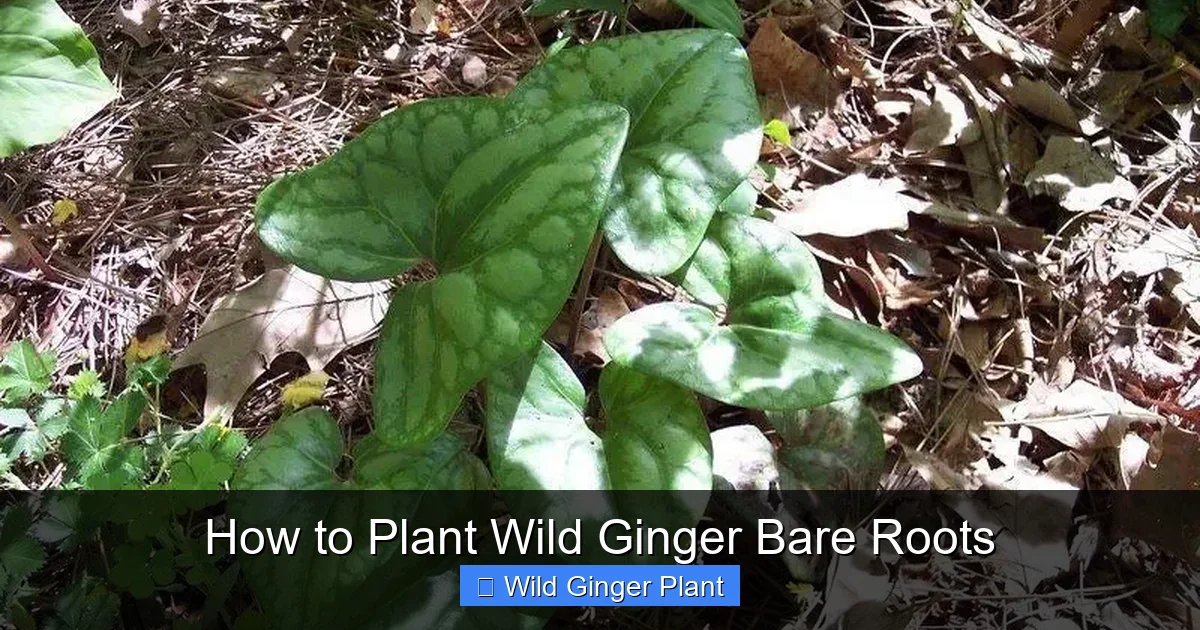
Wild ginger spreads by underground rhizomes to form colonies 6-12 inches tall. Heart-shaped leaves emerge in early spring, often before tree canopy leaf-out. The foliage remains clean and attractive all season, turning golden in fall before dying back. Unique jug-shaped flowers appear at ground level in spring, hidden beneath leaves. These unusual blooms attract early pollinators like flies and beetles.
Understanding this growth cycle helps when learning how to plant wild ginger bare roots. The plant puts energy into root establishment first, then foliage, then gradual colony expansion. First-year plants may seem unimpressive, but patience rewards you with durable ground cover.
Hardiness and Climate Adaptation
Most wild ginger species thrive in USDA zones 3-8. Asarum canadense handles extreme cold down to zone 2 with snow cover. Asarum caudatum prefers milder zones 6-9. European wild ginger grows in zones 4-7. All types need winter chill for proper dormancy and spring emergence.
In warmer zones, provide extra shade and moisture. In colder regions, ensure good snow cover or apply winter mulch after ground freezes. The plant adapts to various climates when its core needs – shade and moisture – are met.
Selecting and Preparing Your Planting Site
Light Requirements: Deep Shade to Dappled Sun
Wild ginger evolved on forest floors. It needs protection from direct afternoon sun. Ideal locations receive morning light only or bright dappled shade throughout the day. North-facing building foundations, areas under mature deciduous trees, and woodland edges work beautifully. Avoid hot south or west exposures unless you can provide consistent moisture and deep shade.
If your site gets more sun than ideal, you can still succeed with extra effort. Increase soil organic matter dramatically. Install drip irrigation. Apply thick mulch. Monitor soil moisture daily during summer. But honestly, choosing a naturally shady spot makes how to plant wild ginger bare roots much easier and more successful.
Soil Conditions: Rich, Moist, and Well-Drained
Think forest floor. Wild ginger wants soil high in organic matter, consistently moist but never soggy, with good drainage. The perfect pH ranges from 5.5 to 6.5 – slightly acidic. Heavy clay soils need amendment. Sandy soils need organic matter to hold moisture. Test your soil before planting if unsure.
To prepare your site, remove existing vegetation including grass and weeds. Loosen soil to 8-10 inches deep. Incorporate 2-3 inches of compost, well-rotted leaf mold, or aged manure. This creates the humus-rich environment wild ginger roots explore readily. Avoid fresh manure or uncomposted materials that can burn tender roots.
Spacing Considerations for Ground Cover
Space bare root divisions 12-18 inches apart for ground cover. Closer spacing (12 inches) fills in faster but costs more. Wider spacing (18 inches) saves money but takes longer to form a solid mat. For accent plantings or mixed woodland gardens, space 18-24 inches apart. Remember that wild ginger spreads slowly – about 6-12 inches per year once established.
Plant in staggered rows rather than straight lines for a natural look. This mimics how colonies expand in nature. Mark spacing with flour, sand, or small flags before digging holes. Proper spacing prevents overcrowding and ensures each division has room to develop strong roots.
When to Plant Wild Ginger Bare Roots
Spring Planting Advantages
Early spring ranks as the optimal time for how to plant wild ginger bare roots. Plant as soon as soil can be worked – typically March through April in most regions. Cool temperatures and spring rains reduce transplant shock. Roots establish before summer heat arrives. Plants often show top growth within weeks.
Order bare roots for early spring delivery. If they arrive before you can plant, store in the refrigerator wrapped in slightly damp newspaper or peat moss. Keep them cool (35-40°F) but not frozen. Plant within two weeks of receipt for best viability. Soak roots in lukewarm water for 1-2 hours before planting to rehydrate tissues.
Fall Planting Success Strategies
Fall planting works well in zones 5-7. Plant 4-6 weeks before ground typically freezes – usually September through October. Warm soil encourages root growth while cool air reduces top growth demand. Plants enter winter with established roots, ready for vigorous spring emergence.
Fall-planted divisions need winter protection in colder zones. Apply 3-4 inches of shredded leaves or straw after ground freezes. Remove excess mulch gradually in early spring. Water thoroughly at planting and during dry autumn spells. Fall planting often yields stronger first-year growth than spring planting.
Timing to Avoid
Avoid summer planting unless absolutely necessary. Heat and drought stress bare roots severely. If you must plant in summer, provide temporary shade cloth, daily watering, and thick mulch. Expect higher failure rates. Winter planting fails in frozen ground. Late fall planting in zones 3-4 risks heaving from freeze-thaw cycles.
Step-by-Step Guide: How to Plant Wild Ginger Bare Roots
Gather Your Tools and Materials
Before starting, assemble everything needed. You’ll want a garden fork or spade, hand trowel, watering can or hose with gentle spray, compost or leaf mold, mulch material (shredded leaves, bark, or straw), and plant labels. A soil knife or hori-hori helps in tight spaces. Wear gloves – some people develop skin irritation from handling wild ginger roots.
If planting a large area, consider a wheelbarrow for soil amendments and a kneeling pad for comfort. Have a bucket of water nearby for soaking roots. Preparation prevents rushing and ensures each division gets proper attention.
Inspect and Prepare Bare Root Divisions
Unpack bare roots immediately upon arrival. Healthy divisions show firm, light-colored roots with visible growth buds (eyes) at the crown. Discard any mushy, black, or foul-smelling roots – these indicate rot. Trim broken or excessively long roots to 4-6 inches with clean scissors. This encourages new fibrous root development.
Soak roots in lukewarm water for 60-120 minutes before planting. This rehydrates tissues after storage and shipping. Don’t soak longer than 4 hours – oxygen deprivation damages roots. While roots soak, prepare planting holes.
Dig Proper Planting Holes
Dig holes twice as wide as the root spread and 6-8 inches deep. This loosens surrounding soil for easy root expansion. In heavy clay, roughen hole sides and bottom with your fork to prevent glazing. In sandy soil, make holes slightly deeper to incorporate more organic matter.
Space holes according to your planned layout. If planting in rows, use a string line for straightness. For naturalistic drifts, arrange holes in loose triangles or curves. Remove any large rocks or root competition from nearby trees.
Create a Soil Mound in Each Hole
This critical step ensures proper crown placement. Mix excavated soil with equal parts compost or leaf mold. Form a firm cone-shaped mound in the center of each hole. The mound peak should sit so the crown rests 1/2 to 1 inch below final soil level when roots drape down the sides.
Spread roots outward and downward over the mound. This mimics natural horizontal root growth. Avoid bunching roots vertically or letting them circle. Take time with this step – proper root orientation prevents girdling and encourages rapid establishment.
Position the Crown Correctly
Place the division on the mound with the crown (where roots meet stem buds) at the target depth. The crown should sit 1/2 to 1 inch below soil surface. Too deep causes rot. Too shallow exposes crown to drying and winter injury. Check depth by laying a tool handle across the hole – the crown should sit slightly below this line.
Ensure growth buds face upward. These appear as small bumps or nubs on the crown. If uncertain which end is up, plant horizontally – wild ginger adapts. But proper orientation speeds emergence.
Backfill and Firm Soil Gently
Fill holes with amended soil, working it around roots with your fingers. Eliminate air pockets without compacting soil heavily. Lightly firm with palms – just enough to stabilize the division. The soil should feel springy, not hard. Water thoroughly to settle soil around roots.
After watering, check crown depth again. Soil sometimes settles, exposing crowns. Add more soil if needed. Create a shallow basin around each plant to direct water to roots.
Apply Mulch and Water Deeply
Spread 2-3 inches of mulch around plants, keeping it 1 inch away from crowns. Shredded leaves, pine straw, or fine bark work best. Avoid thick wood chips that can mat and shed water. Mulch conserves moisture, moderates soil temperature, and suppresses weeds.
Water deeply after mulching. Soak the entire planting area until soil feels moist 6 inches down. This initial deep watering connects roots with surrounding soil and eliminates remaining air pockets.
First-Year Care for Strong Establishment
Watering Schedule and Techniques
Consistent moisture defines success with how to plant wild ginger bare roots. Water deeply 2-3 times per week during the first growing season, more during heat waves. Check soil moisture by inserting your finger 2 inches deep – it should feel cool and damp, not wet or dry.
Soaker hoses or drip irrigation deliver water efficiently without wetting foliage. Overhead watering works but increases disease risk. Water early morning so leaves dry quickly. Reduce frequency in fall as temperatures cool and rainfall increases.
Weed Management Without Disturbing Roots
Weeds compete aggressively with slow-spreading wild ginger. Hand-pull weeds weekly during the first year. Avoid hoeing or cultivating – shallow roots damage easily. Mulch heavily to suppress weed germination. Spot-treat persistent weeds with targeted herbicide application if necessary, shielding wild ginger foliage.
As colonies mature, they naturally suppress most weeds. The dense foliage canopy shades out competitors. Patience during the establishment years pays off in reduced maintenance later.
Fertilization: Less Is More
Wild ginger thrives in naturally fertile woodland soils. If you amended soil well at planting, skip fertilizer the first year. Excess nitrogen promotes lush foliage susceptible to pests and winter damage. In subsequent years, a light application of compost in early spring suffices. Alternatively, use a slow-release organic fertilizer at half the recommended rate.
Observe plant performance. Yellowing leaves may indicate nutrient deficiency, but more often signal improper moisture or light. Address cultural issues before fertilizing.
Monitoring for Pests and Diseases
Wild ginger faces few serious problems. Slugs and snails occasionally chew leaves, especially in wet springs. Hand-pick at night or use iron phosphate baits. Fungal leaf spots appear in overly wet, crowded conditions. Improve air circulation and avoid overhead watering. Root rot occurs in poorly drained soil – prevention through proper site selection beats treatment.
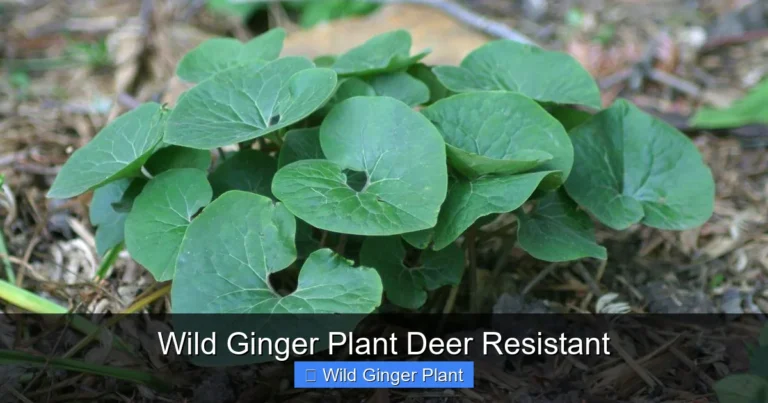
Deer and rabbits rarely browse wild ginger due to aromatic compounds in foliage. This resistance makes it valuable in high-pressure areas. Voles may tunnel through colonies but rarely cause significant damage.
Long-Term Maintenance and Colony Expansion
Annual Care Calendar
Early spring: Remove winter mulch gradually as growth emerges. Apply fresh compost around plants. Check for heaved crowns and replant if needed. Late spring: Enjoy flowers hidden beneath foliage. Monitor moisture as temperatures rise. Summer: Water during dry spells. Remove any drought. Pull weeds. Fall: Apply winter mulch after ground freezes in cold zones. Leave foliage for winter interest and crown protection.
This simple routine sustains healthy colonies for decades. Wild ginger lives 20+ years in good conditions, slowly expanding its territory.
Dividing Established Colonies
After 4-6 years, colonies may become crowded or develop bare centers. Divide in early spring or fall using the same techniques for how to plant wild ginger bare roots. Dig the entire clump. Separate into divisions with 3-5 growth buds each. Replant immediately at proper spacing. Share extras with friends or expand your own plantings.
Division rejuvenates old plantings and provides free plants. It’s also the primary propagation method since seeds germinate slowly and require specific conditions.
Managing Spread in Garden Beds
Wild ginger spreads politely – not invasively. Rhizomes creep slowly, easily contained by edging or regular division. In mixed borders, install root barriers 8-10 inches deep if concerned about encroachment. Or simply dig and relocate wayward runners annually.
Unlike aggressive spreaders (looking at you, bishop’s weed), wild ginger plays well with others. Its shallow roots coexist with deeper-rooted companions like ferns, hostas, and woodland phlox.
Companion Planting and Design Ideas
Woodland Garden Combinations
Wild ginger shines in layered woodland plantings. Pair with spring ephemerals like trillium, bloodroot, and Virginia bluebells that bloom before ginger foliage fills in. Add summer interest with ferns – Christmas fern, lady fern, or maidenhair fern provide textural contrast. Hostas offer bold foliage shapes. Foamflower (Tiarella) and coral bells (Heuchera) add flower spikes above the ginger carpet.
Consider bloom sequence. Wild ginger flowers in April-May. Surround with plants that bloom before, during, and after for continuous interest. The ginger foliage provides constant green backdrop.
Shade Garden Ground Cover Solutions
Use wild ginger under trees where grass fails. It tolerates root competition better than most ground covers once established. Plant in drifts of 7-15 divisions for visual impact. Edge woodland paths with single rows. Fill gaps between larger shade perennials.
On slopes, wild ginger helps stabilize soil with its network of rhizomes. Combine with deeper-rooted shrubs for comprehensive erosion control.
Native Plant Garden Integration
As a native species, wild ginger supports local ecology. Its flowers feed early pollinators. Foliage hosts pipevine swallowtail butterfly larvae in some regions. Seeds disperse by ants (myrmecochory), a fascinating ecological interaction. Include it in native plant certifications and pollinator garden programs.
Pair with other natives: wild columbine, Solomon’s seal, jack-in-the-pulpit, and mayapple create authentic woodland communities.
Troubleshooting Common Problems
Plants Fail to Emerge in Spring
If divisions don’t appear by mid-spring, investigate. Gently dig around the planting spot. Firm, pale roots with plump buds indicate dormancy – wait longer. Mushy, dark roots signal rot from poor drainage or planting too deep. Dry, brittle roots suggest desiccation from insufficient watering or planting too shallow.
Replant viable divisions at corrected depth in better conditions. Learn from the loss – wild ginger teaches precise requirements.
Foliage Yellows or Browns Prematurely
Summer dormancy occurs naturally in extreme heat and drought. Plants yellow and collapse but return next spring if roots survive. Water deeply during heat waves to prevent this. Persistent yellowing in good conditions may indicate nutrient deficiency or pH imbalance. Test soil and amend accordingly.
Brown leaf edges usually mean too much sun or too little water. Relocate or increase irrigation and mulch.
Colony Expands Too Slowly
Wild ginger is naturally slow. But if after 3 years you see minimal spread, check conditions. Is soil still rich and moist? Has canopy closure increased shade beyond tolerance? Are tree roots outcompeting for water? Top-dress with compost. Water more consistently. Thin overhead branches if needed.
Sometimes patience is the only answer. Each site differs.
Fungal Issues in Wet Seasons
Extended rain promotes leaf spot fungi. Remove affected leaves promptly. Improve air circulation by thinning neighboring plants. Avoid overhead irrigation. Copper-based fungicides work if applied early, but cultural fixes prevent recurrence.
Frequently Asked Questions About Wild Ginger
Is Wild Ginger Edible?
While historically used as a ginger substitute, wild ginger contains aristolochic acid, which can cause kidney damage and cancer with prolonged use. Modern herbalists advise against consumption. Enjoy it for ornamental value only. The roots smell like ginger when crushed – a pleasant garden experience without the risk.
Does Wild Ginger Flower?
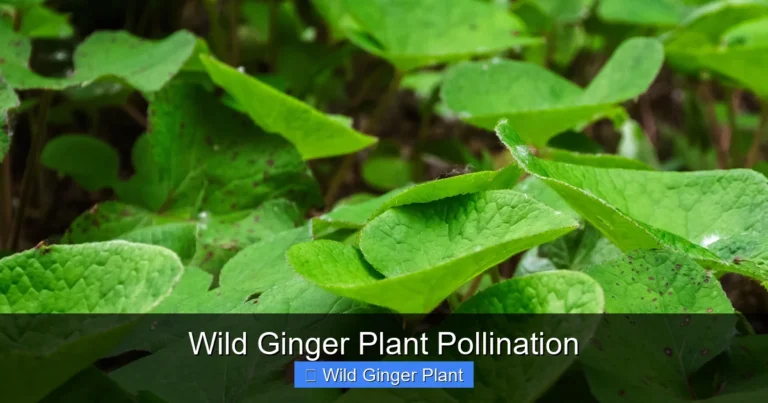
Yes, but flowers hide at ground level beneath foliage. They appear in April-May, shaped like small jugs or bells, usually maroon to brown. Pollinated by flies and beetles attracted to the faint carrion-like scent. You’ll need to gently lift leaves to see them. The flowers add botanical interest but aren’t showy.
Can Wild Ginger Grow in Containers?
Yes, with attention to moisture. Use wide, shallow pots with rich potting mix amended with compost. Keep consistently moist. Provide full shade. Overwinter in protected location or bury pots in ground. Container plants need more frequent division – every 2-3 years.
How Fast Does Wild Ginger Spread?
Expect 6-12 inches of radial spread per year once established. First year focuses on root development. Second year shows modest increase. Third year onward, colonies expand noticeably. Full ground cover at 12-inch spacing takes 3-5 years. At 18-inch spacing, 5-7 years.
Will Wild Ginger Choke Out Other Plants?
No. Wild ginger coexists politely with other shade perennials. Its shallow rhizomes occupy different soil strata than deeper-rooted companions. It may overwhelm very small, delicate plants like some spring ephemerals. Give those extra space.
Can I Grow Wild Ginger from Seed?
Possible but challenging. Seeds require cold stratification (60-90 days at 40°F) and often take 2 years to germinate. Seedlings grow slowly, reaching transplant size in 3-4 years. Division provides faster, reliable results. Leave seed propagation to specialists.
Conclusion: Your Woodland Garden Awaits
Learning how to plant wild ginger bare roots opens the door to one of North America’s most charming native ground covers. This unassuming plant solves the eternal shade garden dilemma with grace and ecological value. The steps we’ve covered – site selection, timing, proper planting depth, consistent moisture, and patience – form the foundation for success.
Remember that wild ginger operates on nature’s timeline. First-year plants focus downward, building the root network that sustains decades of growth. Second-year plants show more foliage. By year three, you’ll see the colony expanding. Year five brings the dense, weed-suppressing carpet that makes wild ginger so valuable.
The investment pays dividends far beyond aesthetics. You’re restoring a piece of native woodland ecology. Early pollinators find food. Ants disperse seeds. Soil stays covered and protected. And you gain a low-maintenance solution for those difficult shady spots.
Start small if uncertain. Plant a few divisions in your best shade location. Observe. Learn. Then expand confidently. Wild ginger rewards attention to its simple needs with decades of reliable beauty. Your woodland garden – and the creatures that inhabit it – will thank you.
Now you have the knowledge. The bare roots await. Happy planting!
Frequently Asked Questions
Can wild ginger tolerate any direct sunlight?
Wild ginger prefers full to dappled shade. Morning sun is tolerated if soil stays consistently moist, but afternoon sun will scorch foliage and stress plants.
Do I need to fertilize wild ginger after planting?
If you amended soil with compost at planting, no fertilizer is needed the first year. In subsequent years, a light spring compost top-dressing is sufficient.
Will wild ginger spread aggressively like invasive ground covers?
No, wild ginger spreads slowly by rhizomes (6-12 inches per year) and is easily contained. It coexists well with other shade perennials.
What should I do if my wild ginger doesn’t emerge in spring?
Gently dig to check roots. Firm, pale roots with plump buds are alive but dormant – wait longer. Mushy or brittle roots indicate planting or care issues.
Can I grow wild ginger under black walnut trees?
Yes, wild ginger tolerates juglone (the toxin from black walnut roots) better than many plants, making it a good choice for this challenging location.
How do I divide established wild ginger colonies?
Dig the entire clump in early spring or fall. Separate into divisions with 3-5 growth buds each. Replant immediately using the same bare root planting method.