Solar Buying Guide for Haworthia
This solar buying guide for Haworthia explains how to choose, set up, and monitor the right light system for your succulent. You will learn the differences between LED and fluorescent options, how to avoid common mistakes, and budget‑friendly tricks to keep your plants healthy year‑round.
Welcome to the complete solar buying guide for Haworthia. If you love these charming succulents, you know that light is the single most important factor for their health. In this guide we walk through everything you need to know, from understanding the plant’s natural light preferences to picking the best grow light, setting it up, and keeping an eye on how your Haworthia reacts. Whether you are a beginner or a seasoned collector, the tips here will help you create a thriving indoor garden without breaking the bank.
Haworthia species originate from the shaded rocky outcrops of South Africa. They receive bright, filtered sunlight for most of the day but are protected from the harsh midday rays. Recreating that environment indoors is the key to success. The good news is that modern grow lights make it easy to mimic those conditions. By the end of this article you will feel confident choosing a light system, installing it, and fine‑tuning it for perfect growth.
We have organized the information into clear sections. Each section contains practical examples, simple steps, and insider tips that you can apply today. Let’s dive in and give your Haworthia the light it deserves.
Key Takeaways
- Match light intensity to species: Haworthia prefers bright, indirect light; too much direct sun causes bleaching.
- LED grow lights are the most efficient: They provide the right spectrum with low heat and low electricity cost.
- Use a timer for consistent photoperiods: 12‑14 hours of light per day mimics natural conditions.
- Monitor plant response weekly: Look for color changes, stretching, or leaf burn to adjust distance or duration.
- Budget hacks work: DIY reflectors, second‑hand fixtures, and energy‑saving schedules cut costs without sacrificing quality.
- Avoid common pitfalls: Over‑lighting, ignoring heat buildup, and skipping acclimation are the top mistakes.
- Invest in a light meter: It gives precise readings so you can fine‑tune your setup for optimal growth.
Quick Answers to Common Questions
What type of grow light is best for Haworthia?
A full‑spectrum LED panel with adjustable intensity is the best choice because it provides the right blue‑red balance, runs cool, and uses little electricity.
How many hours of light do Haworthia need each day?
Haworthia thrives with 12 to 14 hours of light per day, mimicking the long summer days of its native habitat.
Can I use a regular household LED bulb for my Haworthia?
Standard household LEDs lack the necessary red and blue wavelengths and usually do not deliver enough PPFD for healthy succulent growth.
How do I know if my Haworthia is getting too much light?
Look for bleached leaf windows, brown crispy tips, or a overall sunburned appearance; these are clear signs of excess intensity.
Is a light meter necessary for a small collection?
A light meter is not mandatory but highly recommended; it gives precise PPFD readings so you can fine‑tune distance and duration for optimal results.
📑 Table of Contents
Understanding Haworthia Light Needs
Before you buy any equipment, it helps to know what Haworthia actually wants. These plants are adapted to bright but indirect light. In their native habitat they grow under shrubs or in rock crevices where the sun is filtered. Direct, intense sunlight can scorch their thick leaves, causing white or brown patches. On the other hand, too little light leads to etiolation, where the plant stretches and loses its compact rosette shape.
Why Light Matters
Light drives photosynthesis, the process that turns water and carbon dioxide into energy. Haworthia uses a specialized form of photosynthesis called CAM, which allows it to open its stomata at night. Even so, it still needs a solid period of bright light during the day to store enough energy. Without adequate light the plant cannot produce the sugars it needs for growth and for producing the beautiful translucent leaf windows that many collectors prize.
Natural Habitat Clues
Look at where Haworthia grows in the wild. You will see them nestled among rocks, often receiving morning sun and afternoon shade. This tells us two things: they like a few hours of direct morning light, and they need protection from the strongest midday sun. When you set up an indoor system, aim for a similar pattern. A light that runs for 12 to 14 hours, with a brief “sunrise” ramp‑up and a gentle “sunset” dimming, works well.
Choosing the Right Solar Setup
The market offers many grow lights, but not all are suited for Haworthia. The goal is to provide a spectrum rich in blue and red wavelengths while keeping heat low. Below we break down the main types and what to look for.
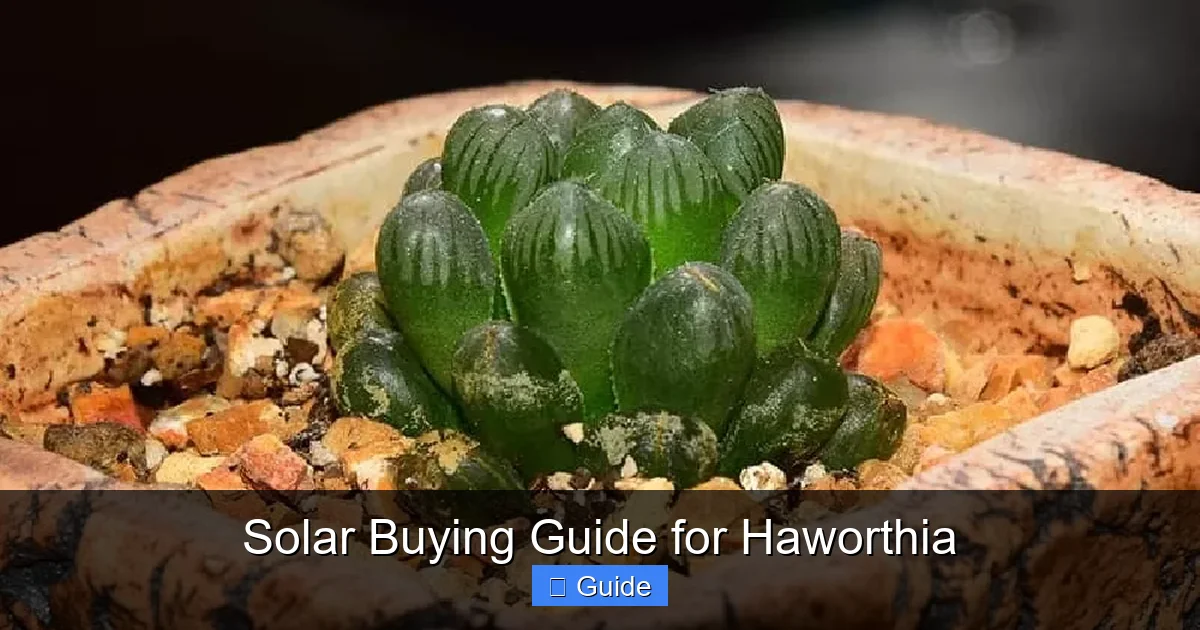
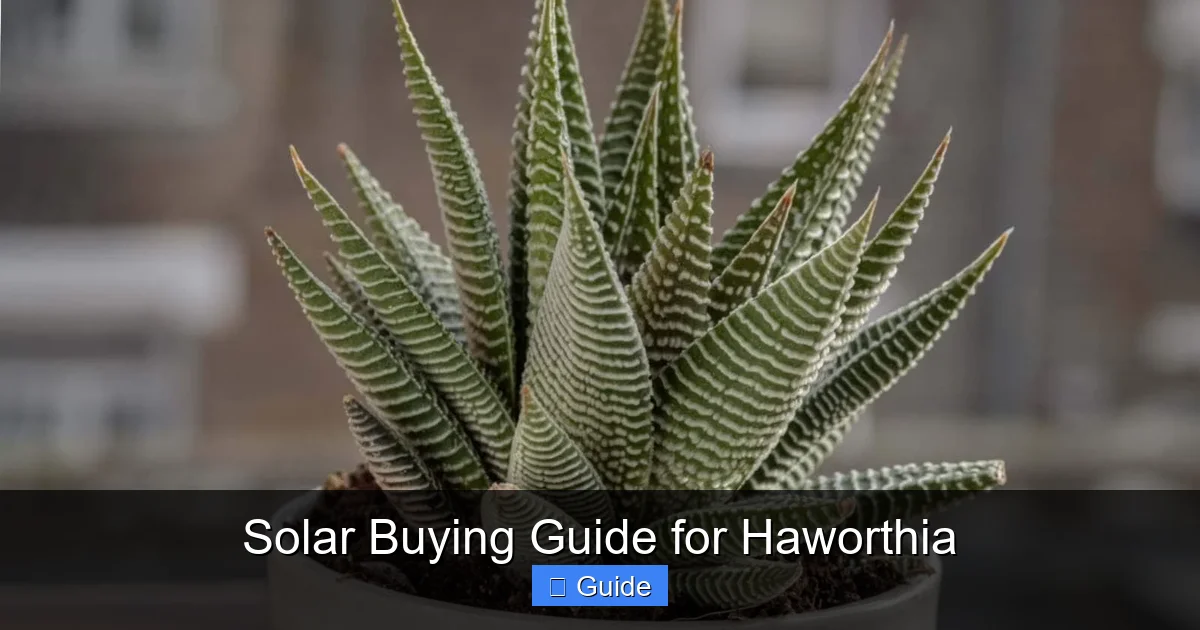
Visual guide about Solar Buying Guide for Haworthia
Image source: trees.com
Types of Grow Lights
There are three common categories: fluorescent tubes, compact fluorescent lamps (CFL), and light‑emitting diodes (LED). Fluorescent tubes are inexpensive and run cool, but they lack intensity for larger collections. CFLs are a step up in output but still produce more heat than LEDs. LED panels are the current gold standard because they can be tuned to exact spectra, run very cool, and last 50,000 hours or more.
LED vs Fluorescent
LED lights give you the best control. You can choose a full‑spectrum model that mimics sunlight or a targeted “grow” spectrum heavy in 450 nm blue and 660 nm red. Fluorescent lights usually emit a broader, cooler spectrum that is fine for seedlings but may not trigger the compact growth Haworthia prefers. If you already own a fluorescent fixture, you can supplement it with a small LED strip for the red boost.
Wattage and Coverage
For a typical 12‑inch square growing area, a 30‑watt LED panel delivering 200‑300 µmol·m⁻²·s⁻¹ at 12 inches is sufficient. If you have a larger shelf, scale up proportionally. Remember that wattage alone does not equal output; look at the PPFD (photosynthetic photon flux density) rating. A good rule of thumb: aim for 150‑250 µmol·m⁻²·s⁻¹ at canopy level for Haworthia.
Setting Up Your Light System
Once you have the right fixture, proper installation makes all the difference. Small adjustments in height, angle, and timing can turn a mediocre setup into a thriving one.
Placement and Distance
Mount the light 12 to 18 inches above the plant canopy. Use a adjustable hanger or a simple chain so you can raise or lower the fixture as the plants grow. If you notice leaf tips turning brown, raise the light a few inches. If the rosettes start stretching toward the source, lower it slightly. A level shelf ensures even coverage across all pots.
Timer Settings
Consistency is crucial. Plug the fixture into a digital timer set for 13 hours on, 11 hours off. Many timers allow a “sunrise” ramp of 30 minutes and a “sunset” dim of 30 minutes. This gradual change reduces shock and mimics the natural day‑night cycle. If you live in a region with very short winter days, you can extend the on‑time to 14 hours during the darkest months.
Adjusting for Seasons
Haworthia growth slows in winter. You can reduce the photoperiod to 10‑11 hours and lower the intensity by raising the fixture a couple of inches. In spring, gradually bring the light back to the full schedule over a two‑week period. This seasonal tweak prevents stress and encourages the plant to enter its natural dormancy cycle.
Monitoring Plant Response
Your Haworthia will tell you if the light is right. Regular observation lets you catch problems early and make small corrections before they become serious.
Signs of Too Much Light
Bleached or white patches on the leaf windows, crispy brown tips, and a overall “sunburned” appearance indicate excess intensity. The plant may also close its stomata tightly, reducing gas exchange. If you see these signs, raise the light or shorten the daily run time by an hour.
Signs of Too Little Light
Etiolation shows up as elongated internodes, pale green color, and a loose, open rosette. The plant may also produce fewer offsets. Increase intensity by lowering the fixture or adding a supplemental LED strip. A light meter can confirm whether you are below the 150 µmol·m⁻²·s⁻¹ threshold.
Using a Light Meter
A handheld quantum meter measures PPFD instantly. Take readings at the leaf surface in several spots. Aim for a uniform reading across the canopy. If one corner reads significantly lower, adjust the fixture angle or add a reflector. Logging weekly numbers helps you spot trends and fine‑tune the schedule.
Budget-Friendly Tips and Tricks
You do not need a high‑end commercial setup to grow beautiful Haworthia. A few clever hacks can stretch your budget while delivering professional results.
DIY Reflectors
Line the inside of your grow shelf with Mylar emergency blankets or aluminum foil (shiny side out). This reflects stray photons back onto the plants, effectively increasing intensity by 15‑20 % without extra electricity. Secure the material with clips or tape, making sure there are no wrinkles that could create hot spots.
Energy‑Saving Schedules
Run lights during off‑peak electricity hours if your utility offers time‑of‑use rates. Many smart plugs let you program the timer remotely. You can also dim the LEDs by 10 % during the middle of the photoperiod; the plants hardly notice, but the power draw drops noticeably.
Second‑Hand Finds
Check local classifieds, university surplus sales, or online marketplaces for used LED panels. Many growers upgrade frequently and sell perfectly good fixtures at a fraction of the new price. Verify the PPFD rating before buying, and test the unit with a light meter if possible.
Common Mistakes to Avoid
Even experienced growers slip up. Knowing the pitfalls ahead of time saves you time, money, and heartache.
Over‑Lighting
More light is not always better. Haworthia has a low light saturation point. Pushing PPFD above 300 µmol·m⁻²·s⁻¹ can cause photoinhibition, where the photosynthetic damage. Stick to the recommended range and resist the urge to add extra fixtures “just in case.”
Ignoring Heat
Even LEDs emit some heat. In a closed shelf, temperature can rise 5‑10 °F above ambient. Use a small clip‑on fan to circulate air. Keep a thermometer at canopy level; aim for 70‑75 °F (21‑24 °C). Excess heat speeds up water loss and can trigger root rot if the soil stays wet.
Skipping Acclimation
Moving a Haworthia from a low‑light windowsill straight under a strong grow light shocks the plant. Introduce the new light gradually: start with 4 hours a day at a higher distance, then add an hour every two days until you reach the target schedule. This two‑week acclimation prevents burn and stress.
Conclusion
You now have a complete roadmap for lighting your Haworthia collection. By matching the plant’s natural preference for bright, filtered light, choosing an efficient LED system, setting it up with proper distance and timing, and monitoring the response, you create an environment where these succulents can show off their stunning leaf windows and compact forms. Remember to use reflectors, timers, and a light meter to get the most out of every watt. Avoid the common mistakes of over‑lighting, heat buildup, and sudden changes. With a little patience and the tips in this solar buying guide for Haworthia, your indoor garden will thrive year after year. Happy growing!
Frequently Asked Questions
What is the ideal PPFD range for Haworthia?
The ideal PPFD range for Haworthia is 150 to 250 µmol·m⁻²·s⁻¹ at canopy level. This provides enough energy for photosynthesis without causing photoinhibition.
Can I grow Haworthia under fluorescent lights only?
Yes, fluorescent lights can work for small collections, but they often lack the red spectrum needed for compact growth. Adding a supplemental red LED strip improves results.
How far should the grow light be from the plants?
Start with the fixture 12 to 18 inches above the leaf canopy. Adjust up or down based on plant response; raise if you see burn, lower if the rosettes stretch.
Do Haworthia need a dark period?
Absolutely. A consistent dark period of 10 to 12 hours each night is essential for CAM photosynthesis and overall plant health.
What temperature is best for Haworthia under grow lights?
Maintain 70 to 75 °F (21 to 24 °C) at the canopy. Use a small fan to prevent heat buildup from the lights.
How often should I check my light meter readings?
Check readings weekly or after any change in fixture height, bulb replacement, or seasonal schedule adjustment to ensure consistent PPFD.