Pot Size for Repotting Guide
Choosing the right pot size for repotting is critical for plant health. This guide covers the golden rule of sizing up 1-2 inches, plant-specific recommendations, and common mistakes to avoid. Follow our step-by-step process to give your plants the perfect new home.
Key Takeaways
- Size up gradually: Increase pot diameter by only 1-2 inches for most houseplants to prevent waterlogging and root rot.
- Match pot to plant type: Succulents prefer shallow pots while deep-rooted plants like trees need deeper containers.
- Watch for root bound signs: Roots circling the bottom, growing from drainage holes, or pushing soil up indicate it’s time to repot.
- Drainage is non-negotiable: Always choose pots with drainage holes regardless of size or material.
- Consider pot material: Terracotta wicks moisture away while plastic retains it, affecting how quickly soil dries.
- Don’t repot into huge pots: Oversized containers hold excess water that roots cannot reach, leading to fungal issues.
- Time it right: Spring and early summer are ideal for repotting when plants enter active growth phases.
Quick Answers to Common Questions
How much bigger should a new pot be when repotting?
Increase the pot diameter by 1-2 inches for most houseplants. This gives roots room to grow without leaving excess wet soil that causes root rot.
Can I put a small plant in a large pot to avoid repotting later?
No. Oversized pots hold too much moisture that roots cannot reach. This leads to root rot and fungal issues. Always size up gradually.
Do all plants follow the same pot sizing rules?
No. Succulents need shallow pots and minimal size increases. Trees prefer deeper pots. Orchids need airy containers sized to root mass, not foliage.
When is the best time to repot houseplants?
Spring and early summer during active growth. Plants recover fastest and grow new roots into fresh soil. Avoid winter unless it’s an emergency.
Should I add gravel or rocks at the bottom of the pot for drainage?
No. This creates a perched water table that keeps soil wetter longer. Use quality potting mix throughout and ensure the pot has drainage holes.
📑 Table of Contents
- Why Getting the Pot Size Right Changes Everything
- The Golden Rule: How Much Bigger Should the New Pot Be?
- Pot Size Guidelines by Plant Type
- Signs Your Plant Is Begging for a Bigger Pot
- Common Repotting Mistakes That Kill Plants
- Step-by-Step Repotting Process
- Choosing Pot Material: How It Affects Sizing Decisions
- Special Situations: When Rules Bend
- Conclusion: Your Plants Deserve the Perfect Fit
Why Getting the Pot Size Right Changes Everything
You stare at your thriving monstera. Roots poke from drainage holes. The soil dries in a day. You know it’s time. But standing in the garden center aisle, you freeze. Dozens of pots. Different sizes. Different materials. Your mind races. Too small and roots strangle. Too big and soil stays soggy. Root rot waits in the wings.
This pot size for repotting guide exists because that moment happens to everyone. The right container size is not a guess. It is a science backed by how roots actually grow. Roots need air as much as water. They need room to explore but not so much they drown in wet soil they cannot reach. Every plant parent faces this decision. The good news? A few simple rules make the choice easy every single time.
We will walk through the golden rule of sizing up. We will cover exceptions for different plant types. We will show you how to read your plant’s signals. By the end, you will grab the right pot without hesitation. Your plants will thank you with fresh growth and vibrant leaves.
The Golden Rule: How Much Bigger Should the New Pot Be?
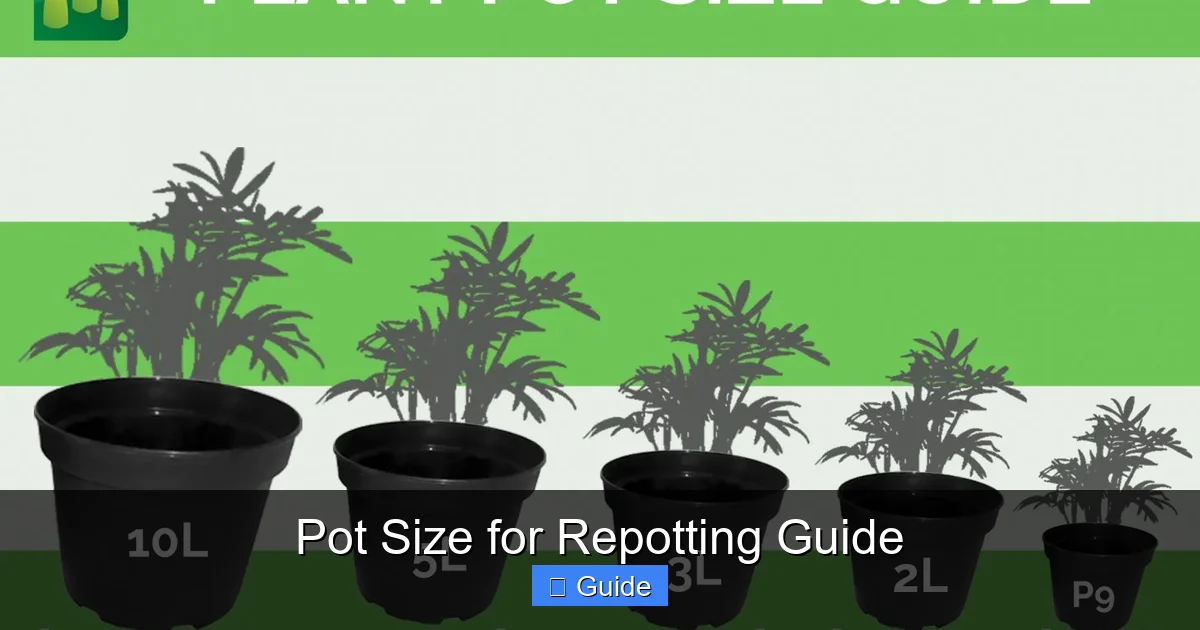
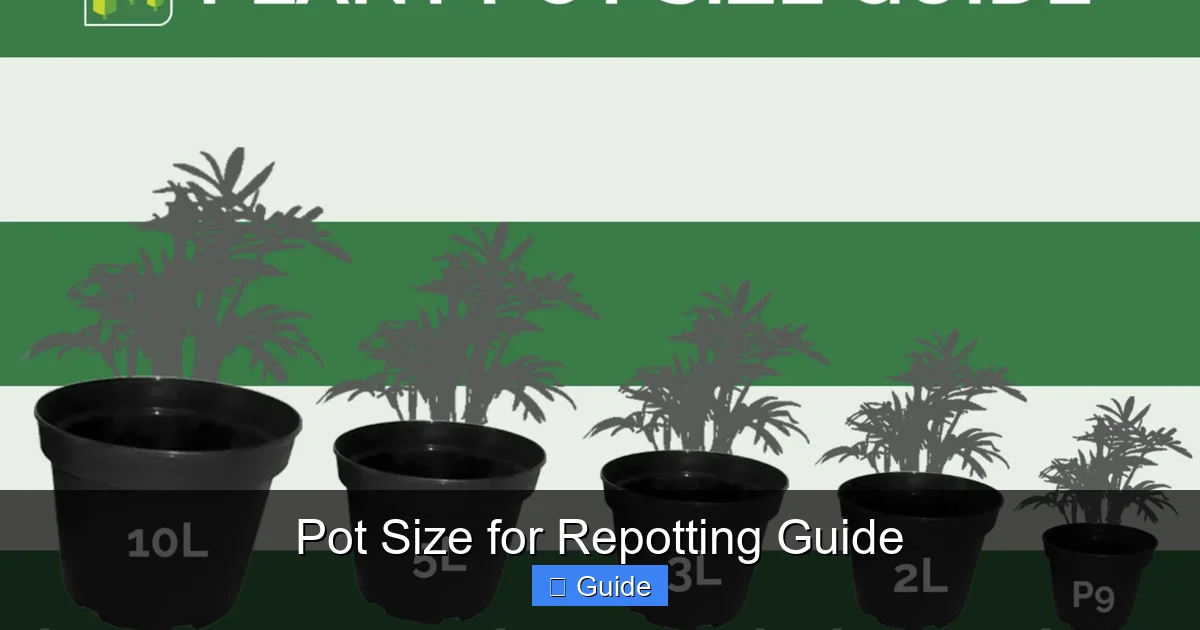
Most plant experts agree on one core principle. Increase the pot diameter by one to two inches. That is it. A six inch pot moves to seven or eight inches. A ten inch pot moves to eleven or twelve. This small jump gives roots fresh soil to colonize without leaving vast zones of wet dirt untouched.
Visual guide about Pot Size for Repotting Guide
Image source: johnsonsnurseries.co.uk
Why One to Two Inches Works
Roots grow outward from the center. In a properly sized pot, they reach the edges just as the soil mass becomes fully rooted. When you jump two inches, the new soil ring around the root ball is thin enough to dry at a similar rate to the center. Water distributes evenly. Roots penetrate the fresh mix quickly. The plant barely notices the transition.
Jump four inches and the story changes. A thick wall of wet soil surrounds the root ball. Roots cannot reach it fast enough. That soil stays soggy. Anaerobic bacteria thrive. Root rot begins in the dark wet zone you cannot see. The plant declines despite your good intentions.
Measuring Pot Size Correctly
Pot size refers to the top inside diameter. Not the bottom. Not the outside. Not the height. A standard nursery pot labeled “6 inch” measures six inches across the top interior. Measure your current pot the same way. Then add one or two inches. Shop for that diameter.
Height matters less than width for most houseplants. Roots spread laterally. A deeper pot helps only for taproot species like palms or some trees. For typical tropicals, match the new pot depth to the old or go slightly deeper. Width drives the decision.
Exceptions to the Golden Rule
Slow growers like snake plants or zz plants prefer tighter quarters. Size up just one inch. Fast growers like pothos or philodendrons handle two inches easily. Seedlings and cuttings need tiny steps. Move a two inch seedling to a three inch pot. Not a six inch. Annuals and vegetables in outdoor containers can jump larger since they complete their life cycle in one season.
Pot Size Guidelines by Plant Type
Different plants evolved different root strategies. Your pot choice should respect those strategies. This section breaks down sizing by major plant categories.
Tropical Foliage Plants
Monsteras, philodendrons, pothos, aglaonemas, and calatheas fall here. They have fibrous root systems that fill containers quickly. Follow the one to two inch rule strictly. These plants hate sitting in wet soil. A snug pot encourages the slight drying cycles they prefer. Use a pot with multiple drainage holes. Terracotta works beautifully for these species because it wicks excess moisture.
Repot tropicals annually when young. Mature specimens every two to three years. Signs include roots circling the surface, water running straight through, or the plant becoming top heavy and tipping.
Succulents and Cacti
These plants store water in leaves and stems. Their roots are shallow and spread wide rather than deep. They need pots barely larger than the root ball. Increase by half an inch to one inch max. Shallow bowls or azalea pots work better than standard deep nursery pots.
Drainage is everything. Add extra perlite or pumice to the mix. Terracotta is mandatory for beginners. It pulls moisture from soil fast. Never put a small succulent in a large decorative pot without a nursery pot inside. The soil volume will stay wet for weeks.
Orchids and Epiphytes
Orchids do not grow in soil. They grow on bark. Their roots need air flow. Clear plastic pots with slits or holes on sides are standard. Size the pot to the root mass, not the leaves. Orchid roots should fit comfortably with a little wiggle room. Too large and the bark stays damp too long. Repot every one to two years when bark breaks down.
Trees and Large Floor Plants
Fiddle leaf figs, rubber trees, citrus, and palms develop deeper root systems. They benefit from deeper pots. Width still follows the one to two inch rule. But depth can increase more aggressively. A tree in a twelve inch wide pot might move from twelve inches deep to sixteen inches deep.
Heavy ceramic or concrete pots add stability for top heavy trees. Ensure they have drainage holes. Use pot feet to keep the drainage hole clear of the saucer. Wheeled plant caddies make moving large pots possible for light rotation.
Herbs and Edibles
Basil, mint, parsley, and tomatoes grow fast. They need root space to support leaf production. Size up two to three inches for annual vegetables. Perennial herbs like rosemary and thyme prefer tighter pots like succulents. Fabric grow bags excel for vegetables. They air prune roots, preventing circling, and allow massive size jumps without waterlogging risk.
African Violets and Gesneriads
These plants have fine, delicate roots. They prefer shallow pots. The pot diameter should roughly equal one third the leaf span. A plant with a twelve inch leaf spread wants a four inch pot. Repot every six months into fresh mix. Go up only half an inch at a time. They bloom best when slightly root bound.
Signs Your Plant Is Begging for a Bigger Pot
Plants communicate clearly if you know the language. Do not repot on a schedule alone. Repot when the plant shows readiness. Here are the unmistakable signals.
Roots Escaping Drainage Holes
This is the most obvious sign. White or tan roots poke from the bottom. They search for new territory. The plant has maximized its current soil volume. Time to size up.
Roots Circling the Surface
Gently lift the plant. If roots form a dense mat on top of the soil, they have nowhere else to go. The plant is root bound. Water will run off this mat without penetrating.
Water Runs Straight Through
You water thoroughly. Seconds later, water pours from the bottom. The soil barely dampens. The root mass has displaced most soil. There is no sponge left to hold moisture. The plant dehydrates between waterings.
Soil Dries in Hours Not Days
Your usual watering rhythm breaks. Soil that stayed moist for a week now crusts over in a day. The root to soil ratio is skewed. Roots pull water faster than the reduced soil volume can supply.
Stunted Growth Despite Good Care
Light, water, fertilizer are all correct. But new leaves are small. Internodes are long. The plant looks pale. Roots have hit the wall. They cannot support more foliage without more soil resources.
Plant Becomes Top Heavy
The foliage mass dwarfs the pot. A breeze knocks it over. The root ball cannot anchor the canopy. This is both a size and stability issue. A wider pot lowers the center of gravity.
Salt Crust on Soil Surface
White mineral buildup means water evaporates faster than roots absorb it. Fertilizer salts concentrate. This happens when soil volume is too low to buffer. Fresh soil in a larger pot resets the balance.
Common Repotting Mistakes That Kill Plants
Good intentions pave the path to plant heaven. Avoid these errors and your repotting success rate will soar.
Mistake One: Jumping Pot Sizes
We covered this but it bears repeating. A four inch jump feels generous. It is dangerous. The “room to grow” logic fails because roots do not grow into wet soil they cannot oxygenate. Stick to one to two inches. Always.
Mistake Two: No Drainage Holes
Decorative pots without holes are cachepots. Not planters. Never plant directly in them. Water pools at the bottom. Roots rot. Use a nursery pot with holes inside the decorative pot. Remove to water. Drain fully. Return.
Mistake Three: Adding Gravel at the Bottom
Old advice says gravel improves drainage. Science says it creates a perched water table. Water sits above the gravel layer. Roots rot in that zone. Fill the pot entirely with potting mix. Use a coffee filter or mesh over the hole to stop soil loss.
Mistake Four: Repotting at the Wrong Time
Winter repotting shocks dormant plants. They cannot grow new roots into fresh soil. The wet soil sits. Rot wins. Wait for active growth. Spring is ideal. Early summer works. Fall is risky in cold climates. Emergency repotting for root rot is the only winter exception.
Mistake Five: Loosening Roots Too Aggressively
Some root teasing helps. Shredding the root ball kills. Fine roots do the work. They break easily. Gently massage the bottom and sides. Pull a few outer roots downward. Stop. The plant will explore the new soil on its own.
Mistake Six: Burying the Stem
Plant at the same soil line as before. Burying stems causes rot. Exception: tomatoes and some leggy seedlings can be buried deeper to sprout adventitious roots. Know your species.
Mistake Seven: Watering Heavily After Repotting
Fresh soil holds water differently. Roots are damaged and not absorbing. Water lightly. Settle the soil. Then wait. Let the top inch dry before watering again. This encourages roots to chase moisture into new territory.
Mistake Eight: Fertilizing Immediately
Fresh potting mix contains nutrients. Damaged roots burn easily. Wait four to six weeks. Then fertilize at half strength. The plant needs to establish before feeding.
Step-by-Step Repotting Process
Follow this sequence every time. Consistency builds confidence. Your plants get the best start in their new home.
Step One: Gather Supplies
New pot one to two inches larger. Fresh potting mix suited to your plant type. Trowel or large spoon. Gloves if preferred. Watering can. Saucer. Mesh or coffee filter for drainage hole. Pruning shears cleaned with alcohol. Newspaper or tarp for cleanup.
Step Two: Prepare the New Pot
Place mesh over the drainage hole. Add an inch of fresh potting mix to the bottom. Pat gently. Do not compact. The root ball will sit on this layer.
Step Three: Remove the Plant
Water the plant lightly an hour before. Moist soil holds the root ball together. Turn the pot sideways. Tap the rim on a hard surface. Slide the plant out. If stuck, run a knife around the inside edge. Squeeze flexible nursery pots. Never pull by the stem.
Step Four: Inspect and Tease Roots
Examine the root ball. Healthy roots are white or tan and firm. Black, mushy, smelly roots are rot. Trim rot with clean shears. Gently loosen the bottom and sides. Pull a few circling roots downward. Remove any weeds or moss on the surface.
Step Five: Position in New Pot
Center the plant. The top of the root ball should sit about one inch below the pot rim. This leaves watering space. Adjust the bottom soil level if needed. The plant should sit at the same depth as before.
Step Six: Backfill with Fresh Mix
Fill around the sides with potting mix. Use your fingers or a chopstick to work soil into gaps. Tap the pot sides to settle. Do not pack hard. Roots need air pockets. Leave that one inch gap at the top.
Step Seven: Water Lightly
Water until it drains from the bottom. This settles soil and eliminates large air pockets. Add more mix if settling exposes roots. Do not water again until the top inch feels dry.
Step Eight: Aftercare
Place in bright indirect light. Avoid direct sun for a week. Skip fertilizer for a month. Watch for transplant shock signs: drooping, yellowing lower leaves. These are normal for a few days. New growth signals success.
Choosing Pot Material: How It Affects Sizing Decisions
Pot material changes how soil dries. This influences how much extra soil volume your plant can handle. Match material to your watering habits and plant needs.
Terracotta and Unglazed Clay
Porous walls wick moisture. Soil dries faster and more evenly. You can size up slightly more aggressively, maybe two inches for fast growers. The clay breathes. Roots get air through the walls. Salt buildup appears as white crust on the exterior. This is harmless and wipes off. Terracotta is heavy and breaks if dropped. Perfect for succulents, cacti, and anyone who overwater.
Glazed Ceramic
Non-porous. Holds moisture like plastic but heavier. Beautiful colors and designs. Ensure drainage holes exist. Many decorative glazed pots lack them. Drill holes if needed or use as cachepots. Good for plants that like consistent moisture like ferns and calatheas. Stick to the one inch rule since soil stays wet longer.
Plastic Nursery Pots
Lightweight. Inexpensive. Excellent drainage. Standard for a reason. Roots sometimes cling to ridged sides making removal harder. Flex the pot to release. Plastic degrades in UV light outdoors. Use inside decorative pots for aesthetics. The gold standard for repotting flexibility.
Fabric Pots and Grow Bags
Air pruning prevents root circling. Roots hit air at the fabric edge and branch. This creates dense, healthy root systems. You can jump larger sizes safely because excess water evaporates through the walls. Excellent for vegetables, trees, and outdoor plants. Not pretty indoors without a cover.
Concrete and Stone
Heavy. Stable for large trees. Porous like terracotta but thicker walls. Expensive. Difficult to move. Ensure drainage holes. Use pot feet. Best for permanent outdoor installations or large indoor specimens you rarely relocate.
Self-Watering Pots
Reservoir at bottom wicks water upward. Great for consistent moisture lovers. Dangerous for drought tolerant plants. Sizing works differently. The root ball sits above the water line. Follow manufacturer guidelines. Not a beginner tool for succulents or cacti.
Special Situations: When Rules Bend
Real life throws curveballs. Here is how to handle them.
Emergency Repotting for Root Rot
You discover black mushy roots. Act now regardless of season. Remove all rot. Rinse roots in lukewarm water. Treat with hydrogen peroxide dilution (one part 3% peroxide to four parts water). Repot into a pot sized for the *remaining* healthy roots. This may mean a smaller pot than before. Use fresh, sterile mix. Water sparingly. Hope for recovery.
Dividing Overgrown Plants
Snake plants, peace lilies, and ferns form multiple crowns. You can divide during repotting. Each division gets its own pot sized to its root mass. Often this means smaller pots than the original. Divisions establish faster in snug quarters.
Repotting Newly Purchased Plants
Nursery pots are often too small by the time you buy. But the plant is stressed from transport. Wait two to three weeks. Let it acclimate to your light and humidity. Then repot if roots show the signs. Exception: if the pot has no drainage or the soil is pure peat that repels water, repot immediately.
Scaling Up Large Specimens
Your fiddle leaf fig is in a fourteen inch pot. The next size is sixteen inches. Then eighteen. Then twenty. At some point you stop sizing up. You root prune instead. Remove the plant. Shave two inches off the root ball perimeter and bottom. Return to same pot with fresh mix. Do this every two to three years. It maintains size and health indefinitely.
Hydroponic to Soil Transitions
Water roots differ from soil roots. They are brittle and unbranched. Pot into a container barely larger than the root mass. Use a chunky, airy mix (orchid bark, perlite, coco coir). Keep very moist for two weeks. Humidity dome helps. Gradually transition to normal watering. Expect some leaf loss.
Conclusion: Your Plants Deserve the Perfect Fit
You now hold the complete pot size for repotting guide in your hands. The rules are simple. Size up one to two inches. Match the pot to the plant type. Read the signals. Avoid the common traps. Use the right material for your habits. Follow the steps.
Repotting is not a chore. It is a renewal ritual. Fresh soil brings new nutrients. Extra space invites fresh roots. The plant responds with energy you can see. Larger leaves. Brighter color. New growth points. That is the reward for getting the pot size right.
Next time you stand in that garden center aisle, you will not freeze. You will measure. You will choose. You will go home with the perfect pot. Your plant will settle in like it was made for that container. Because in a way, it was. You made the choice with knowledge. That makes all the difference.
Happy repotting. Your green family is about to thrive.
Frequently Asked Questions
What happens if I repot into a pot that is too big?
Excess soil stays wet because roots cannot reach it. This creates anaerobic conditions leading to root rot, fungal growth, and plant decline. The plant may appear to stop growing as energy goes to root survival rather than foliage.
How do I know if my plant is root bound?
Check for roots growing from drainage holes, circling the soil surface, or forming a dense mat. Other signs include water running straight through, soil drying in hours, stunted growth, and the plant becoming top heavy.
Can I reuse old potting soil when repotting?
Old soil loses structure, nutrients, and may harbor pests or pathogens. It’s best to use fresh potting mix. You can mix old soil into compost or garden beds where it will break down further.
Should I water immediately after repotting?
Water lightly to settle the soil and eliminate large air pockets. Then wait until the top inch of soil feels dry before watering again. This encourages roots to grow into the new soil seeking moisture.
What size pot for a plant that is currently in a 6 inch pot?
Move to a 7 or 8 inch pot. Measure the top inside diameter of your current pot and add 1-2 inches. This follows the golden rule for most tropical houseplants.
Do terracotta pots need different sizing than plastic pots?
Terracotta wicks moisture faster, so you can sometimes size up 2 inches for fast growers. Plastic retains moisture longer, so stick to 1 inch increases. Always prioritize the plant type over pot material.