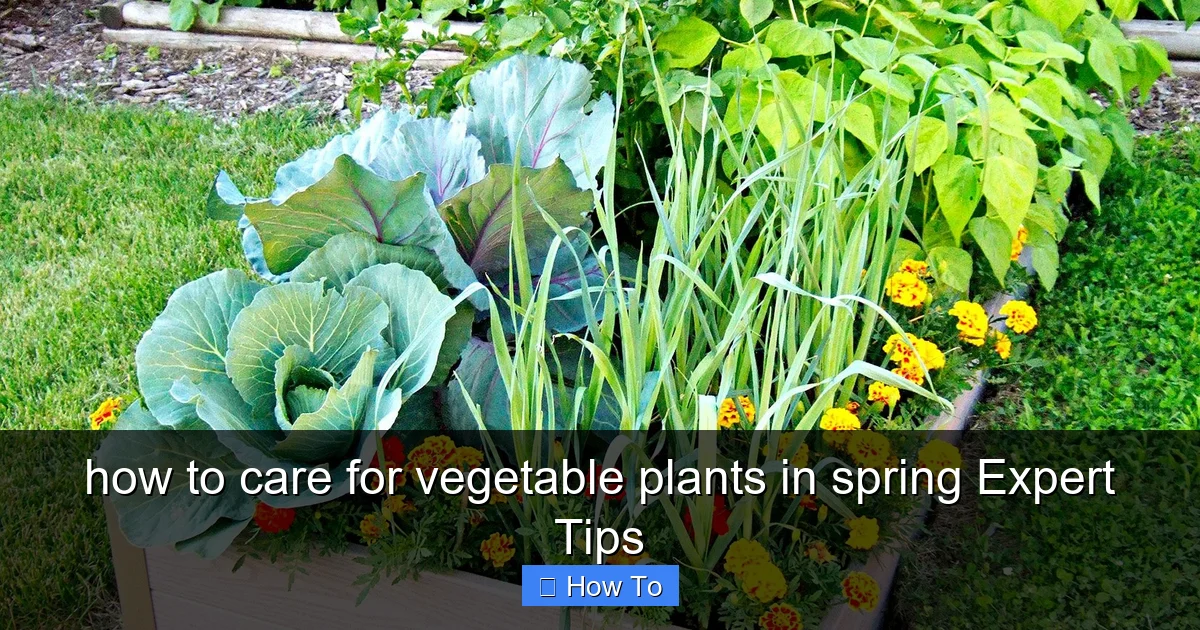
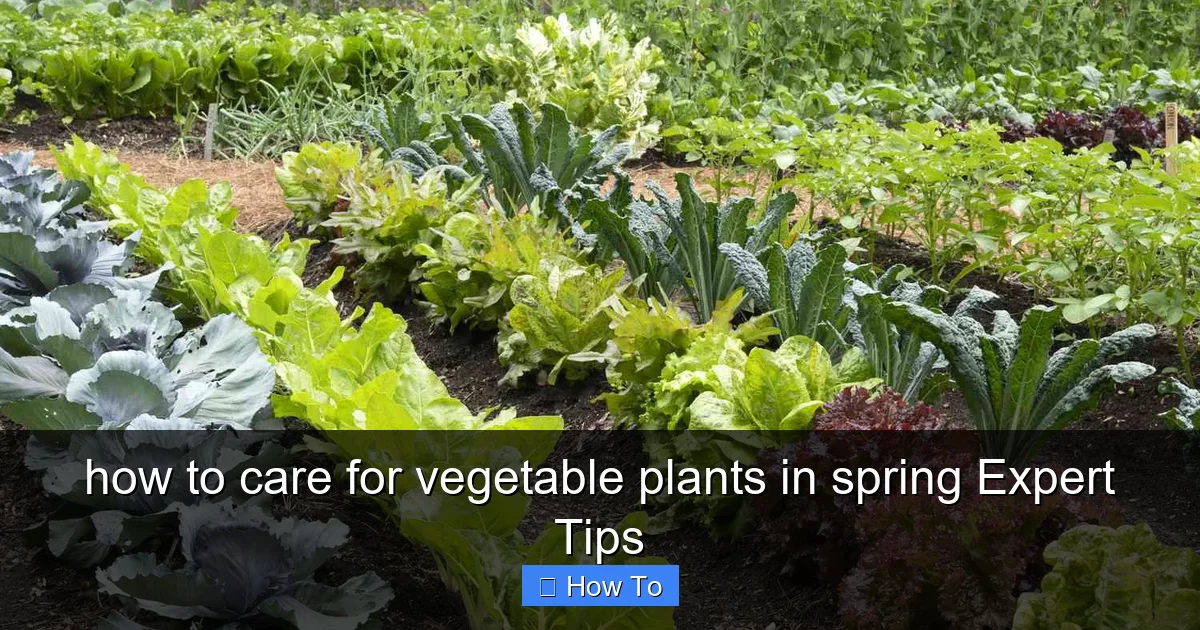
how to care for vegetable plants in spring Expert Tips
Master spring vegetable gardening with our complete guide covering soil preparation, seed starting, transplanting, watering, and pest management. Follow these expert tips to grow a productive garden all season long.
Quick Answers to Common Questions
When should I start seeds indoors for spring planting?
Start tomatoes, peppers, and eggplant 6-8 weeks before your last frost date. Start broccoli, cabbage, and kale 4-6 weeks before. Check seed packets for specific timing.
How do I know if my soil is warm enough to plant?
Use a soil thermometer. Cool-season crops need 40-50°F. Warm-season crops need 60°F minimum. Test at 2-inch depth in mid-morning for accurate reading.
What is the best mulch for vegetable gardens?
Straw, shredded leaves, and grass clippings (untreated) are excellent. They break down quickly, feed soil, and are easy to move for planting. Avoid fresh wood chips in beds — they tie up nitrogen.
How often should I fertilize vegetable plants in spring?
Side-dress leafy crops every 3-4 weeks with nitrogen. Feed fruiting crops with balanced fertilizer at planting, then switch to phosphorus-rich fertilizer when flowers appear. Container plants need feeding every 2 weeks.
Can I plant vegetables before the last frost date?
Yes! Cool-season crops like peas, spinach, lettuce, radishes, and carrots tolerate light frost. Plant them 4-6 weeks before your last frost date. Use row covers for extra protection.
Introduction
Spring brings new life to the garden. After a long winter, the soil warms up and gardeners everywhere feel that familiar excitement. But knowing how to care for vegetable plants in spring makes the difference between a struggling patch and a bountiful harvest. This guide walks you through every step, from prepping your beds to harvesting your first crops.
Whether you are a beginner or a seasoned grower, spring care sets the foundation for the entire growing season. We will cover soil preparation, planting schedules, seed starting, transplanting, watering, mulching, fertilizing, and pest management. Each section includes practical tips you can use right away. Let us dig in.
Step 1: Prepare Your Garden Beds
Before you plant anything, your garden beds need attention. Winter weather compacts soil, depletes nutrients, and leaves behind debris. Start by clearing out dead plants, weeds, and any leftover mulch from last season. Pull weeds by the roots so they do not grow back.
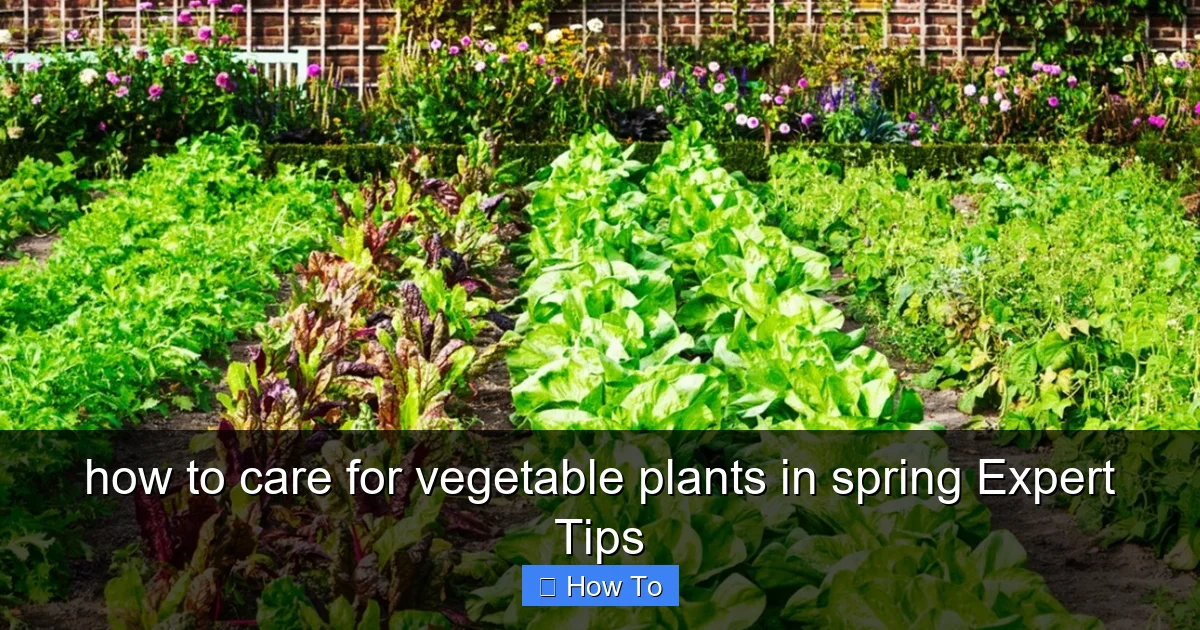
Visual guide about how to care for vegetable plants in spring Expert Tips
Image source: gardeningknowhow.com
Next, loosen the soil. Use a garden fork or broadfork to break up compaction. Work the soil to a depth of 8-12 inches. Avoid tilling when the soil is wet — it destroys structure and creates hard clods. Squeeze a handful of soil. If it forms a tight ball that does not crumble, wait a few days for it to dry out.
Remove rocks, sticks, and large clumps. Rake the surface smooth. If you use raised beds, top them off with fresh compost and soil mix. Beds settle over winter, so they often need a few inches of new material. This step alone improves drainage and gives roots room to grow.
Check Your Tools
While you are at it, inspect your tools. Sharpen pruners, clean trowels, and oil wooden handles. Sharp tools make clean cuts that heal faster. Clean tools prevent disease spread. A little maintenance now saves frustration later.
Set Up Supports Early
Install trellises, cages, and stakes before planting. Putting them in later disturbs roots. Tomatoes, peas, cucumbers, and pole beans all need vertical support. Place them now so plants can climb from day one.
Step 2: Test and Amend Soil
Healthy soil grows healthy vegetables. A soil test tells you exactly what your garden needs. You can buy a home test kit or send a sample to your local extension office. The results show pH level and nutrient levels for nitrogen, phosphorus, and potassium.
Visual guide about how to care for vegetable plants in spring Expert Tips
Image source: marthastewart.com
Most vegetables prefer a pH between 6.0 and 7.0. If your soil is too acidic, add garden lime. If it is too alkaline, add elemental sulfur. Follow the test recommendations for amounts. Adjust pH a few weeks before planting so amendments have time to work.
Add Organic Matter
Compost is the single best amendment for any soil. Spread 2-3 inches over your beds and work it into the top 6 inches. Compost improves texture, feeds beneficial microbes, and holds moisture. If you do not have homemade compost, buy bagged compost or aged manure.
Fresh manure burns plants. Only use manure aged at least six months. Chicken manure is high in nitrogen — use it sparingly. Cow and horse manure are milder. Worm castings are excellent but pricey for large areas.
Balance Nutrients
Based on your soil test, add specific fertilizers. Blood meal adds nitrogen. Bone meal adds phosphorus. Greensand adds potassium. Kelp meal provides micronutrients. Mix these into the soil at planting time. Avoid synthetic fertilizers that harm soil life.
Step 3: Plan Your Planting Schedule
Timing is everything in spring gardening. Plant too early and frost kills tender crops. Plant too late and you miss the optimal growing window. Start by finding your average last frost date. Your local extension office or a quick online search will give you this date.
Divide vegetables into three groups: cool-season, warm-season, and tender. Cool-season crops tolerate light frost and grow best in 40-70°F temperatures. These include peas, spinach, lettuce, radishes, carrots, beets, broccoli, cabbage, and kale. Plant them 4-6 weeks before your last frost date.
Warm-Season Crops
Warm-season crops need soil temperatures above 60°F and no frost risk. These include tomatoes, peppers, eggplant, beans, corn, squash, cucumbers, and melons. Plant them 1-2 weeks after your last frost date when soil has warmed.
Succession Planting
Do not plant everything at once. Stagger plantings every 2-3 weeks for continuous harvest. This works especially well for lettuce, radishes, beans, and carrots. Mark your calendar with planting dates for each crop. A simple spreadsheet or garden journal keeps you organized.
Crop Rotation
Rotate plant families each year. Do not plant tomatoes where tomatoes grew last year. Rotate legumes, brassicas, nightshades, and root crops. This prevents soil-borne diseases and balances nutrient use. A three or four-year rotation plan works best.
Step 4: Start Seeds Indoors
Starting seeds indoors gives you a head start on the season. Tomatoes, peppers, eggplant, broccoli, cabbage, and herbs benefit from an early start. Use a seed-starting mix, not garden soil. Garden soil is too heavy and may contain pathogens.
Fill clean containers with moistened mix. Plant seeds at the depth listed on the packet — usually 2-3 times the seed diameter. Cover with a humidity dome or plastic wrap. Place in a warm spot (70-75°F) until germination. Most vegetable seeds sprout in 5-14 days.
Provide Adequate Light
Once seedlings emerge, they need 12-16 hours of bright light daily. A sunny window rarely provides enough. Use fluorescent or LED grow lights positioned 2-3 inches above the plants. Raise lights as seedlings grow. Leggy, pale seedlings mean insufficient light.
Water and Feed Seedlings
Keep the mix consistently moist but not soggy. Water from the bottom by placing containers in a tray of water. This prevents damping off, a fungal disease that kills seedlings. Once true leaves appear, feed with half-strength liquid fertilizer every two weeks. Fish emulsion or seaweed extract works well.
Thin Seedlings
If multiple seeds germinate in one cell, thin to the strongest seedling. Snip extras at soil level with scissors. Pulling them disturbs roots of the keeper. Crowded seedlings compete for light and nutrients, producing weak plants.
Step 5: Harden Off Seedlings
Seedlings grown indoors need gradual exposure to outdoor conditions. This process, called hardening off, prevents transplant shock. Start 7-10 days before your planned transplant date. Place seedlings outdoors in a sheltered, shady spot for 1-2 hours on day one.
Increase outdoor time by 1-2 hours each day. Gradually introduce them to direct sun, wind, and cooler temperatures. Bring them inside at night for the first few days. By day 7-10, they should stay out all day and night unless frost threatens.
Watch for Stress Signs
Wilting, bleached leaves, or purple stems indicate too much too fast. Slow down the process. Water well before each outdoor session. Reduce fertilizer during hardening off — you want stocky, tough plants, not rapid growth.
Protect from Weather
Have row covers, cloches, or cold frames ready. Spring weather swings wildly. A late frost or heavy rain can destroy hardened-off seedlings overnight. Cover plants when temperatures drop below 40°F for cool-season crops or 50°F for warm-season crops.
Step 6: Transplant with Care
Transplant on a cloudy day or in late afternoon to reduce stress. Water seedlings thoroughly an hour before transplanting. Prepare planting holes slightly larger than the root ball. Space plants according to packet recommendations — crowding reduces air flow and increases disease.
Gently remove seedlings from containers. If roots circle the bottom, tease them apart with your fingers. Plant at the same depth they grew in the container, except tomatoes. Bury tomato stems up to the first true leaves — they will grow roots along the buried stem.
Firm Soil and Water In
Backfill holes and firm soil gently around roots. Do not compact it. Water each plant at the base with a gentle stream. This settles soil and eliminates air pockets. Apply a starter fertilizer solution — high in phosphorus — to encourage root growth.
Label Everything
Place plant markers at each row or variety. Include the variety name and planting date. Memory fails, especially when you grow multiple varieties of the same vegetable. Labels help with harvest timing and future crop rotation.
Step 7: Water Wisely
Consistent moisture is critical for vegetable plants. Most need 1-1.5 inches of water per week from rain or irrigation. Check soil moisture by sticking your finger 2 inches deep. If it feels dry at that depth, water.
Water deeply and infrequently rather than lightly every day. Deep watering encourages deep roots that withstand drought. Light watering keeps roots near the surface where they dry out fast. Use a rain gauge to track rainfall and supplement as needed.
Water at the Base
Keep foliage dry to prevent fungal diseases. Use soaker hoses, drip irrigation, or a watering can aimed at soil level. Overhead sprinklers wet leaves and waste water to evaporation. If you must use a sprinkler, water early morning so leaves dry quickly.
Adjust for Growth Stages
Newly transplanted seedlings need frequent light watering until roots establish. Fruiting crops like tomatoes and peppers need consistent moisture during flowering and fruit set. Inconsistent watering causes blossom end rot in tomatoes and bitter cucumbers. Reduce watering as root crops mature to prevent splitting.
Step 8: Mulch for Moisture and Weed Control
Mulch is a gardener’s best friend. Apply 2-3 inches of organic mulch around plants once soil has warmed and seedlings are established. Straw, shredded leaves, grass clippings (herbicide-free), pine needles, and wood chips all work well.
Mulch conserves moisture, suppresses weeds, moderates soil temperature, and prevents soil splash on leaves. Soil splash spreads fungal spores. Keep mulch a few inches away from plant stems to prevent rot and rodent damage.
Living Mulch
Consider living mulch — low-growing plants between rows. Clover, vetch, or annual ryegrass suppress weeds and add nitrogen. Cut them before they set seed. They also attract beneficial insects. This works well in pathways and between widely spaced crops like tomatoes.
Refresh Mulch
Organic mulch breaks down over the season. Check thickness monthly and add more as needed. By mid-summer, you may need to replenish. The decomposing mulch feeds soil microbes, improving soil health for next year.
Step 9: Fertilize Strategically
Vegetables are heavy feeders. Even with good soil preparation, most benefit from mid-season fertilization. The key is matching nutrients to growth stages. Nitrogen promotes leafy growth. Phosphorus supports roots, flowers, and fruit. Potassium enhances overall vigor and disease resistance.
Side-Dressing
Side-dress means applying fertilizer alongside growing plants. Scratch granular fertilizer into the soil surface 4-6 inches from stems, then water in. For leafy greens, apply nitrogen-rich fertilizer (blood meal, fish meal) every 3-4 weeks. For fruiting crops, switch to balanced or phosphorus-heavy fertilizer once flowers appear.
Foliar Feeding
Liquid fertilizers applied to leaves provide quick nutrient uptake. Use seaweed extract, fish emulsion, or compost tea every 2-3 weeks. Spray early morning or late afternoon. Foliar feeding supplements — not replaces — soil fertility. It helps during stress periods like heat waves or heavy production.
Container Vegetables
Potted vegetables need more frequent feeding. Nutrients leach out with watering. Use slow-release fertilizer at planting and liquid fertilizer every 2 weeks. Choose a balanced formula for general growth, then switch to tomato-specific formula for fruiting crops.
Step 10: Monitor for Pests and Diseases
Daily garden walks catch problems early. Inspect leaves top and bottom, check stems, and look at soil level. Many pests hide on leaf undersides. Identify the pest before treating — beneficial insects often keep pests in check naturally.
Common Spring Pests
Aphids cluster on new growth. Blast them off with water or spray insecticidal soap. Cutworms sever seedlings at soil level. Use cardboard collars around stems. Flea beetles chew tiny holes in leaves. Row covers exclude them. Slugs and snails feed at night. Beer traps, diatomaceous earth, or copper tape deter them.
Common Spring Diseases
Damping off kills seedlings at soil level. Prevent with sterile mix, good air flow, and avoiding overwatering. Powdery mildew appears as white powder on leaves. Space plants for air flow, water at base, and spray milk solution (1 part milk to 9 parts water) weekly. Early blight shows dark spots on lower tomato leaves. Remove affected leaves, mulch well, and rotate crops.
Integrated Pest Management
Use the least toxic method first. Hand-pick large pests. Encourage beneficials — ladybugs, lacewings, parasitic wasps — by planting flowers like alyssum, dill, and yarrow. Use row covers as physical barriers. Apply organic sprays (neem oil, spinosad, Bt) only when needed and according to label. Spray in evening to protect pollinators.
Troubleshooting Common Spring Problems
Even with good care, issues arise. Here are solutions to frequent spring challenges.
Seeds Do Not Germinate
Check soil temperature. Each crop has a minimum. Peas germinate at 40°F. Tomatoes need 60°F. Use a soil thermometer. Old seeds lose viability. Test germination by placing 10 seeds on a damp paper towel in a plastic bag. If fewer than 7 sprout, buy fresh seeds. Planting too deep or too shallow also prevents emergence.
Seedlings Are Leggy and Pale
Insufficient light. Add grow lights or move to a brighter location. Reduce temperature slightly — warm temperatures with low light increase stretching. Brush your hand over seedlings daily. This mimics wind and strengthens stems.
Plants Yellow After Transplanting
Transplant shock or nutrient deficiency. Water with seaweed extract to reduce shock. If yellowing persists, apply nitrogen fertilizer. Check soil pH — high pH locks up iron, causing yellowing between leaf veins (chlorosis).
Holes in Leaves Overnight
Slugs, earwigs, or caterpillars. Inspect at night with a flashlight. Apply diatomaceous earth or set beer traps. Hand-pick caterpillars. Check for cabbage worms on brassicas — they blend in perfectly.
Plants Wilt Despite Wet Soil
Root rot from overwatering or poor drainage. Improve drainage with raised beds or added compost. Let soil dry between waterings. Remove mulch temporarily to speed drying. Replant in better location if chronic.
Flowers Drop Without Setting Fruit
Temperature extremes, poor pollination, or irregular watering. Tomatoes drop flowers above 90°F or below 55°F. Shake plants gently in morning to transfer pollen. Plant flowers nearby to attract pollinators. Water consistently.
Conclusion
Learning how to care for vegetable plants in spring takes practice, but the rewards are worth it. Each step — preparing beds, testing soil, timing plantings, starting seeds, hardening off, transplanting, watering, mulching, fertilizing, and monitoring — builds toward a productive garden. You do not need to be perfect. Plants are resilient and want to grow.
Start with one or two beds if you are new. Keep notes on what works. Observe your garden daily. The best fertilizer is the gardener’s shadow. With attention and care, your spring efforts will feed you well into summer and fall. Happy gardening.